Uploading CSVs to a Database
This quickstart requires you to signup for DataSvIf you haven't already, please sign up here
In this example tutorial, we'll build an admin panel from which you can validate and upload CSVs to a database.
Start off by creating a new application here.
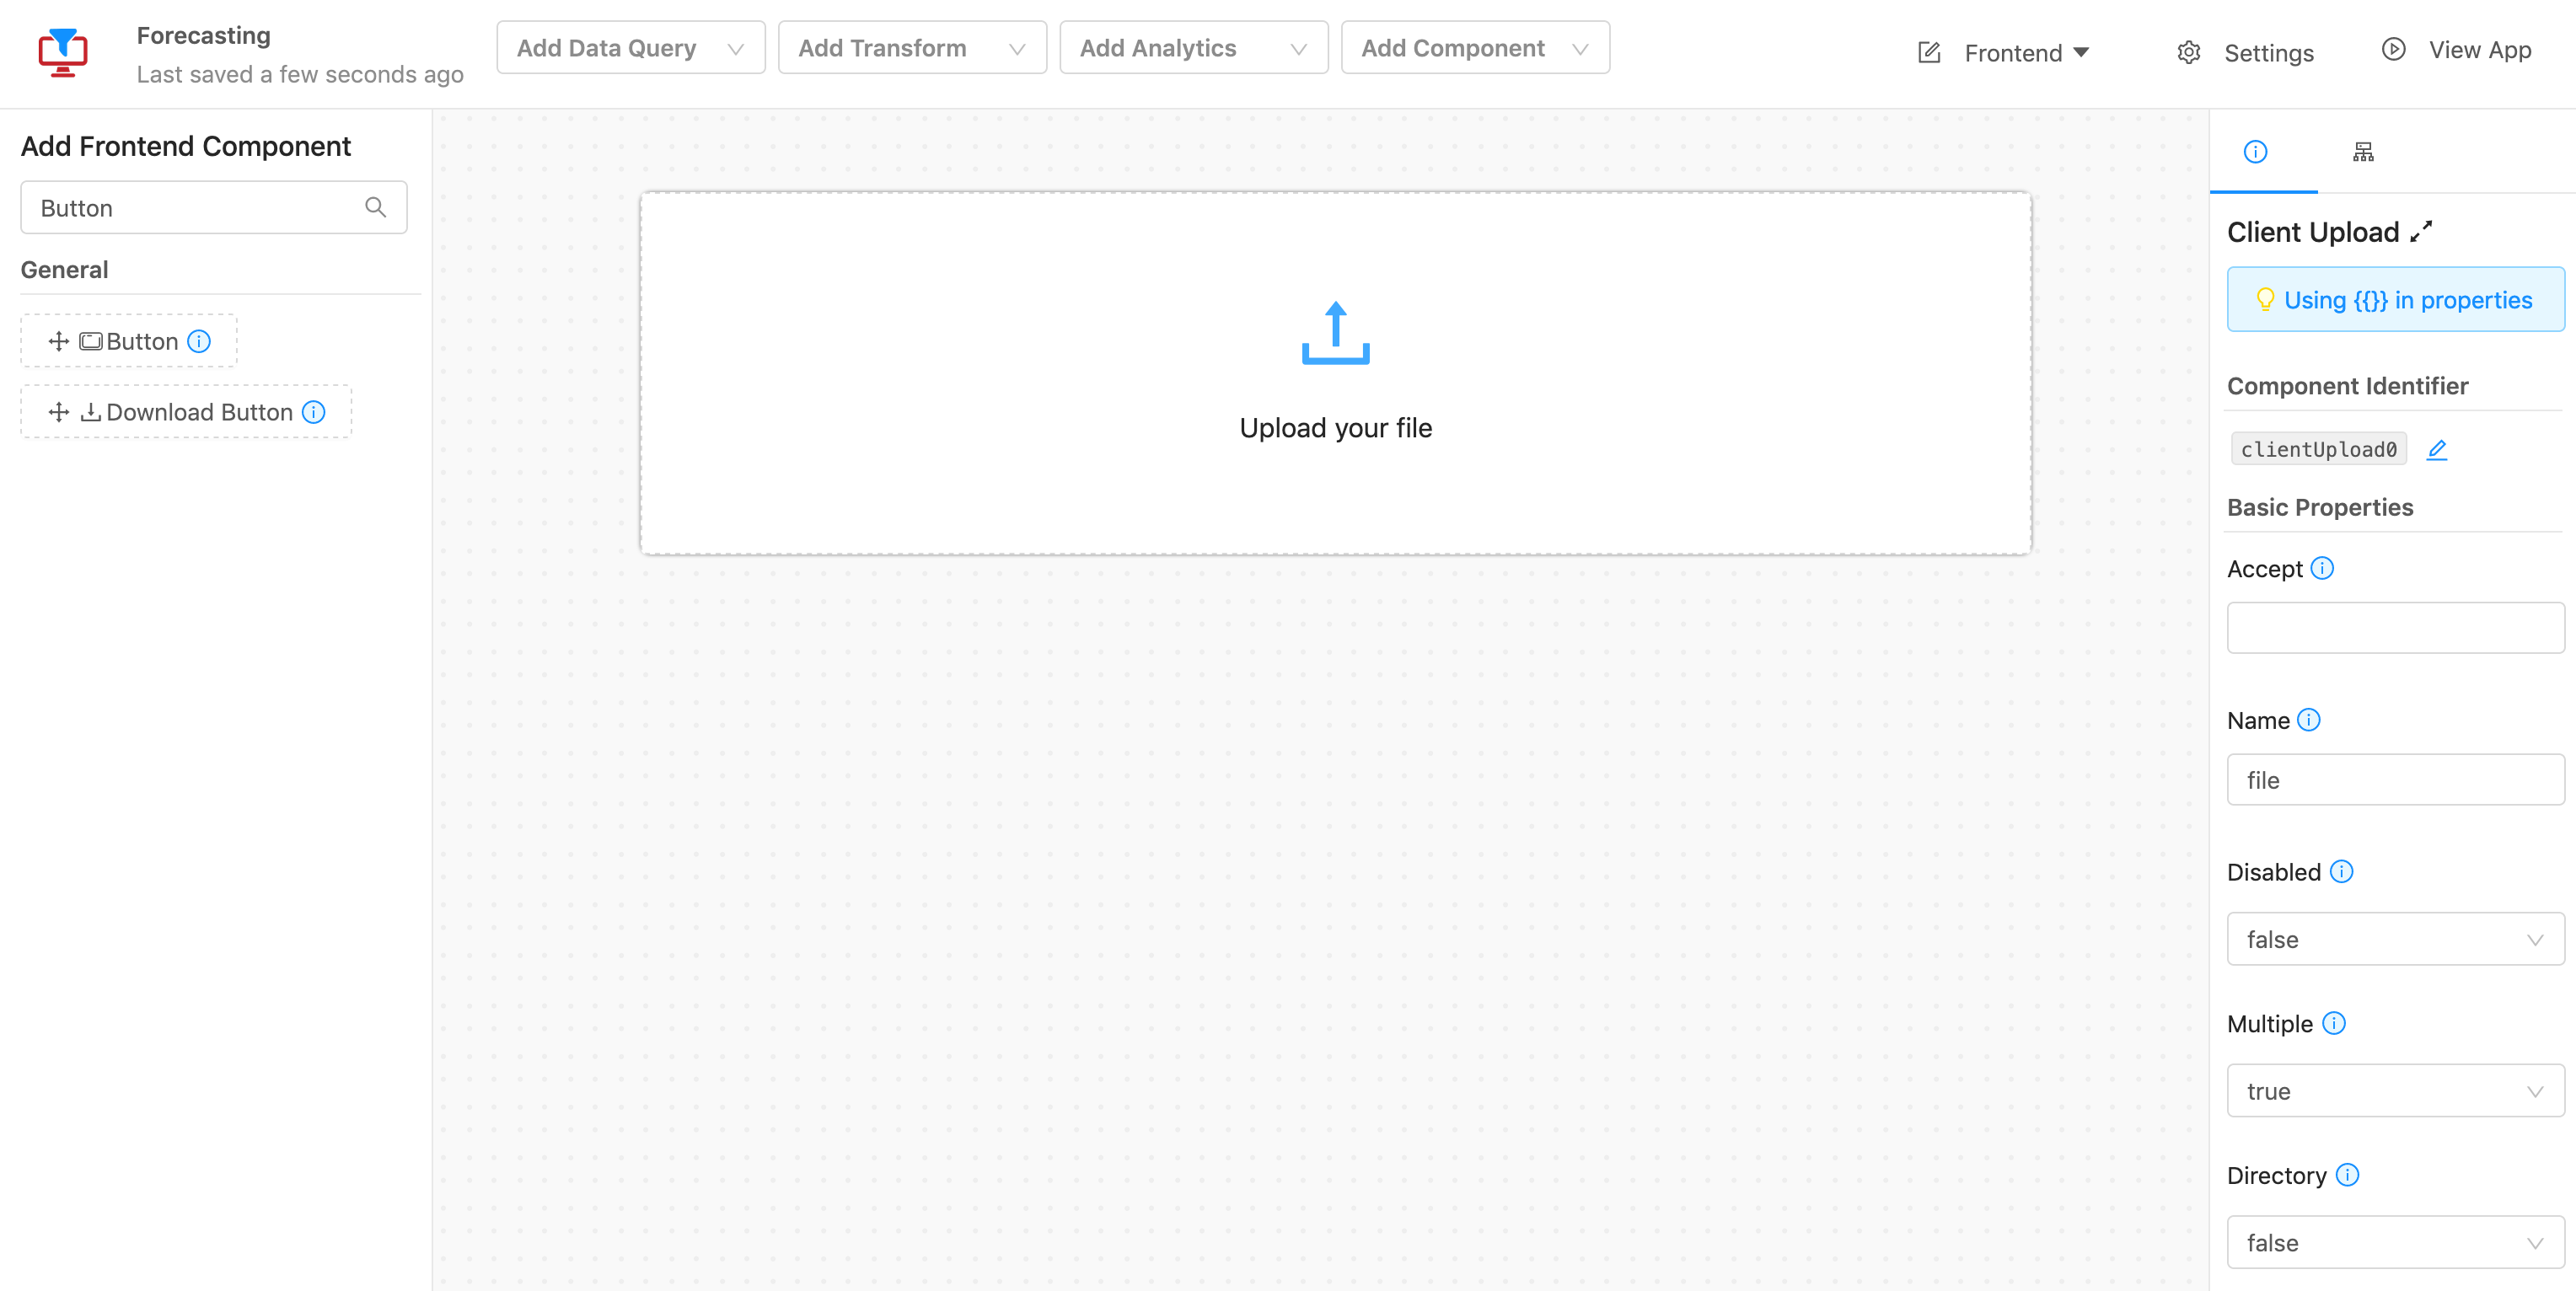
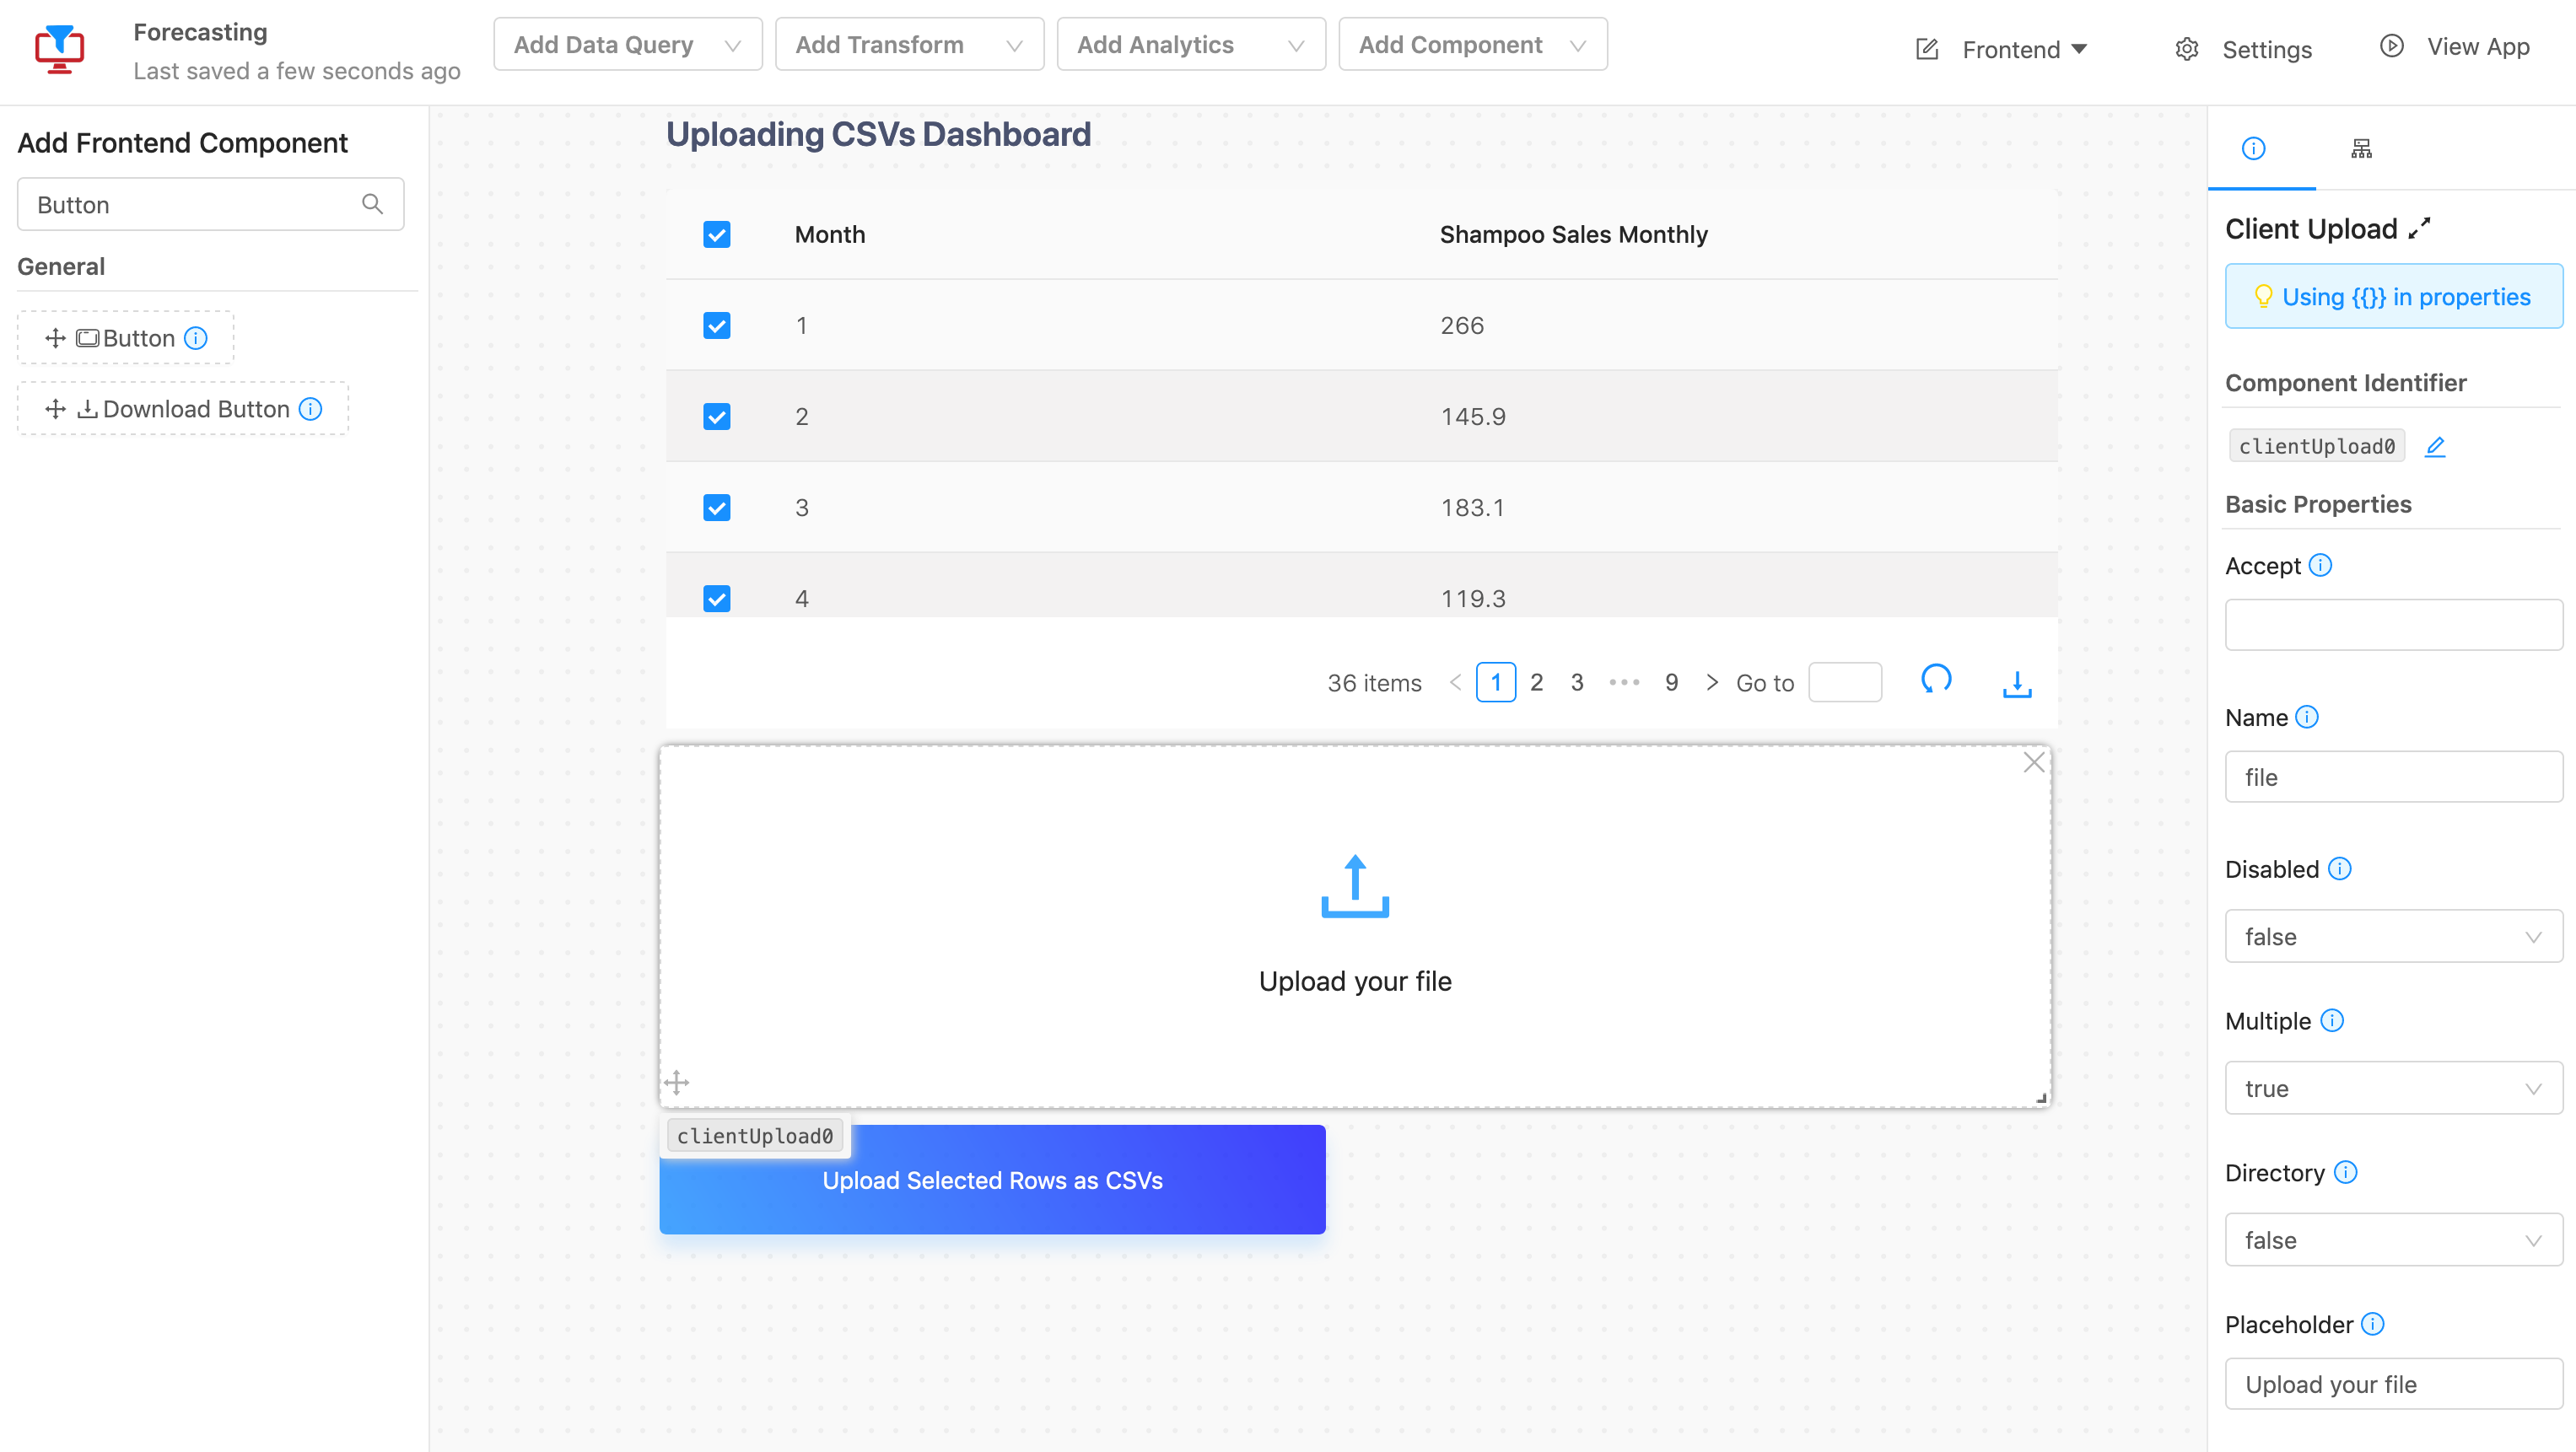
Next, drag a Client Upload frontend component from the left menu into the grid.
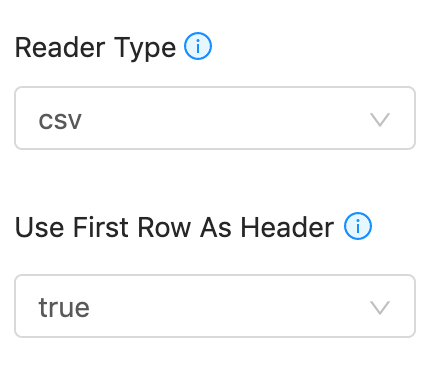
On the right sidebar menu, set the Reader Type property to csv and Use First Row As Header to true.
Component propertiesBy editing component properties, such as the Client Upload component's
readerTypeproperty, we can modify the behavior and appearance of frontend components in our grid.For the Client Upload component,
readerTypecontrols what kinds of files this component takes in anduseFirstRowAsHeadermeans that your file has to have a header and it will skip that row as data.
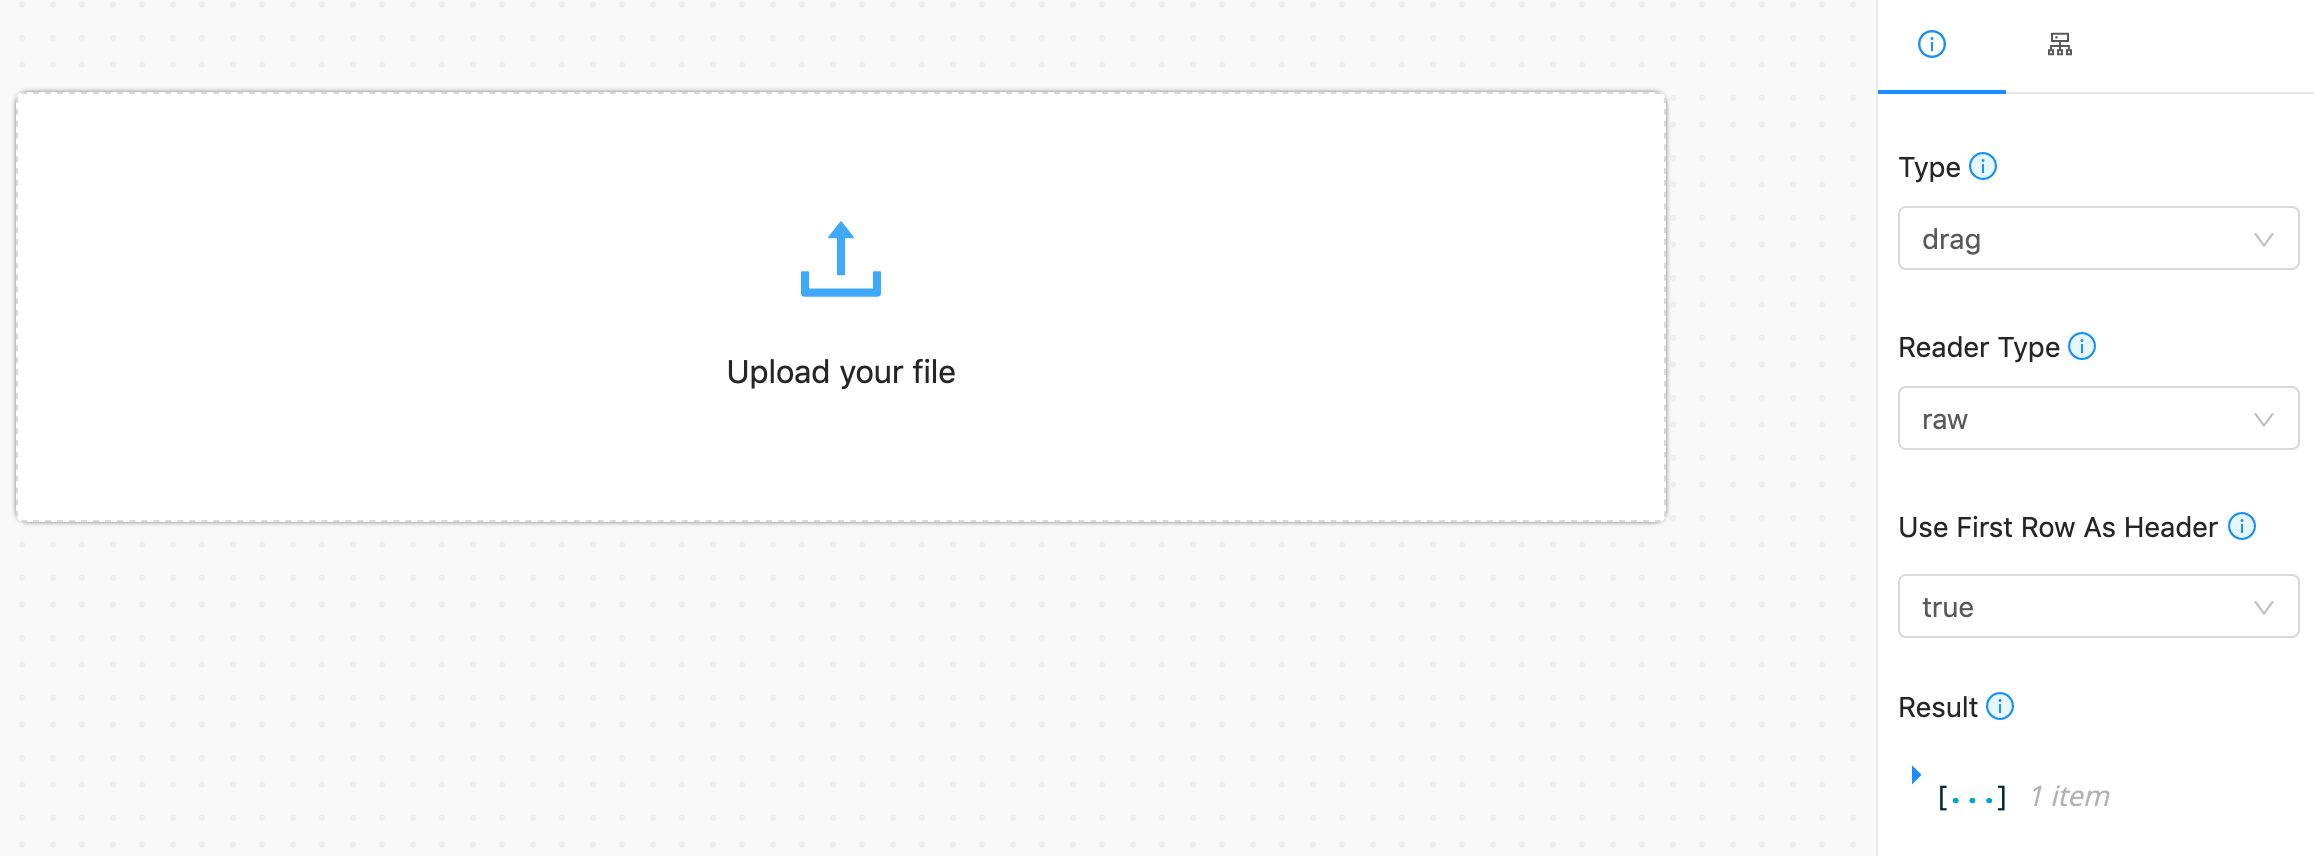
Upload a csv file to test the client upload.
If you've had a successful upload, you should see the csv output under the result property.
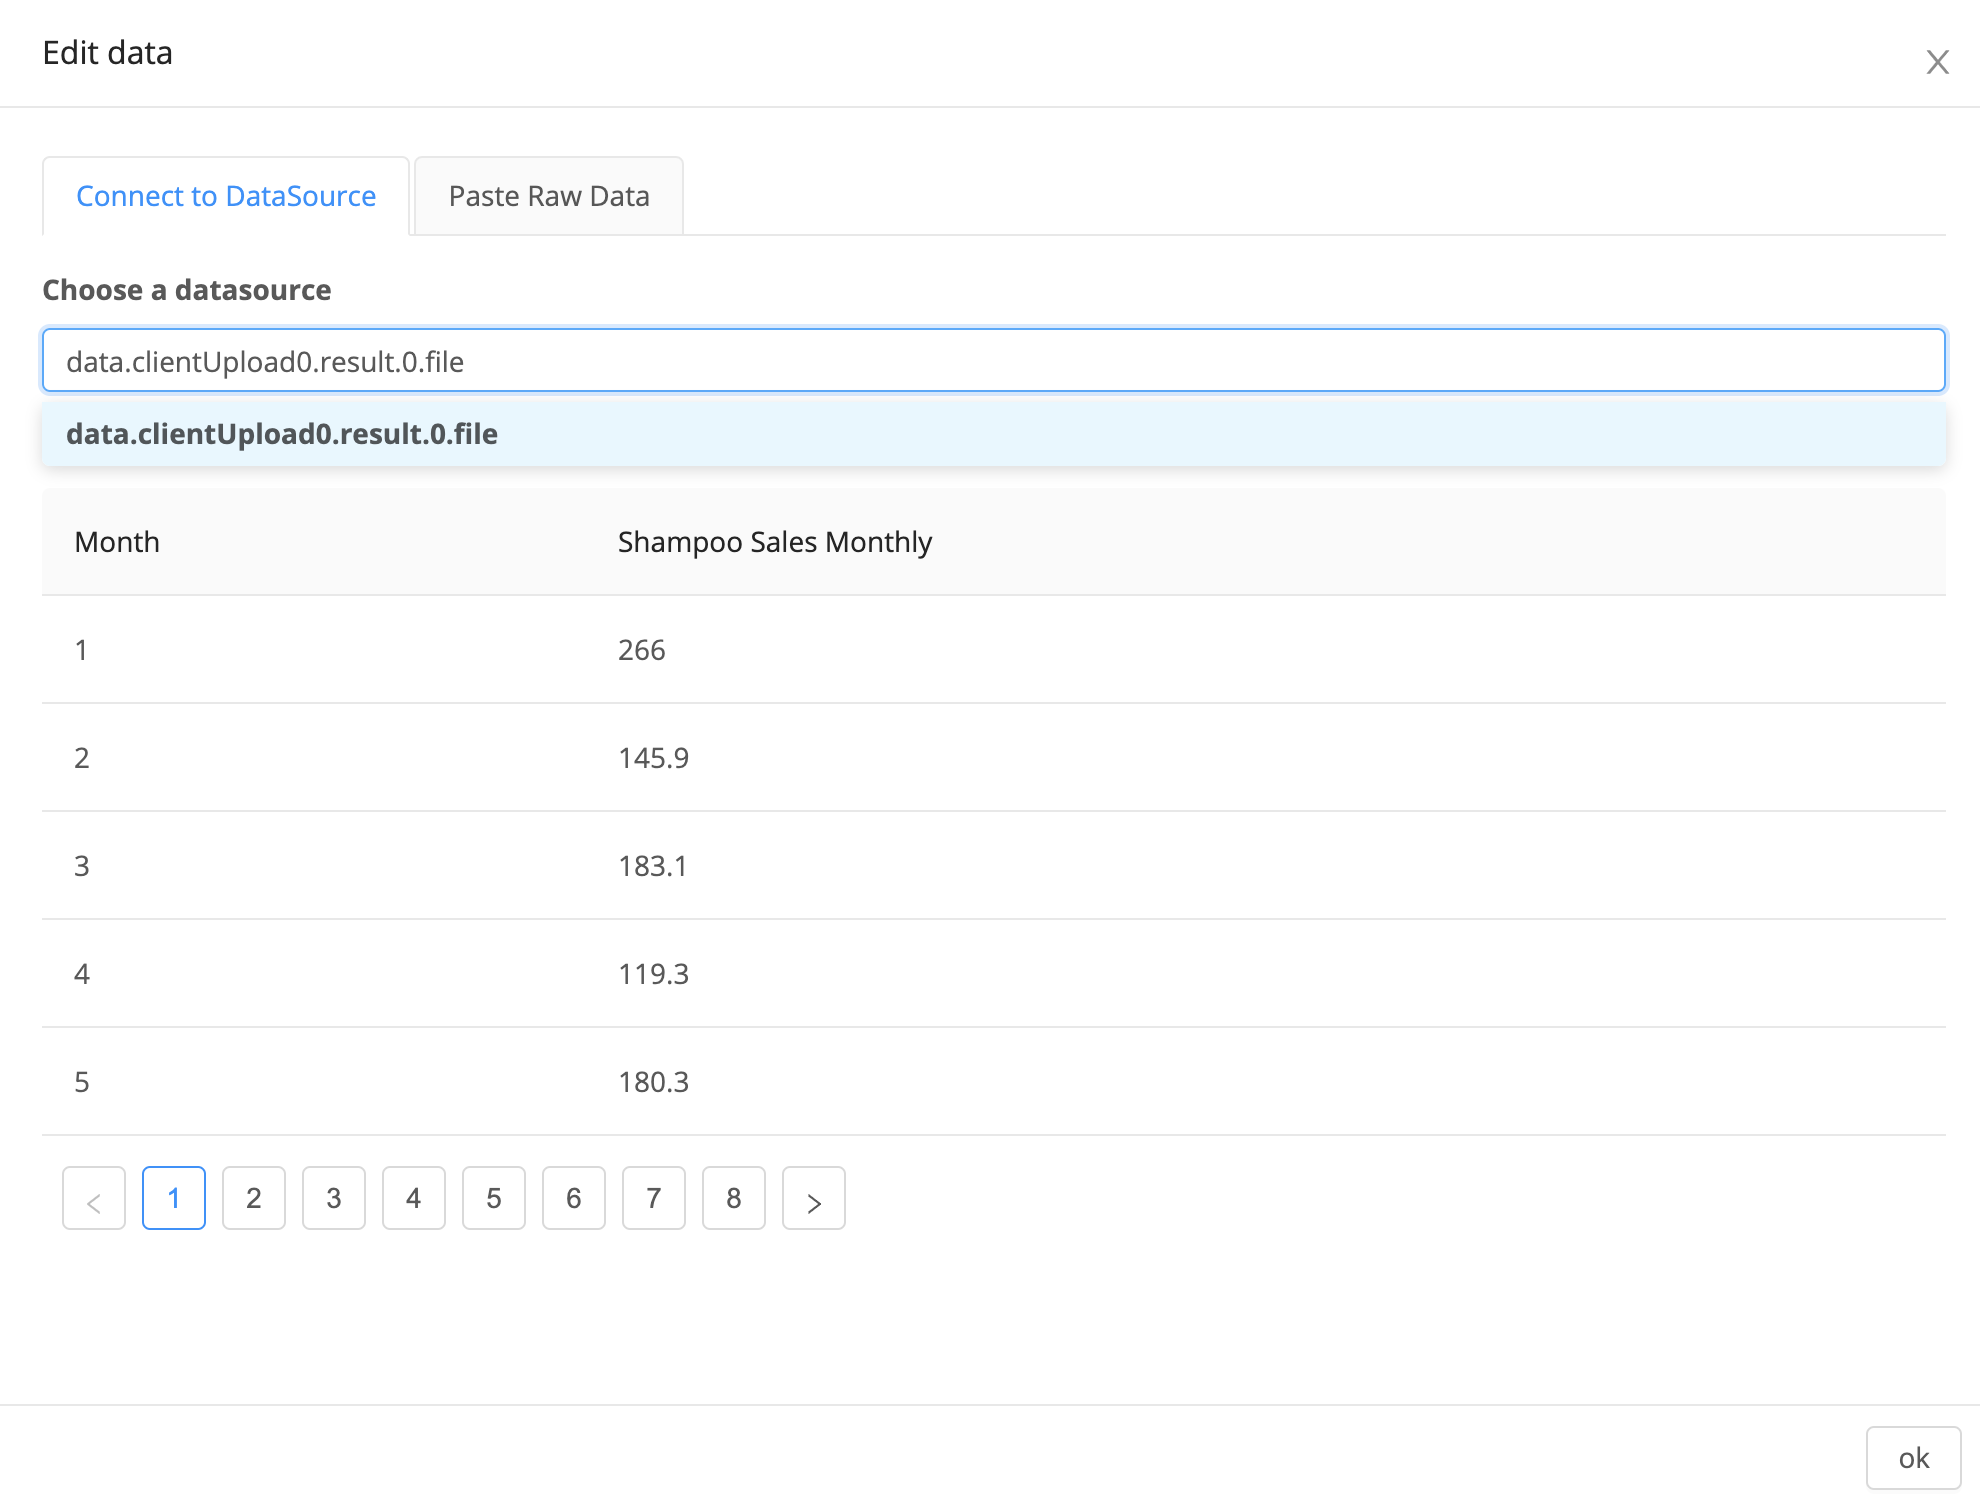
Next, we want to preview the client upload data before inserting it into a Google Sheet. Hence, select a Table and add it to the grid. Click Edit Data and set data.clientUpload0.result.0.file as the data source.
Why is the data source called data.clientUpload0.result.0.file?All component properties are stored in a global key value store that other components in the app are able to access. You are able to reference other components using javascript dictionary terminology.
In this instance, we would like to reference the uploaded file data from component with identifier clientUpload0. This uploaded file data is stored in the result key. All frontend component properties are stored under the global data key, hence, we type in
data (frontend component).clientUpload0 (component identifier).result (component property). 0.file (it's the first file that's uploaded)
Select rows from the tableTo preview results during the transform and simulate what the output would be when the user selects rows from the table, select several rows from the table you dragged into the grid!
Add a button component to the grid, and set the name to Add to Google Sheets. Select some rows from the table.
Next, we will add a transform to postprocess the selected rows from the table, so we can insert them into the Google Sheet.
Click Add Transform from the top menu, and select Transform.
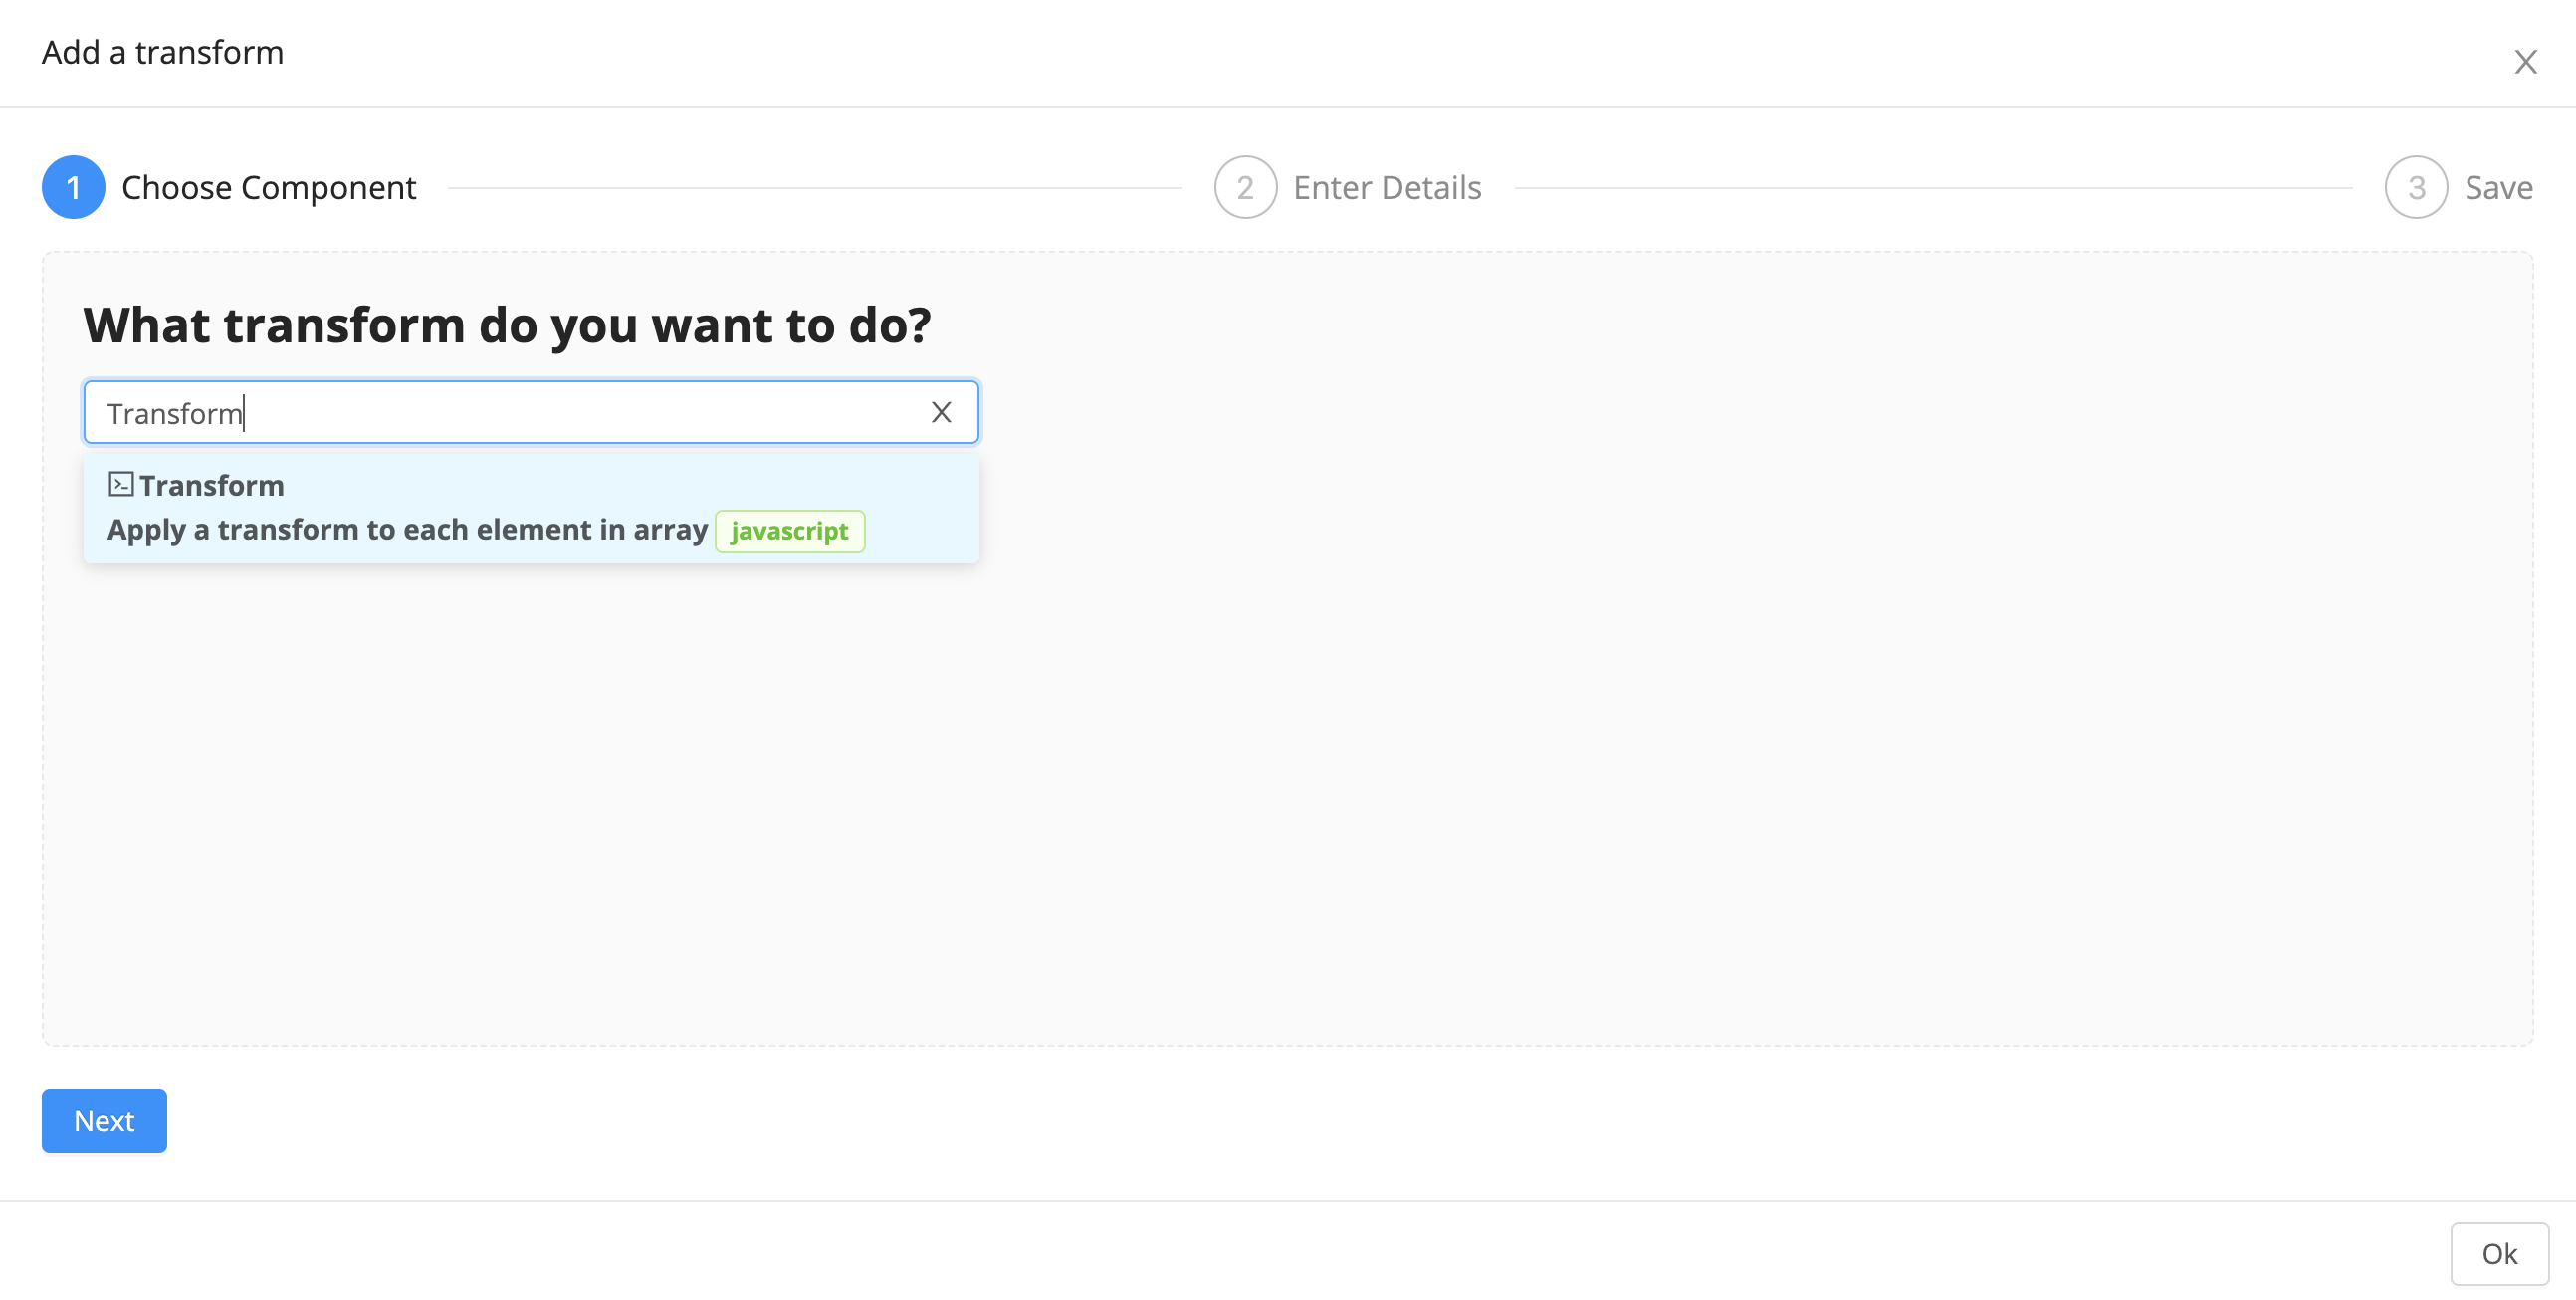
Click Edit Data, and choose data.table0.selectedRow as the datasource.
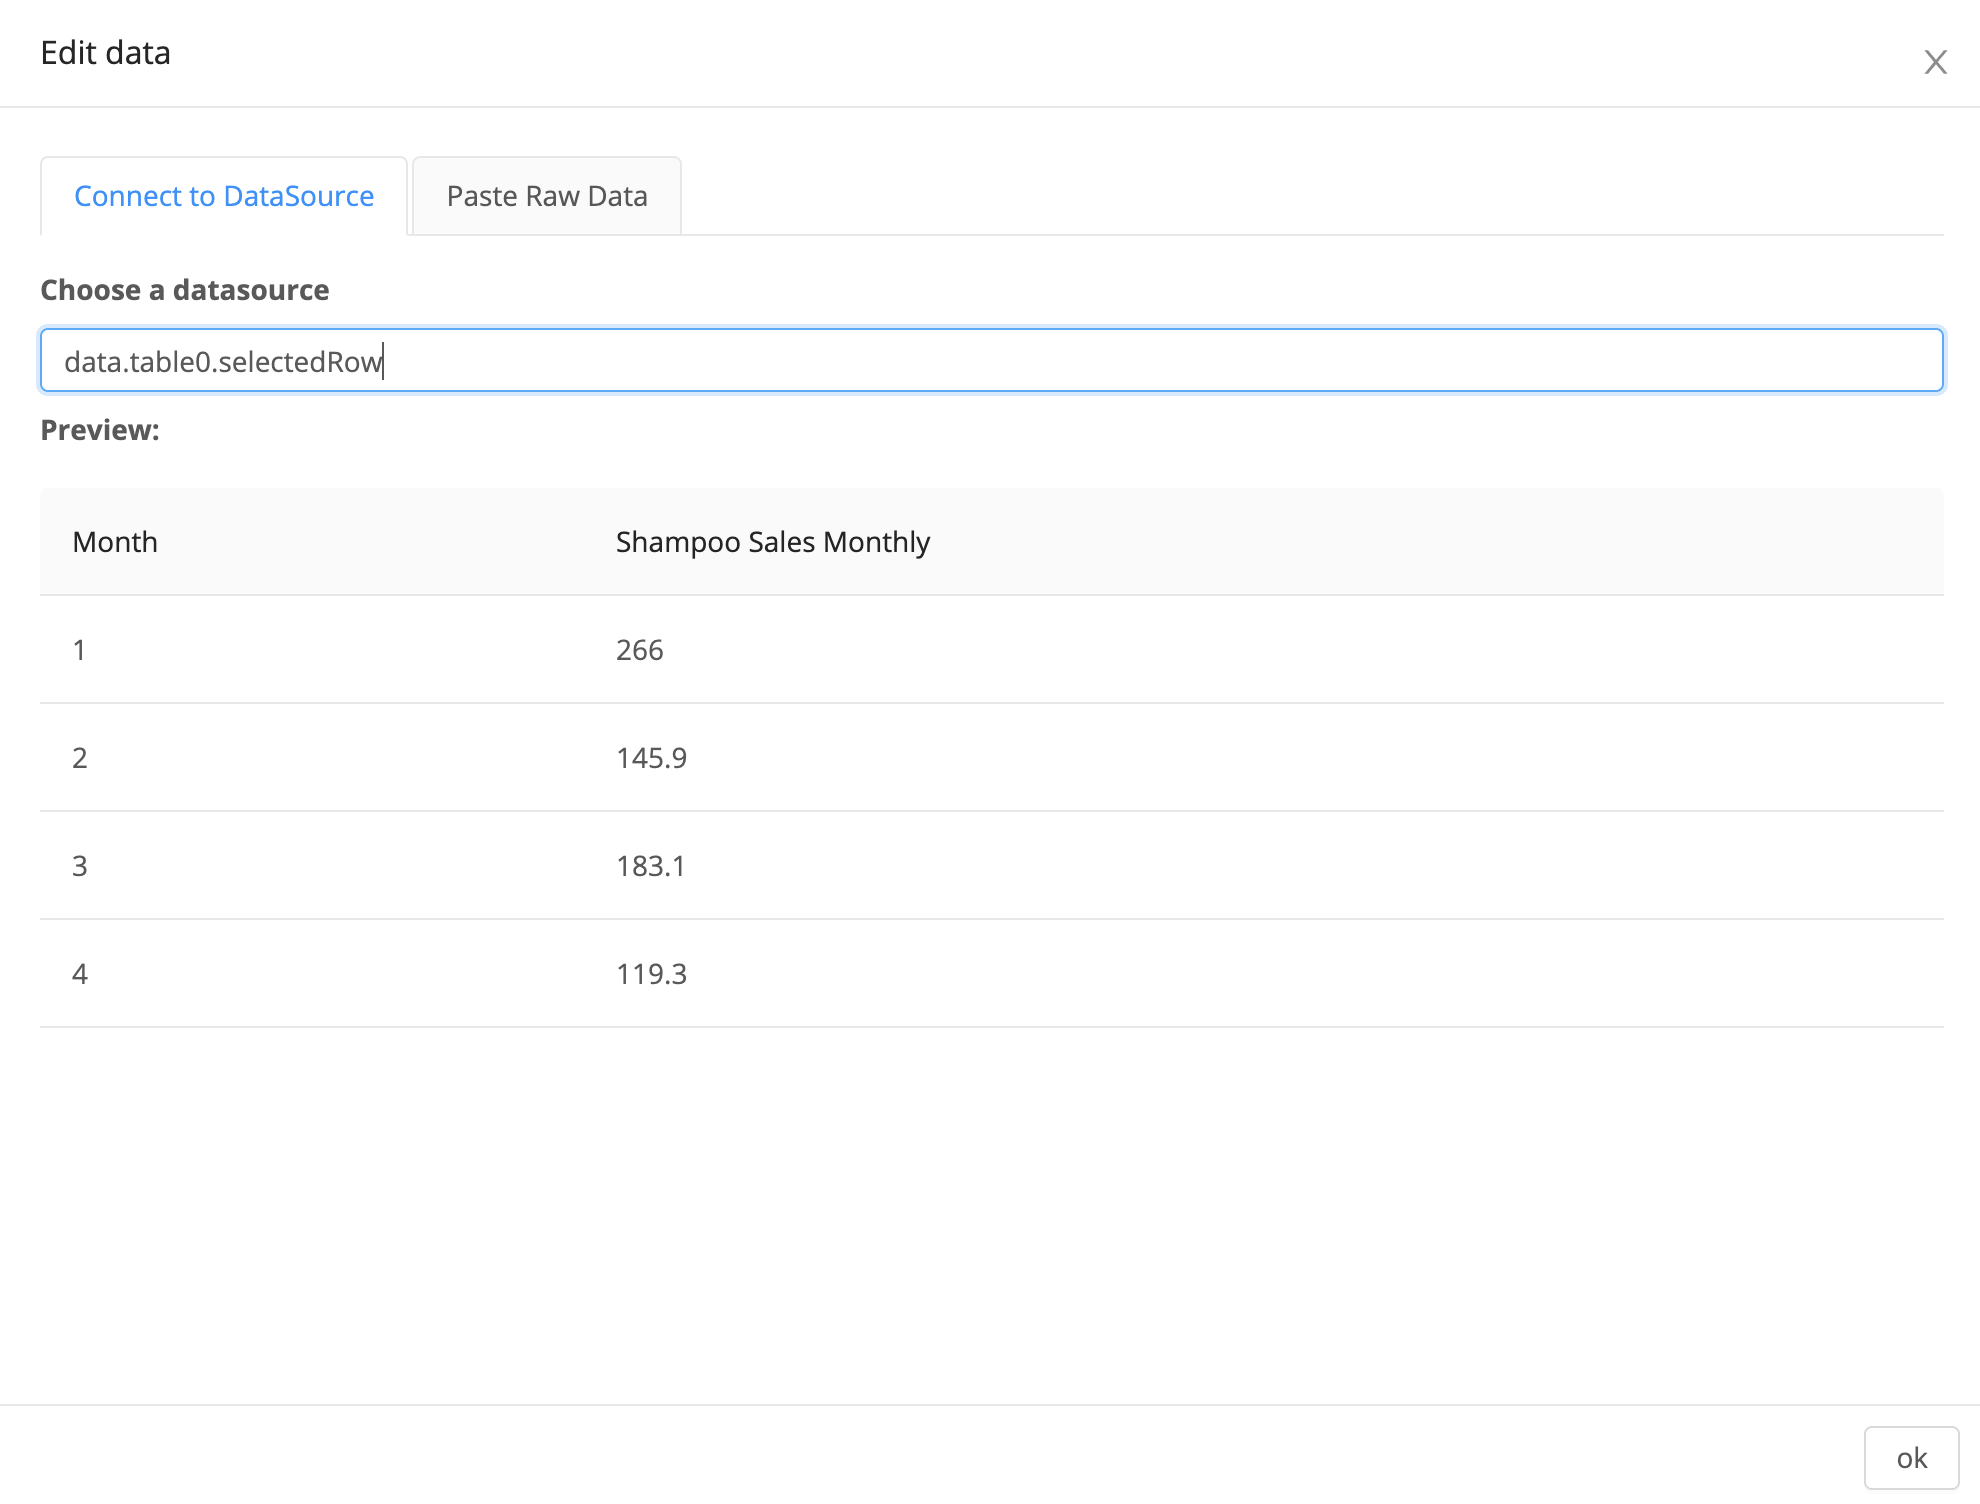
We need to convert a dictionary into an array of arrays, so set the transform to (element, index) => Object.values(element)

Finally, we'll write our post-processed output into a Google Sheet.
To begin, click Add Data Query at the top bar and select Google Sheets Api.
Datasiv allows you to read/write to various data sourcesAlthough we use Google Sheets and a SQL database in this tutorial, you can swap these out with other supported integrations, such as a Rest Api Endpoint, GraphQL, Salesforce, Stripe, etc.
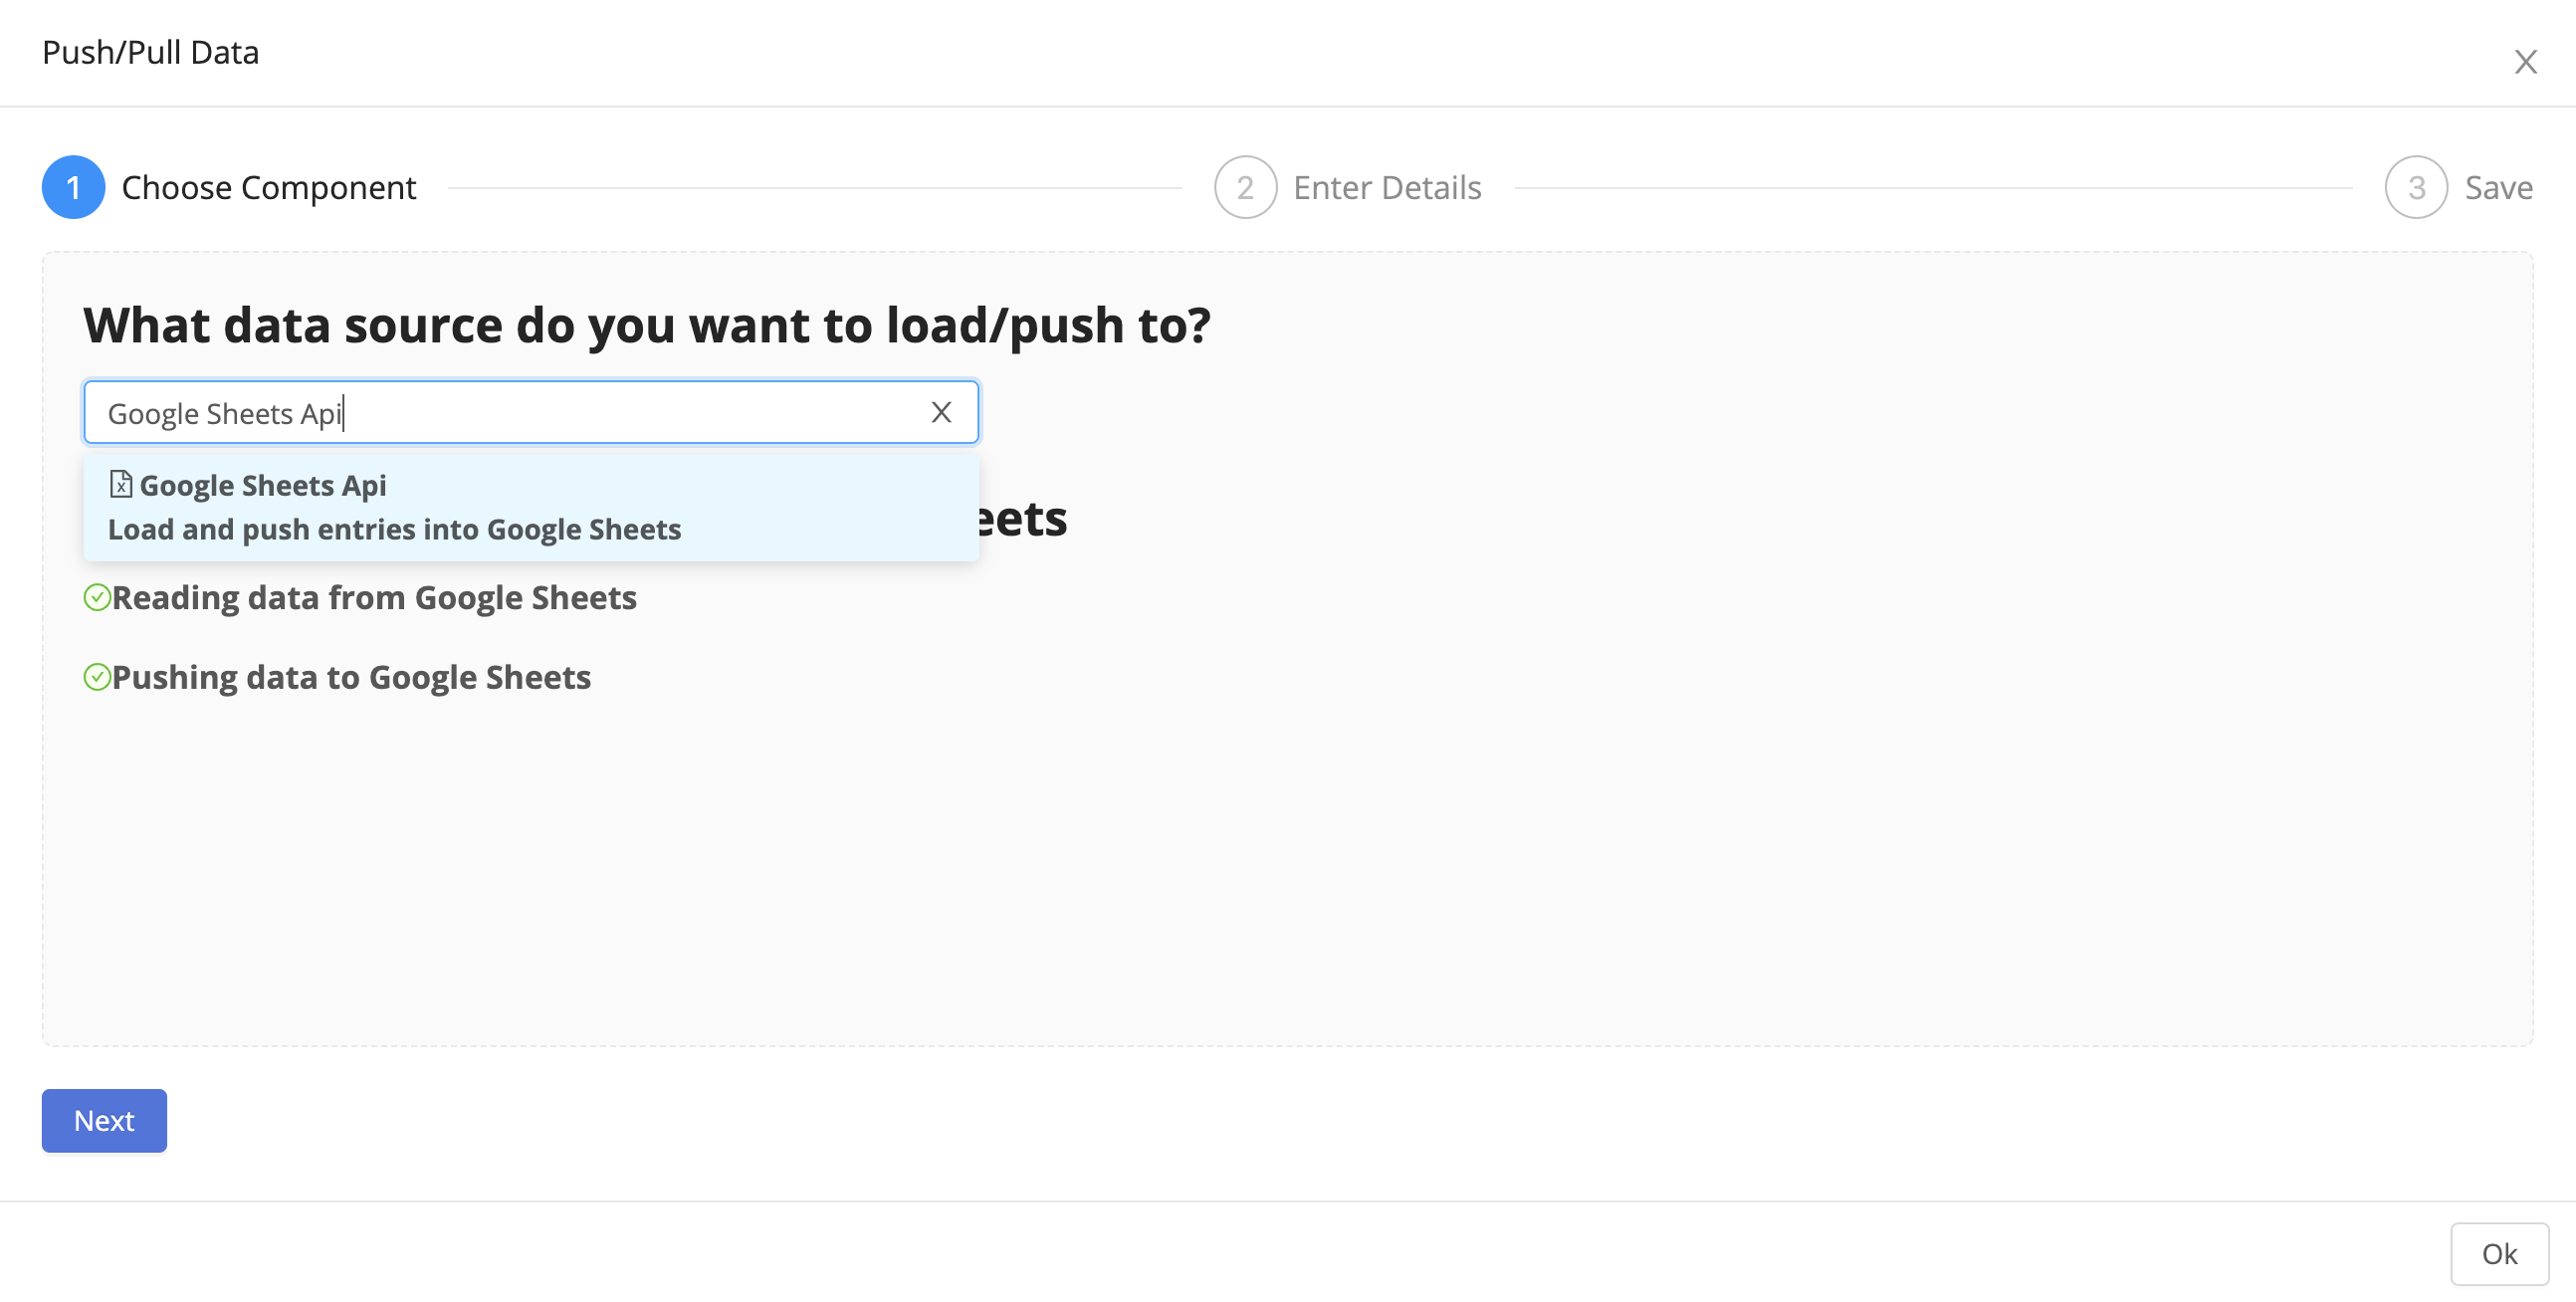
We'll be adding rows into a Google Sheet, so set the Method to values.append.
Set the Spreadsheet Id to an id of a Google Sheet you own, and make sure to add read/write permissions to the account listed at the bottom of Data Source Specifics.
Set the body to {"values": {{data.transform0result}} }.

We want to only trigger the Google Sheet component on button click, so set Automatic Execution to None.
Go back to the main editor, and select the button. Choose to run the queries.googleSheetsApi0 query.
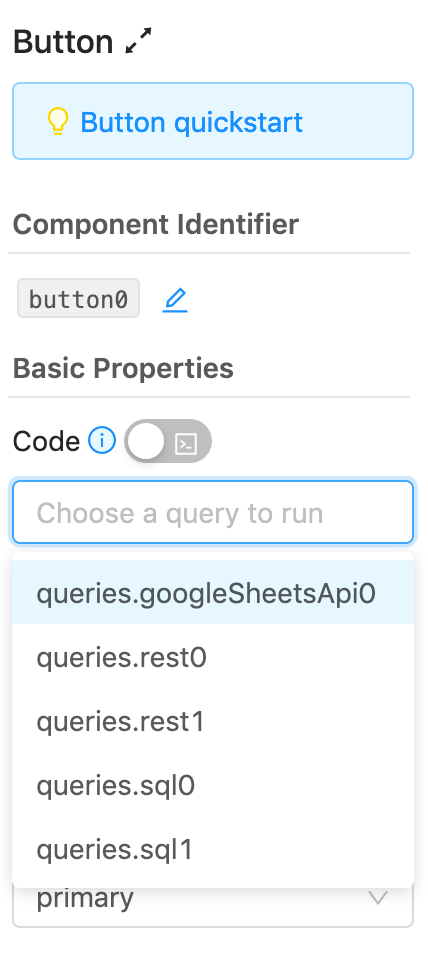
Congratulations! You've successfully built a user interface that allows anyone to upload a CSV and instantly insert it into Google Sheets.
Updated 9 months ago
