Google Tables Authentication
Authenticating to Google Tables
To authenticate with Google Tables, start by creating a Service Account by going to https://console.cloud.google.com/iam-admin/serviceaccounts.
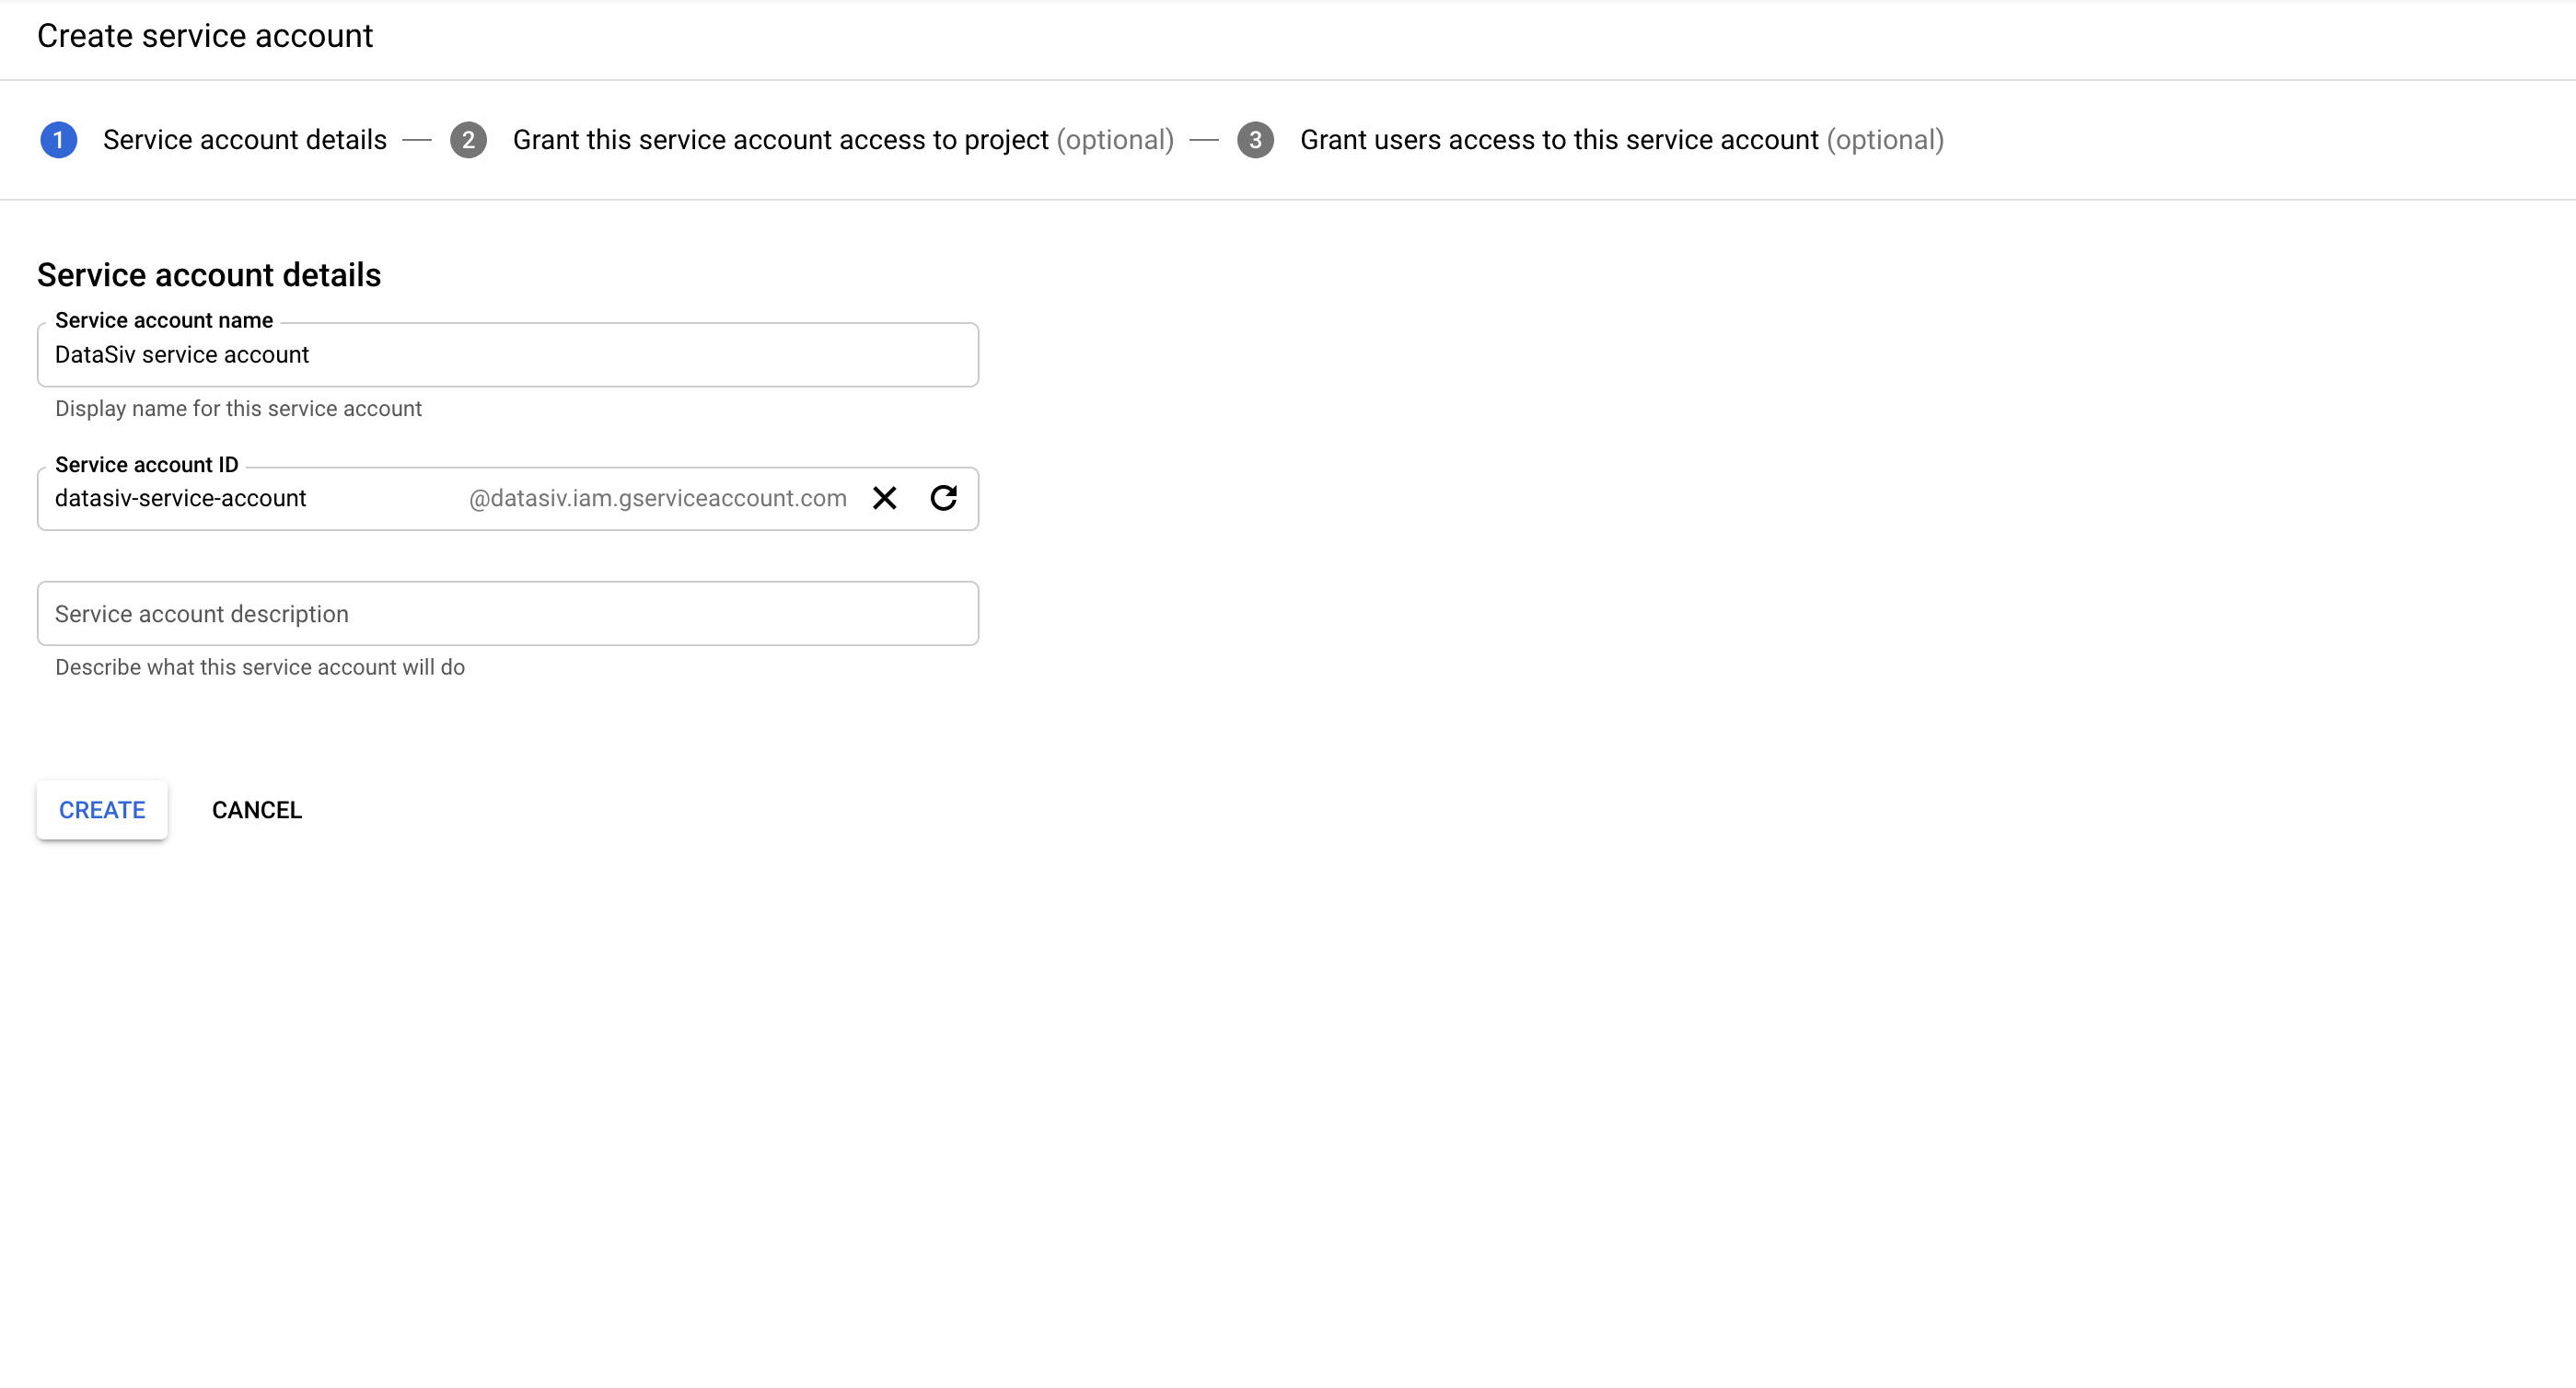
Keep track of the Service account ID. You will use this when you need to grant access to Google Sheets.
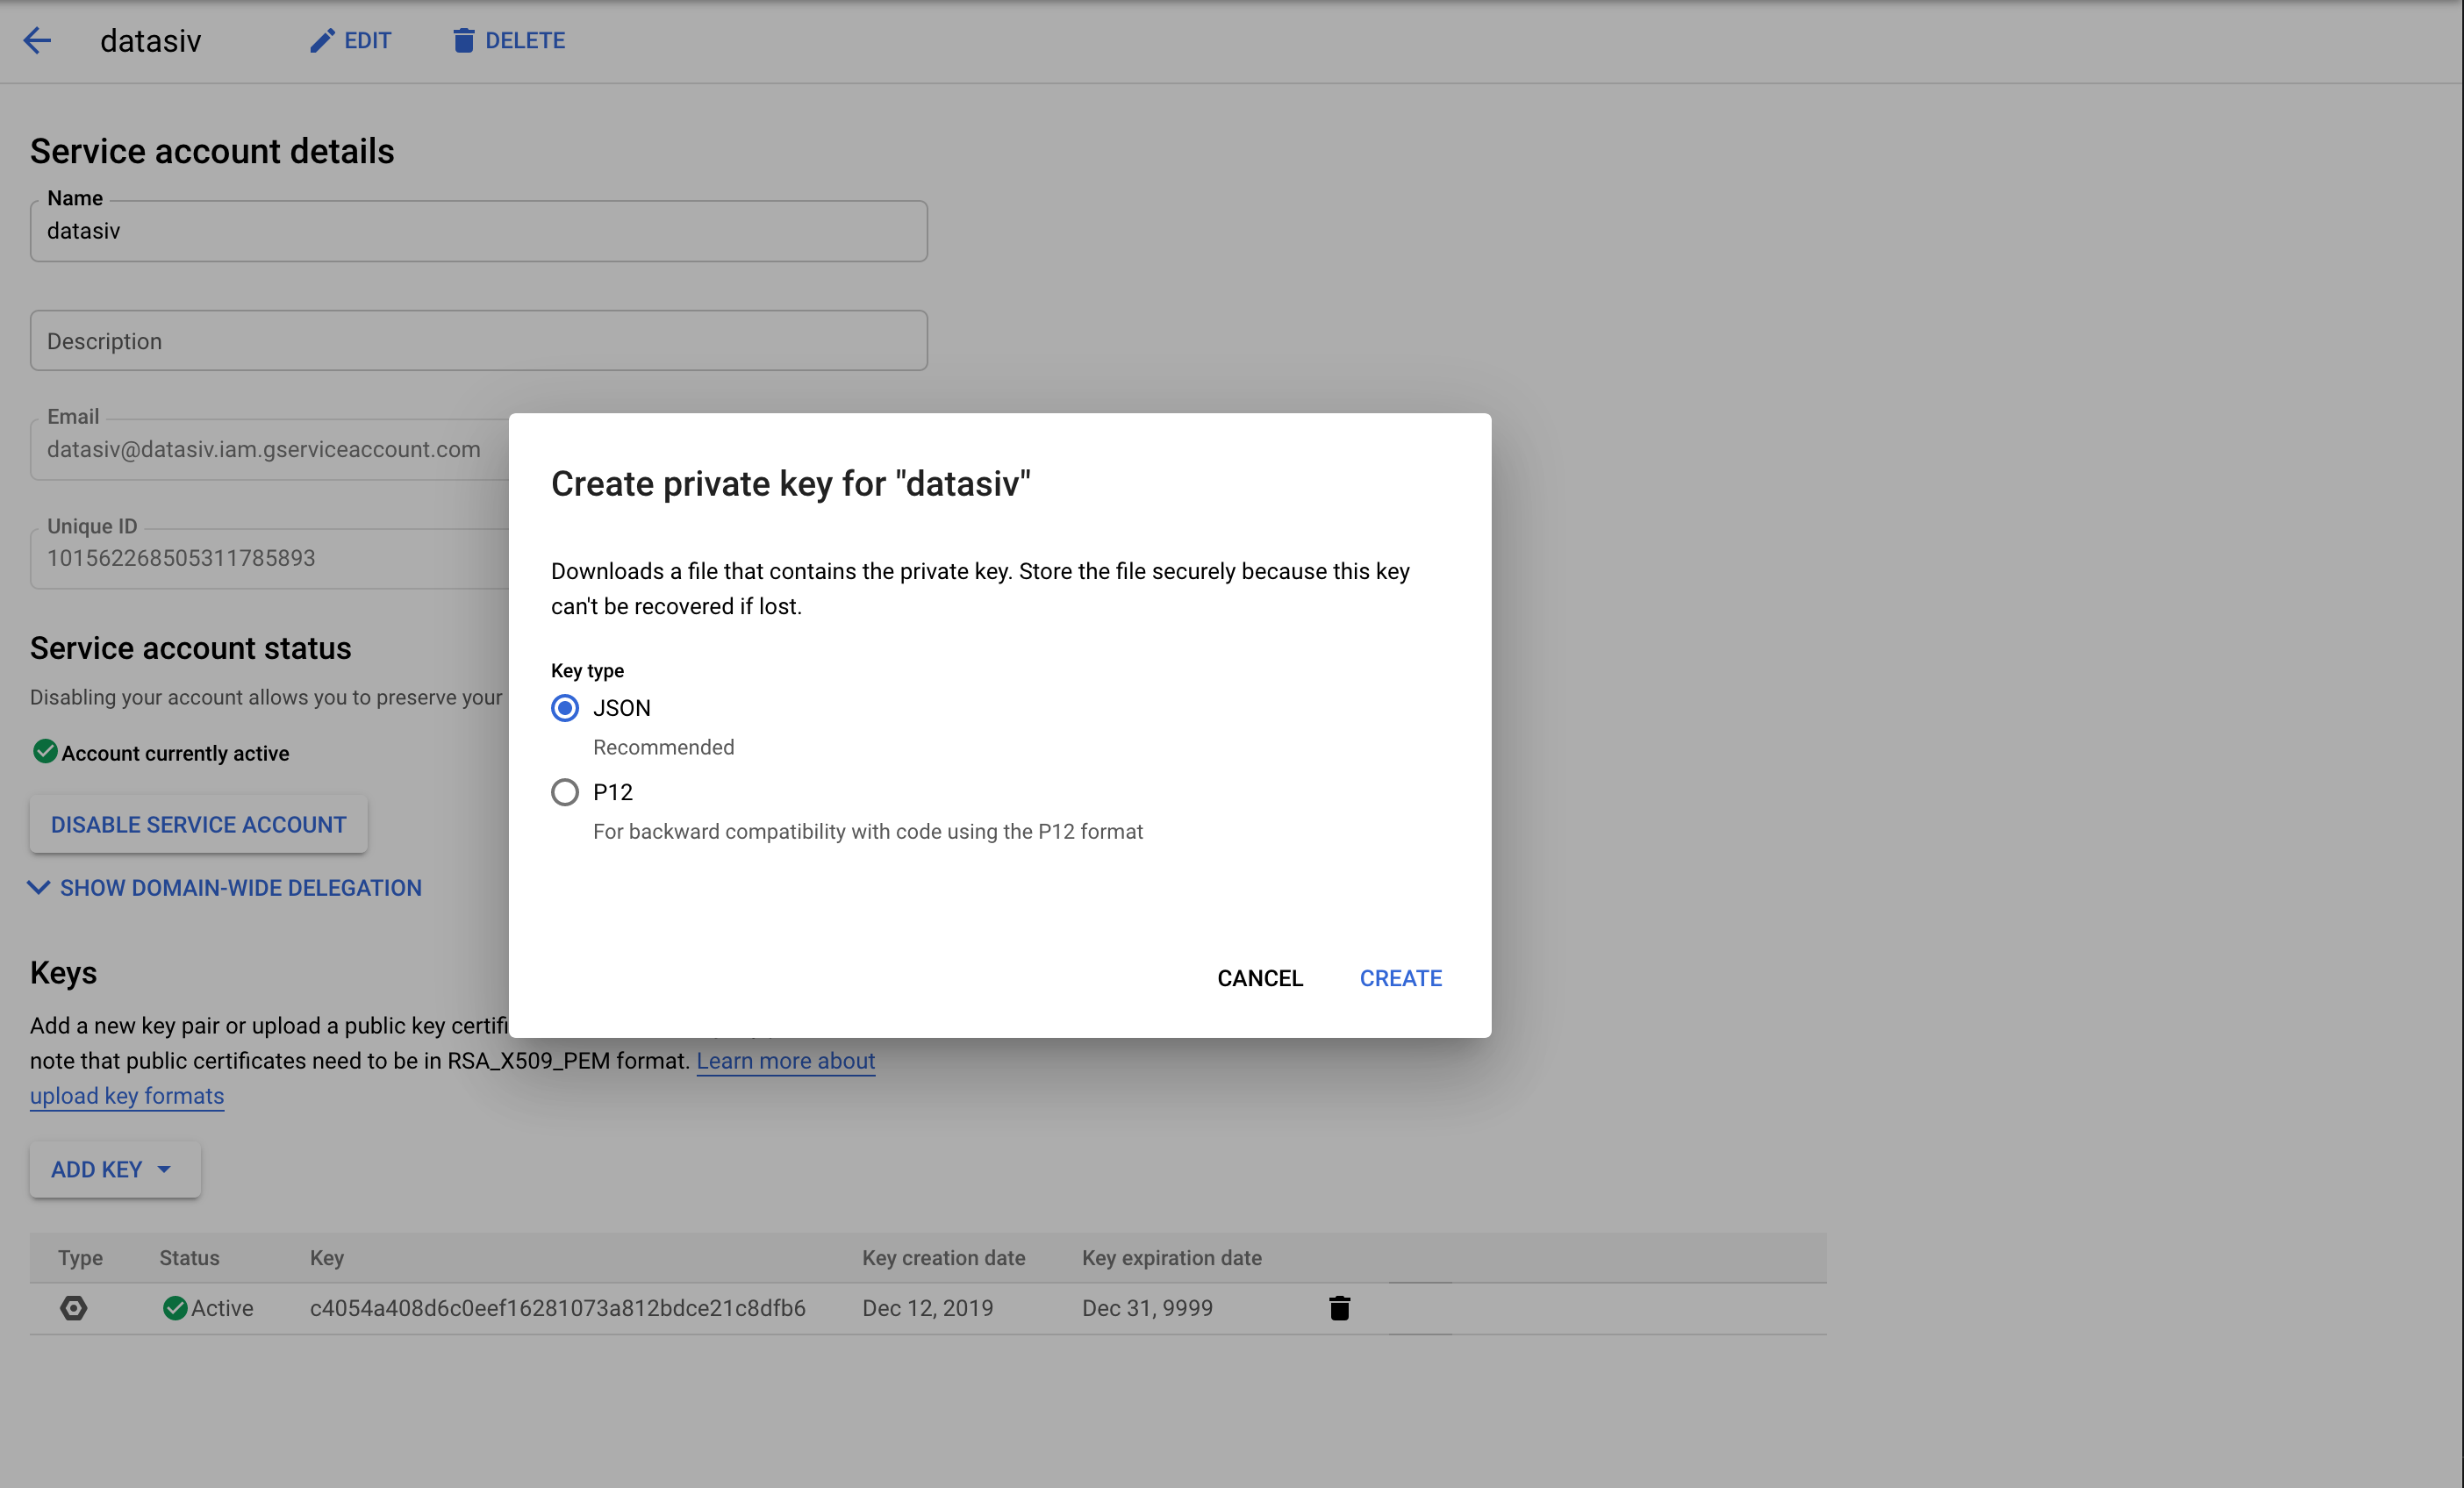
Next, go to the Service account details and click Create private key for your service account.
Set the Key type to be JSON and download the key.
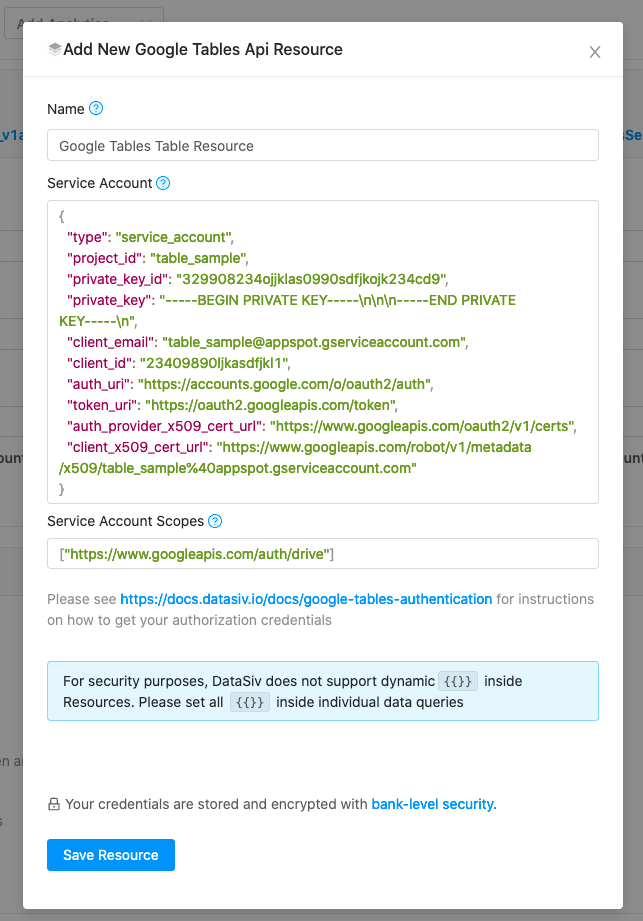
When creating a new Google Tables Resource in DataSiv, paste the JSON contents of the secret key file into the Service Account field. Make sure to set the Service Account Scopes to ["https://www.googleapis.com/auth/drive"].
Your resource might look something like this:
When writing queries that read or write to existing Google Tables (such as the query below), make sure to grant access to the Service Account ID to the sheet.
For example, if you had [email protected] as your Service Account ID, and you wanted to grant access to Table ID 929Ky61fEljda_rNwuHOGA, you'd go to https://tables.area120.google.com/u/0/table/929Ky61fEljda_rNwuHOGA
click Share at the top right, and add the email as you would with a regular user.

Congratulations! You're now able to read and write to this table.
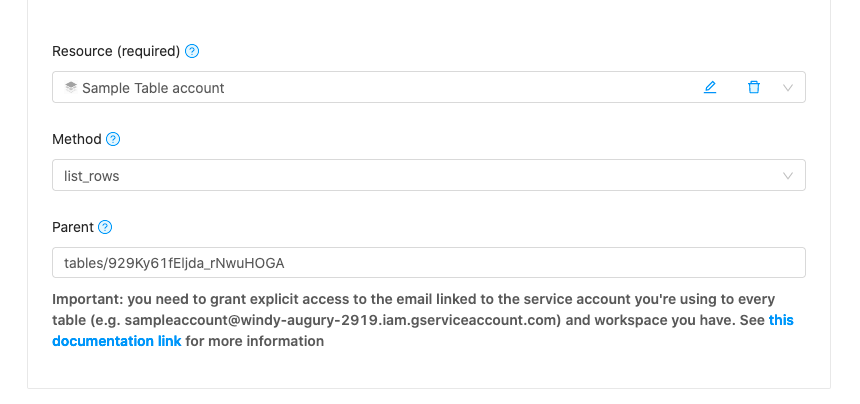
For example, the query above will return a list of rows with values.
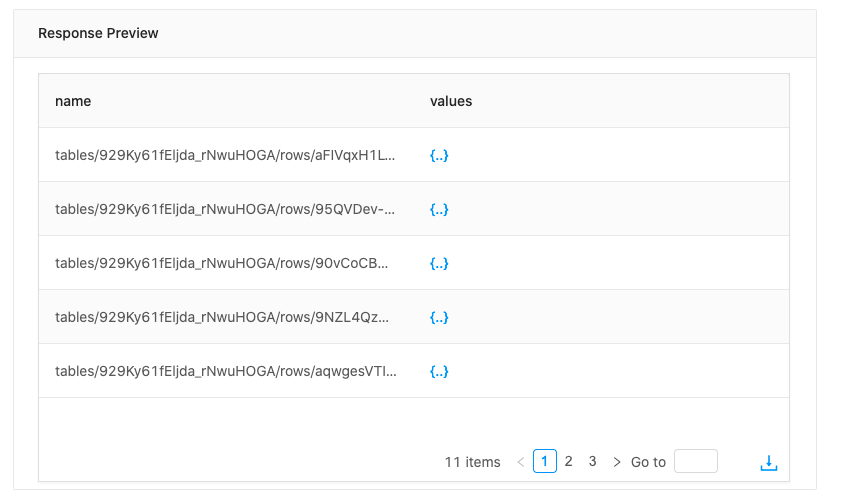
You can then either use a Transform to display these results in a table, or have a panel where you can update rows using the update_row, create_row or delete_row functions.
Updated 9 months ago
