
Single Sign On
DataSiv currently supports Okta single-sign-on using the OpenID Connect protocol.
This feature is only available for enterprise users.To enable SSO and the enterprise tier, please contact us at [email protected]
If you don't have a developer account already, please make an account at https://developer.okta.com
.png")
In the right menu, click on the Applications tab under Applications, and click Create App Integration.
.png")
Select OpenID Connect and set Web Application.
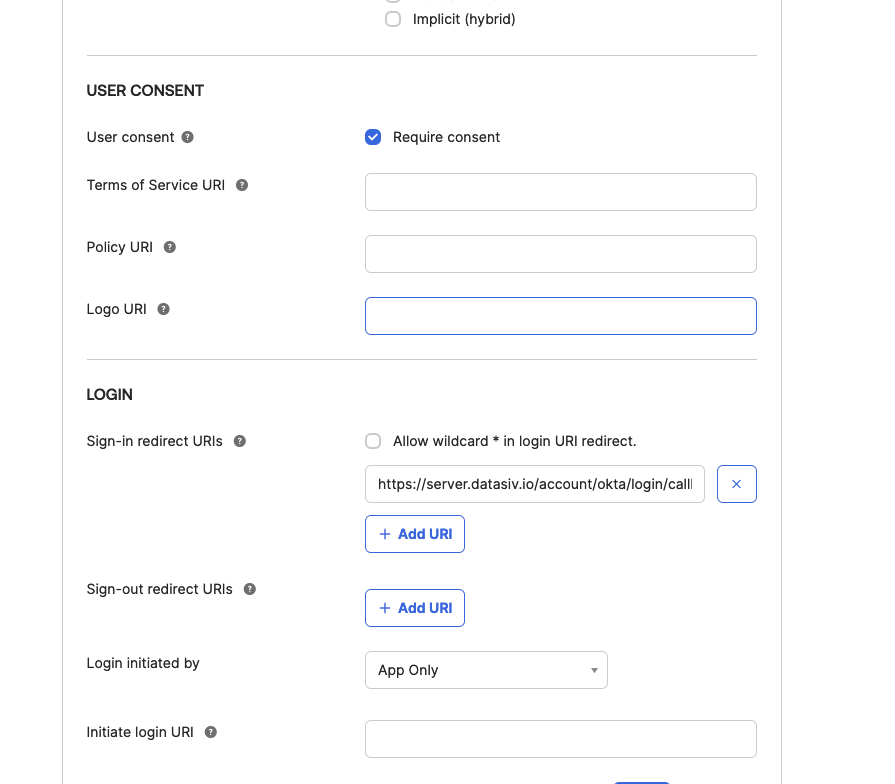
Set the Redirect Uri to be https://server.datasiv.io/account/okta/login/callback/
.png")
Next, click Assign and assign the app you've created to Groups of users that you want to be able to authenticate to DataSiv.
In this case, by assigning to the group Everyone, we're allowing everyone in the organization to create an account.
.png")
Keep track of the Client ID, Client ID and the Okta domain for your okta application (e.g. https://dev-914321.okta.com).
Go to https://www.datasiv.io/settings?tab=enterprise, input them and click Save Changes.
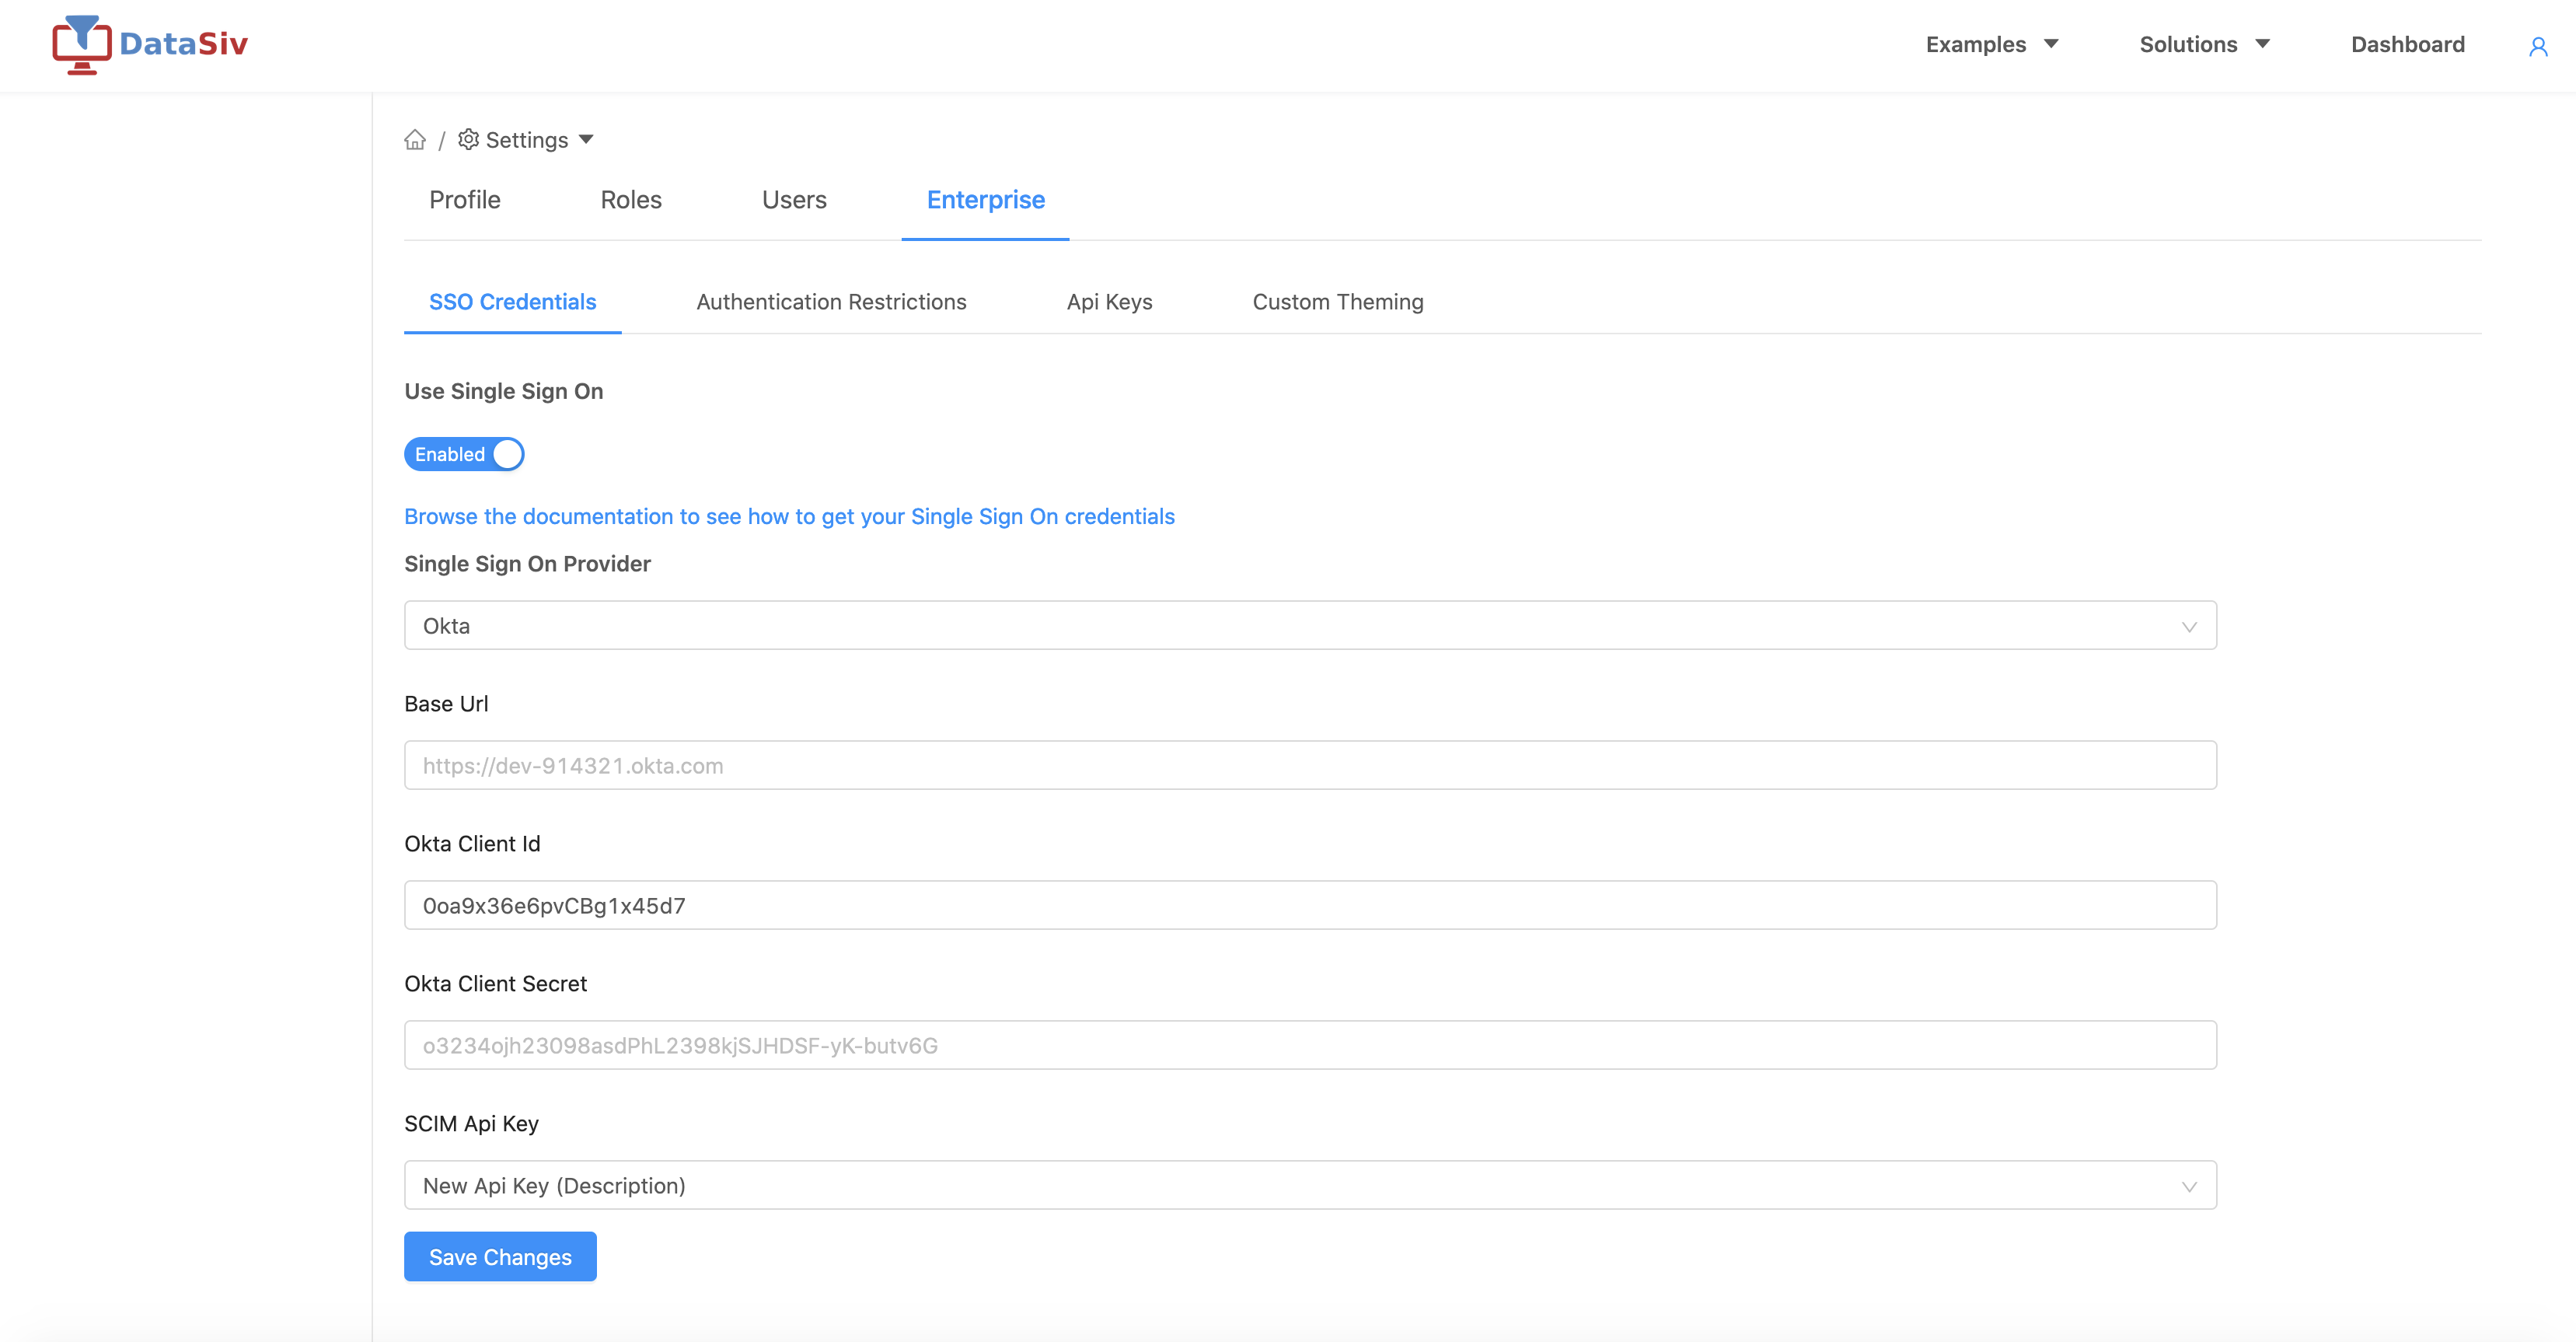
For the Base Url inside DataSiv, please use https://{Okta Domain} instead of {Okta Domain}For example, dev-914321.okta.com should become https://dev-914321.okta.com
Congratulations! You should now be able to use single sign on with DataSiv.
.png")
From the sign in page, click Sign In with SSO and enter in your company url in the modal.
Default RolesPlease note that new users' roles are set as Default SSO Role by default. You'll need to go https://www.datasiv.io/settings?tab=users to update their roles.
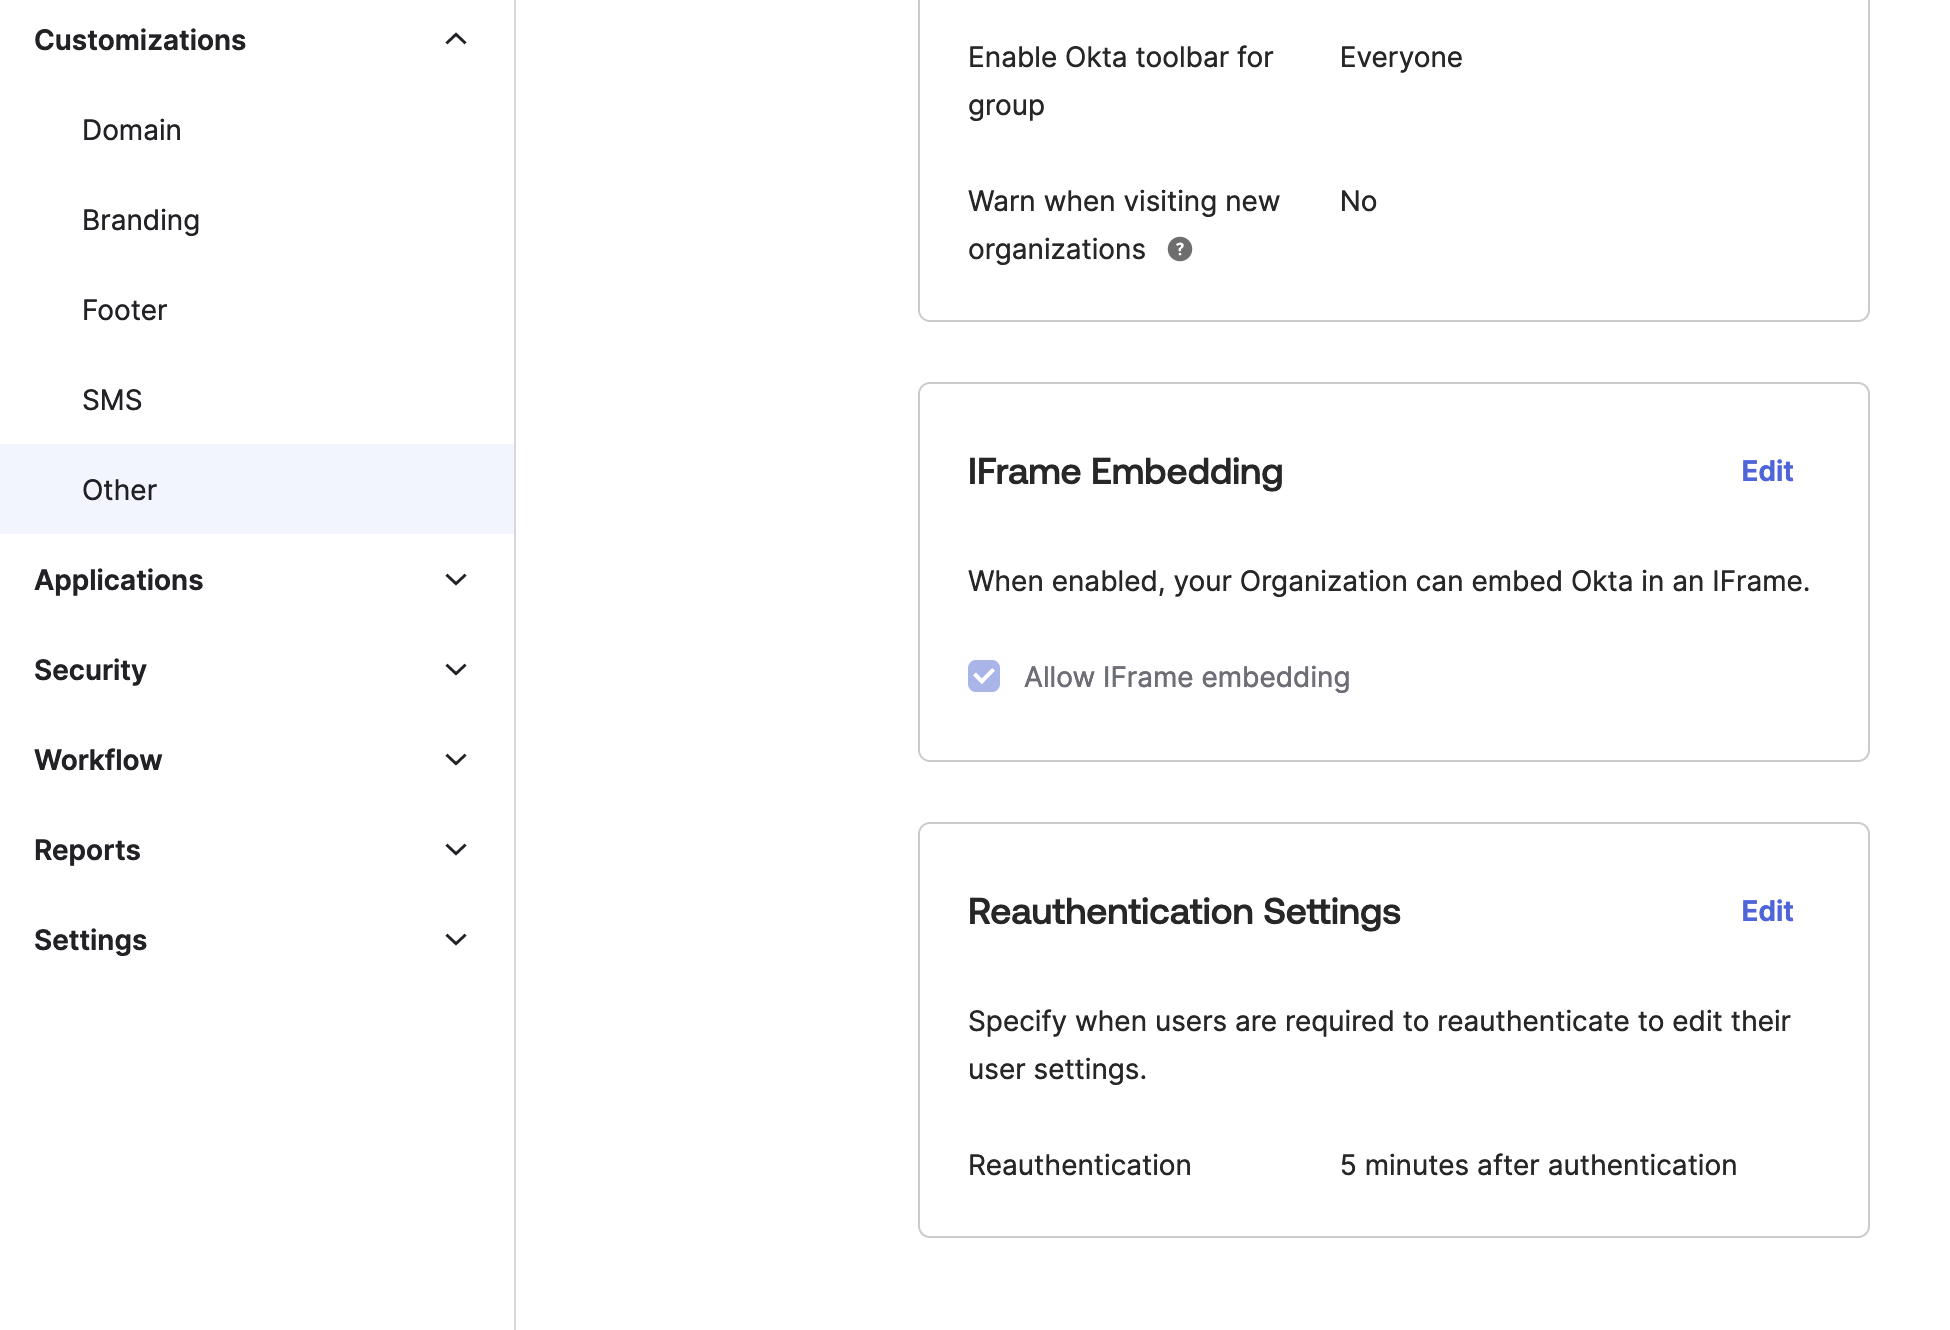
To enable SSO for DataSiv in IFrames, please use the instructions in the following following link https://support.okta.com/help/s/article/Okta-in-IFrame-is-not-working?language=en_US
SCIM Provisioning
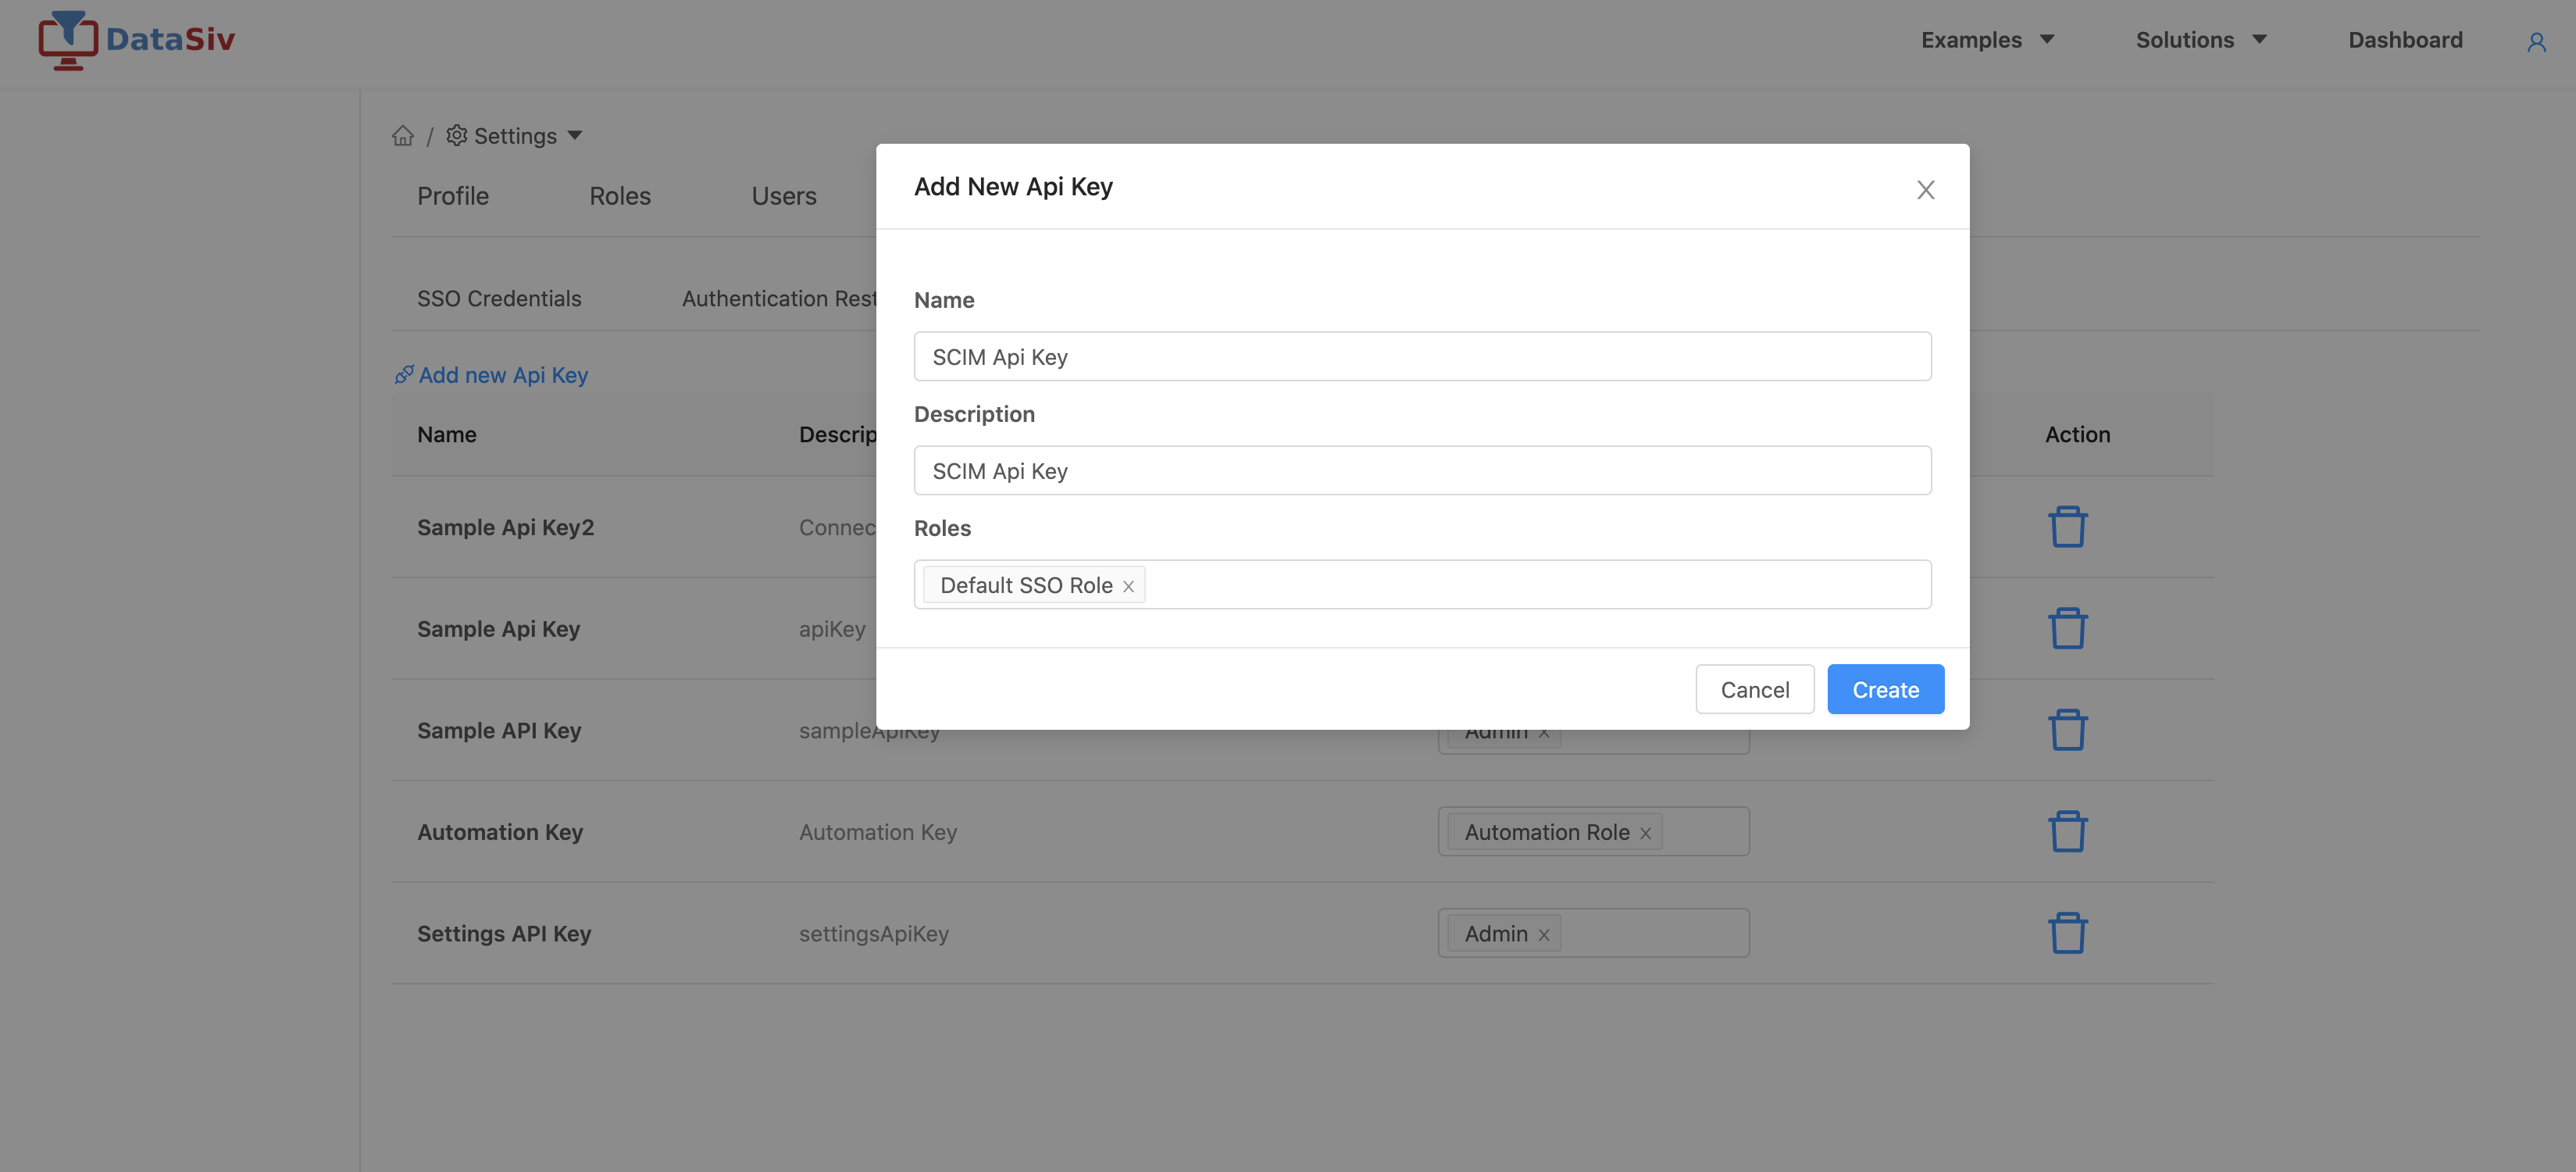
To enable SCIM Provisioning, create an API Key under the Api Keys tab under Enterprise Getting API Keys, and link it to your enterprise organization. Make sure to keep the Api Key.

Going back to SSO Credentials Tab, select the SCIM Api Key and click Save Changes.
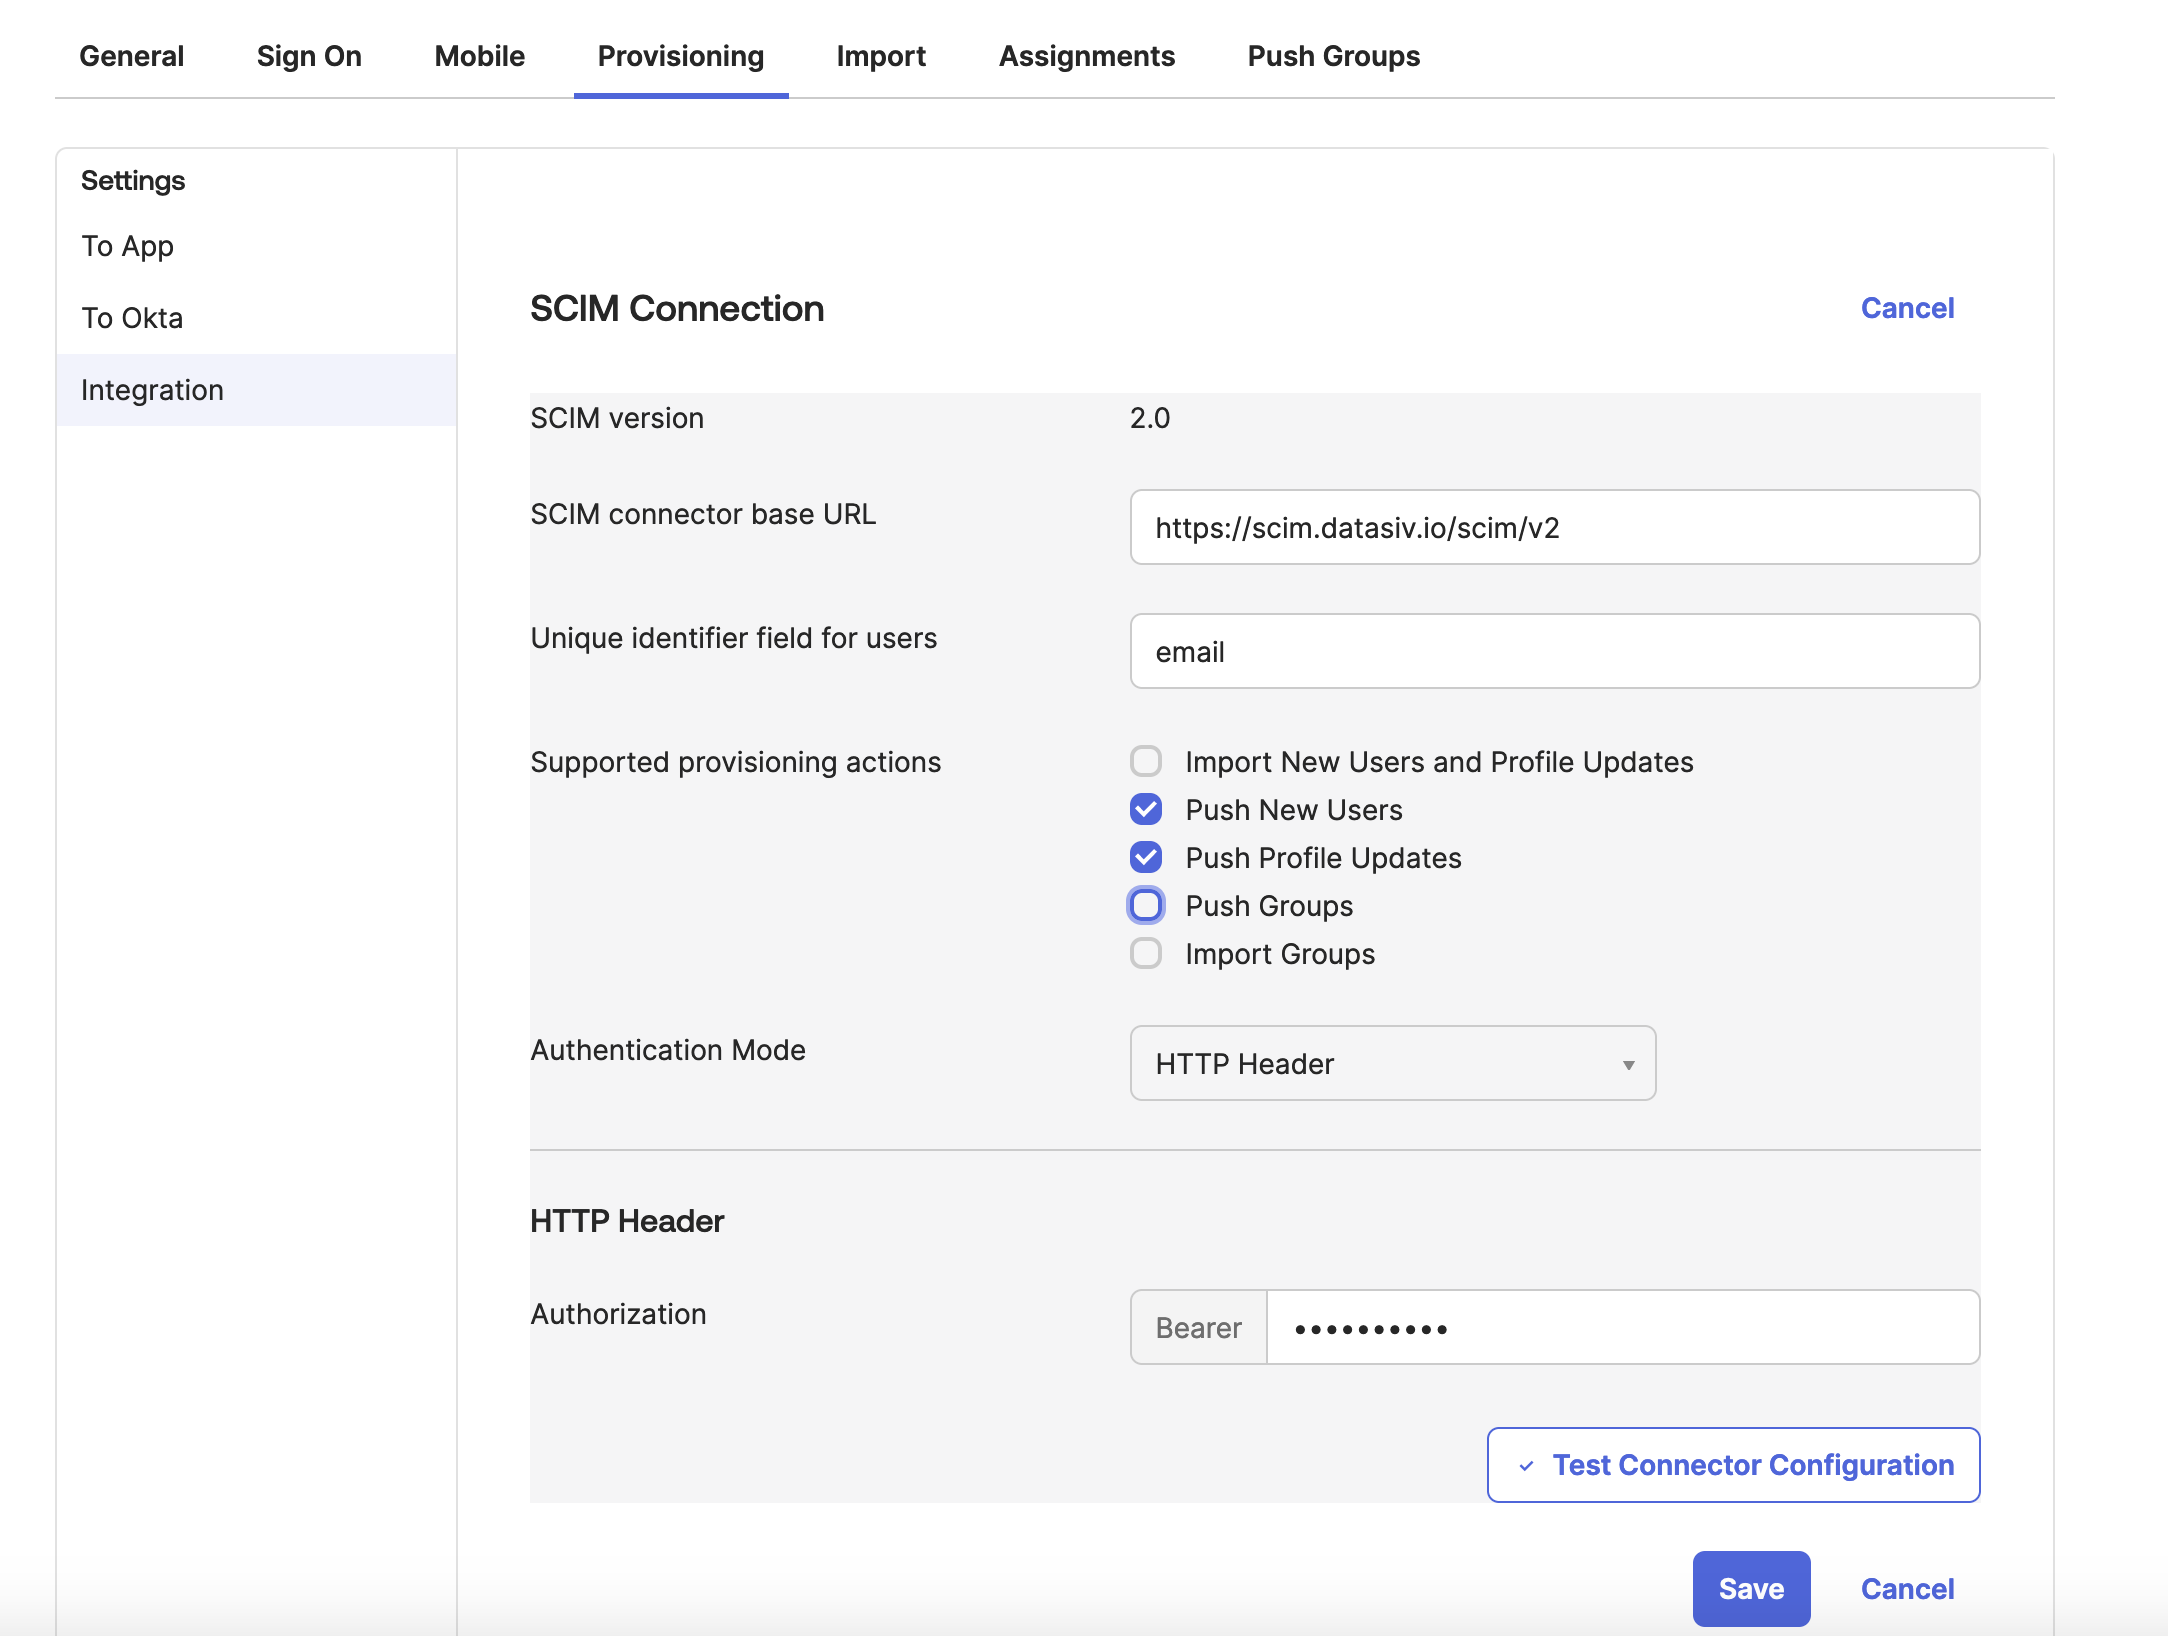
Now, create a new Okta Application that supports SCIM Provisioning https://support.okta.com/help/s/article/configure-scim-for-a-custom-oidc-app?language=en_US. Set the SCIM to https://scim.datasiv.io/scim/v2, Authentication Mode to HTTP Header and paste the Api Key into the HTTP Header previously.
At this point in time, DataSiv supports pushing new users profile updates.New users are by default assigned to a group with no permissions. User updates (such as activation de-activation) are updated automatically. Group based updates must be configured from the DataSiv platform.
Updated 8 months ago