Approving Users
Oftentimes you'd like to manually approve and verify users, e.g. if you're a ridesharing company and you're approving drivers.
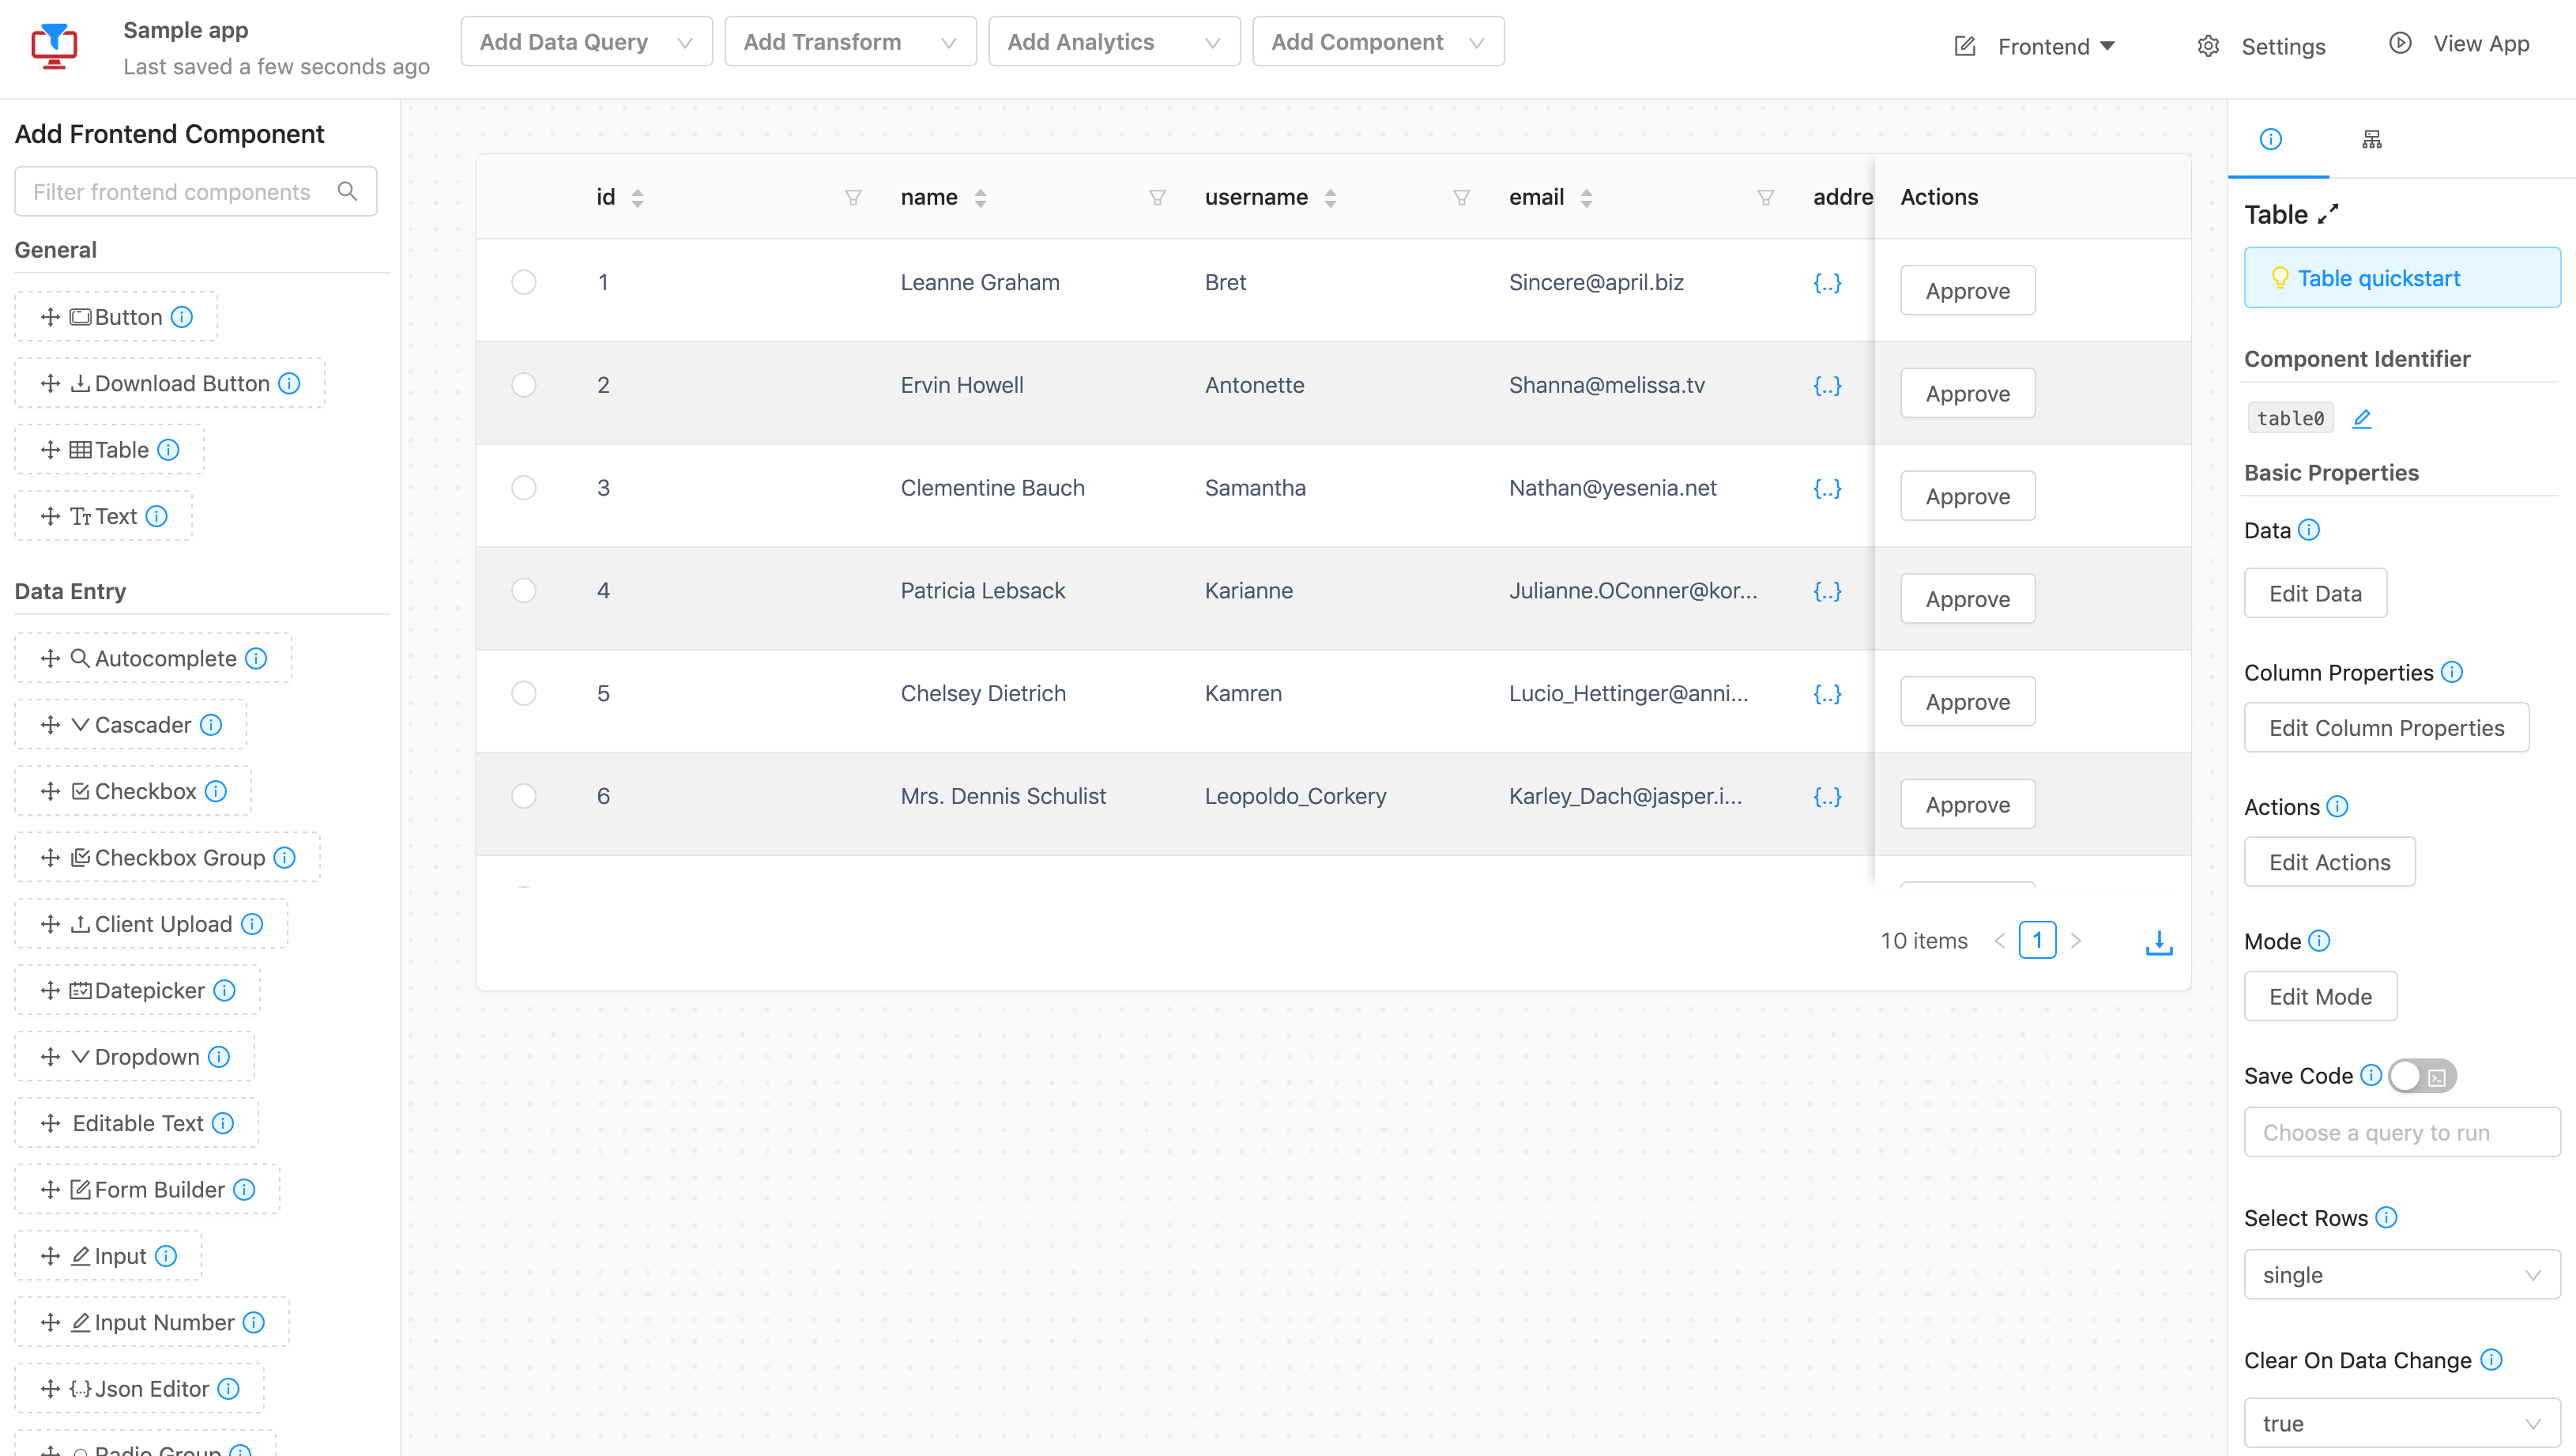
In this tutorial, we'll show you how to display users from a Rest Api in a table, and have a button that allows you to verify them, one by one.
Begin by clicking Add Data Query, and choosing the Rest API Selector.
DataSiv provides integrations and read/write capabilities across multiple sourcesAlthough we use Rest API in this tutorial, you can swap these out with other supported integrations, such as a Rest Api Endpoint, GraphQL, Salesforce, Stripe, etc.

We will load users from a dummy Rest API to demo the functionality of this workflow. Make the url https://jsonplaceholder.typicode.com/users.
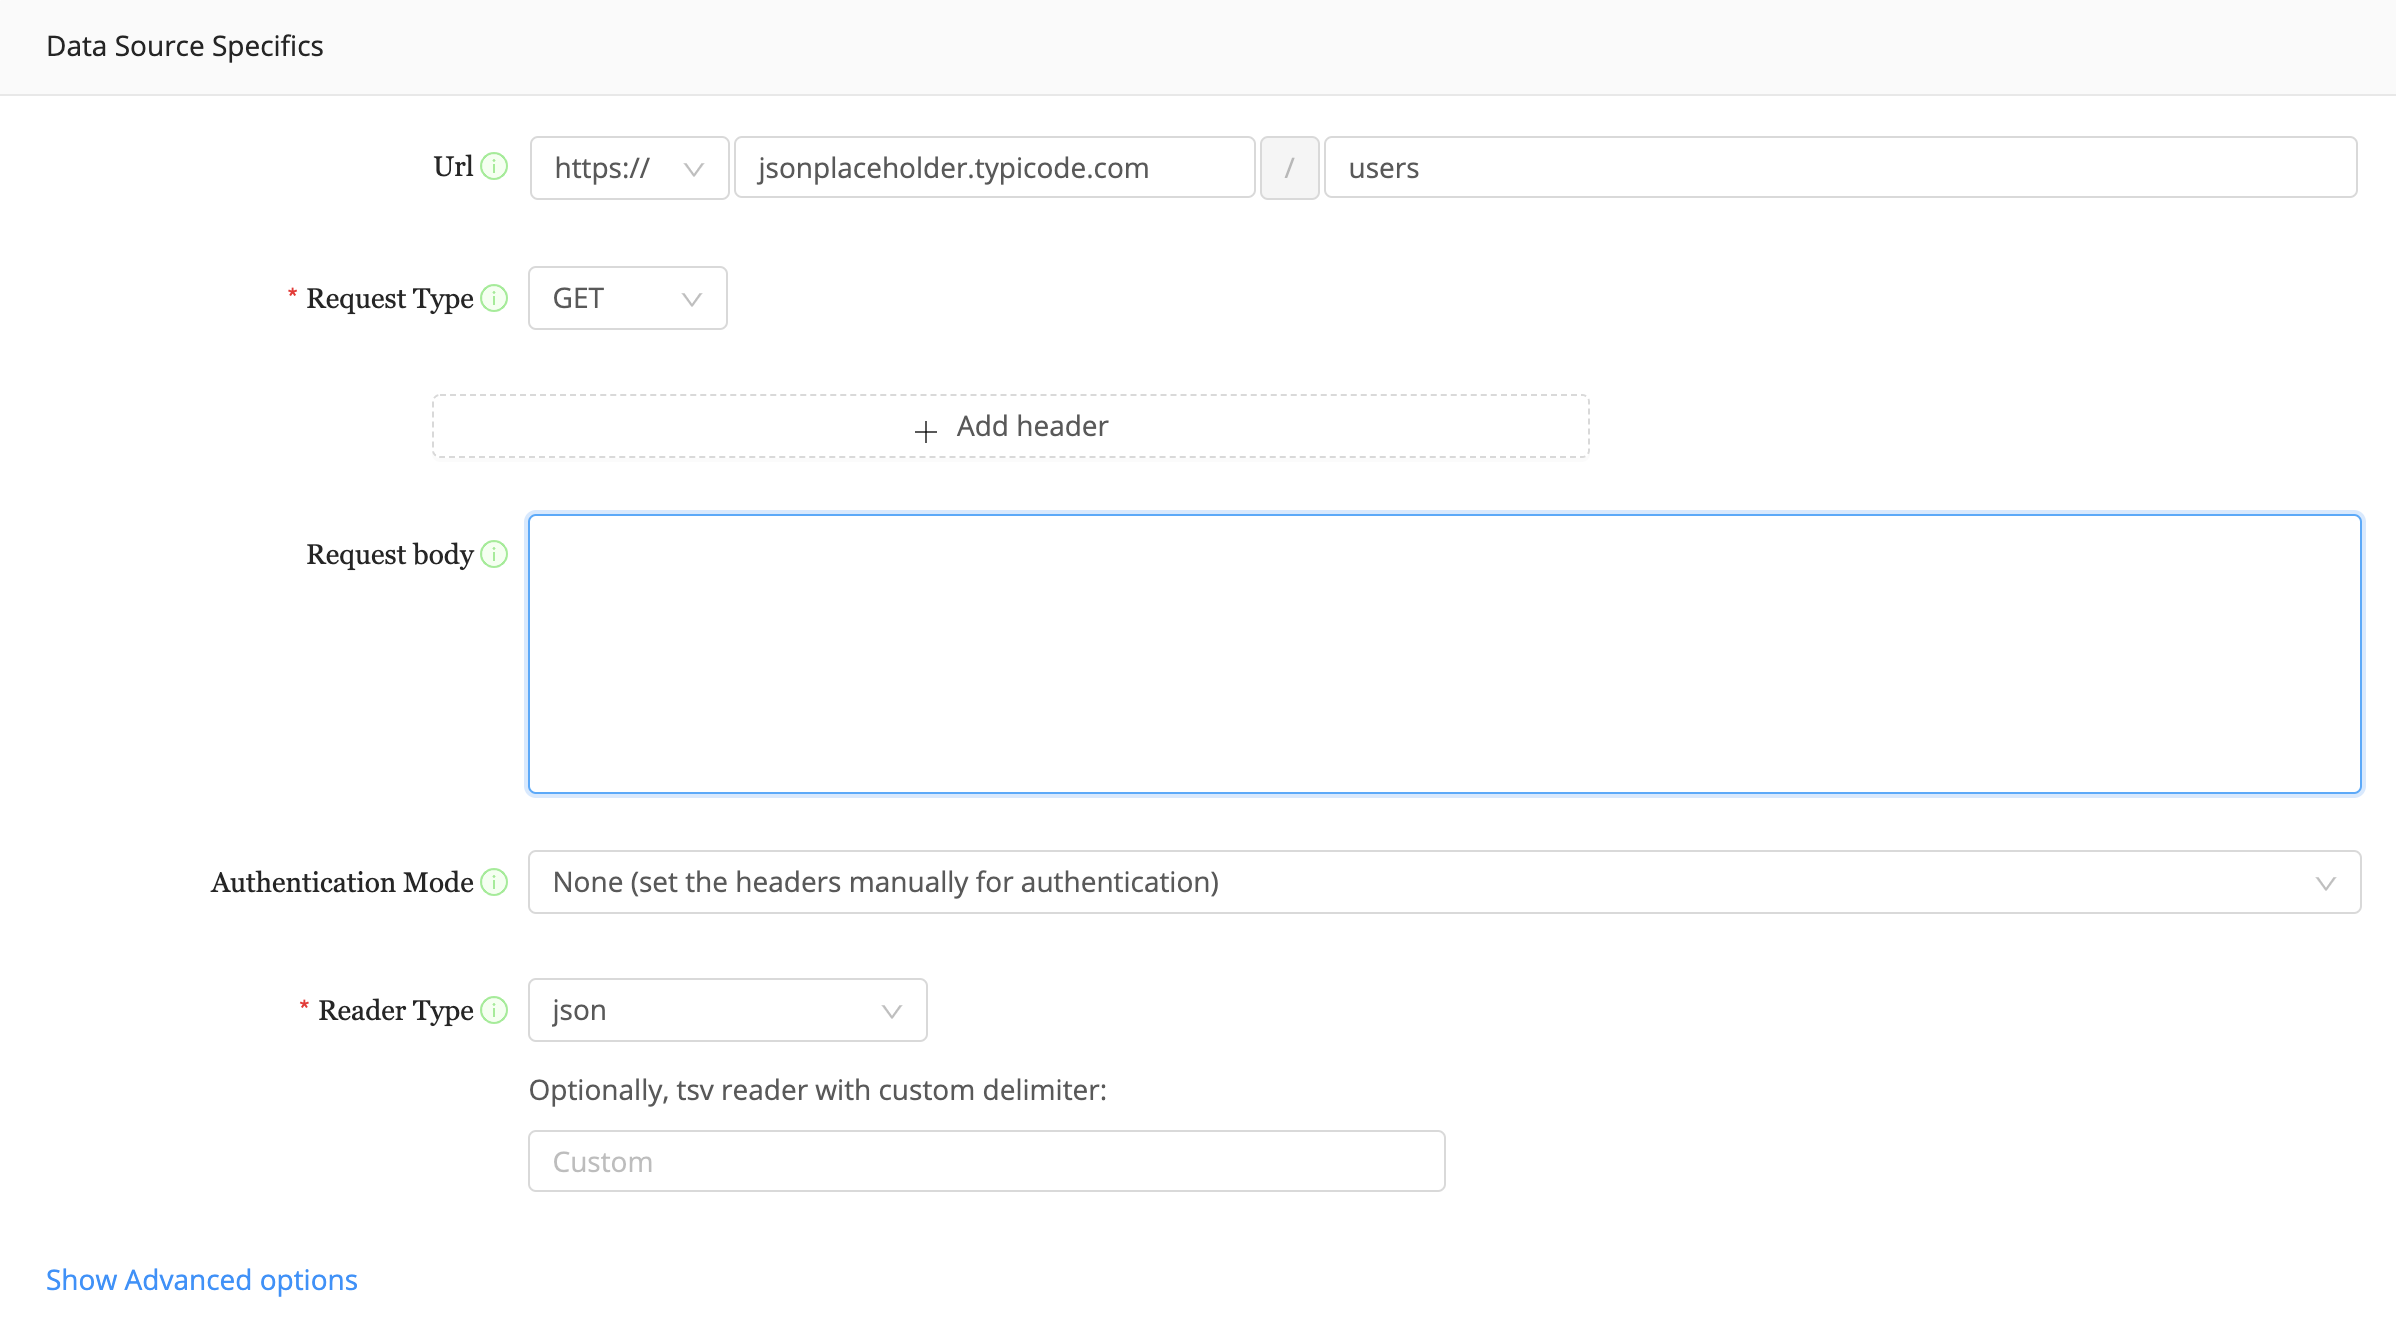
Name the query rest0, and set automatic execution to On Document Load. This will ensure that the query runs when the document loads.

Congratulations! We will now connect the data query to the frontend.
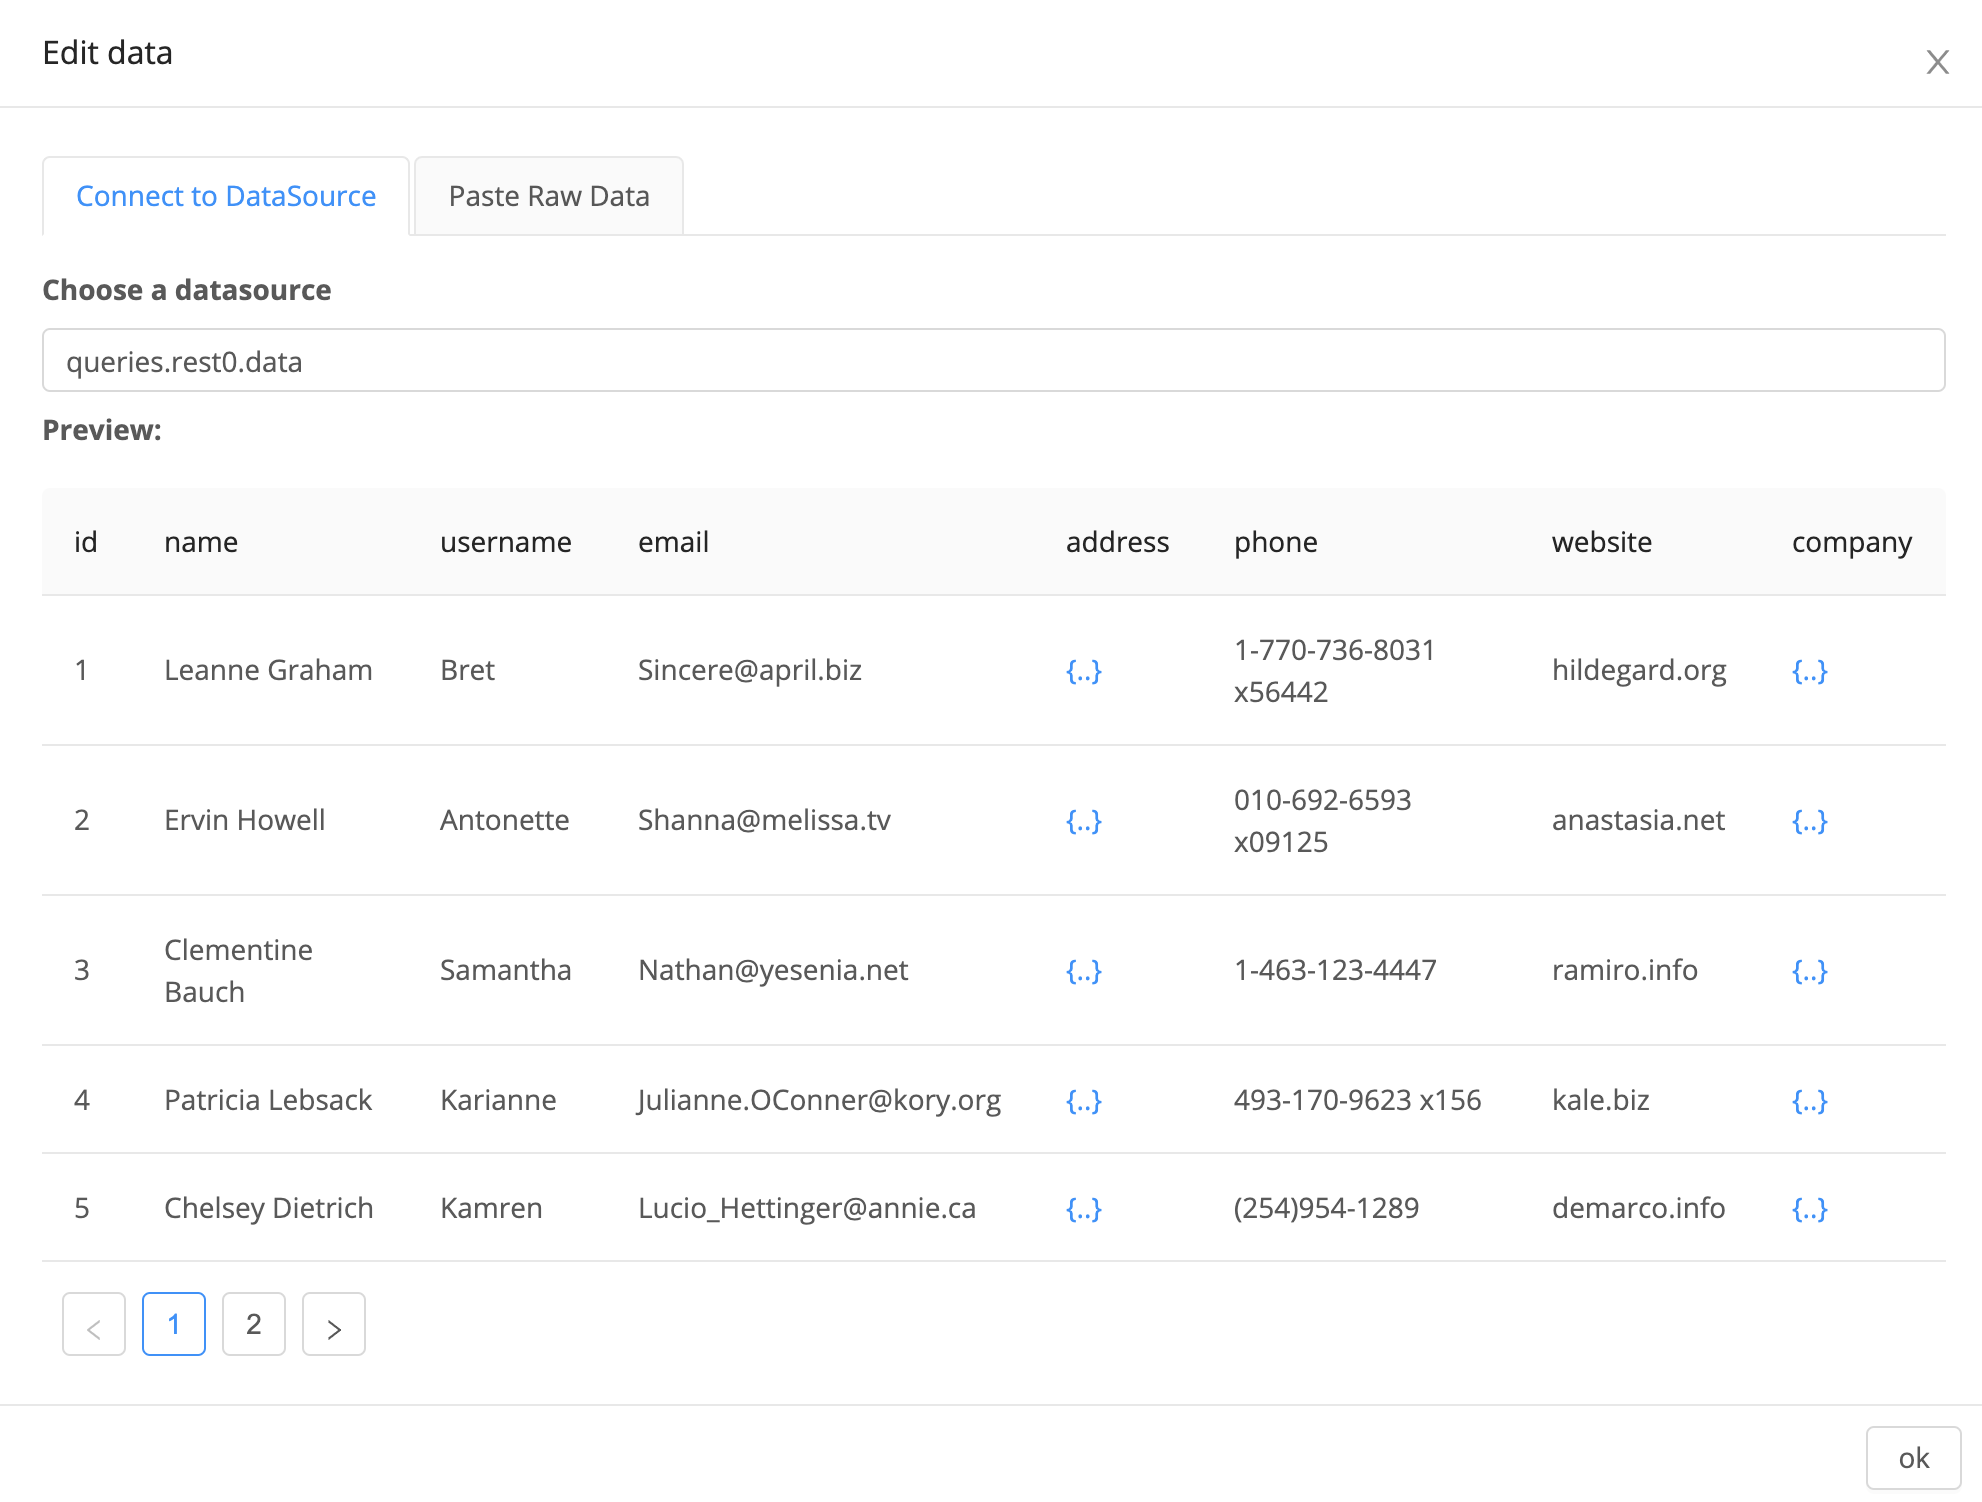
Add a Table frontend component into the grid, and click Edit data on the right side. Select queries.rest0.data is your data source.
Now that your table is setup, we'll setup a Approve button on the right side that you can click to approve users.
Start by adding a new Rest API endpoint. use jsonplaceholder.typicode.com for the url and users/{{data.table0.activeRow.id}} as the endpoint. The activeRow property of a Table automatically changes to the hovered row when a user hovers over a table.
What are {{}} good for?All component properties are stored in a global key value store that other components in the app are able to access. You are able to reference other components using javascript dictionary terminology.
Based on Django's templated {{}} syntax, the special
{{}}expression allows you to substitute in values from one set of objects in your application to another. For example, in the Google Sheet query a few lines below,{{data.transform0.result.0.Artist Id}}gets replaced by the Artist Id property of first entry in the transform result.
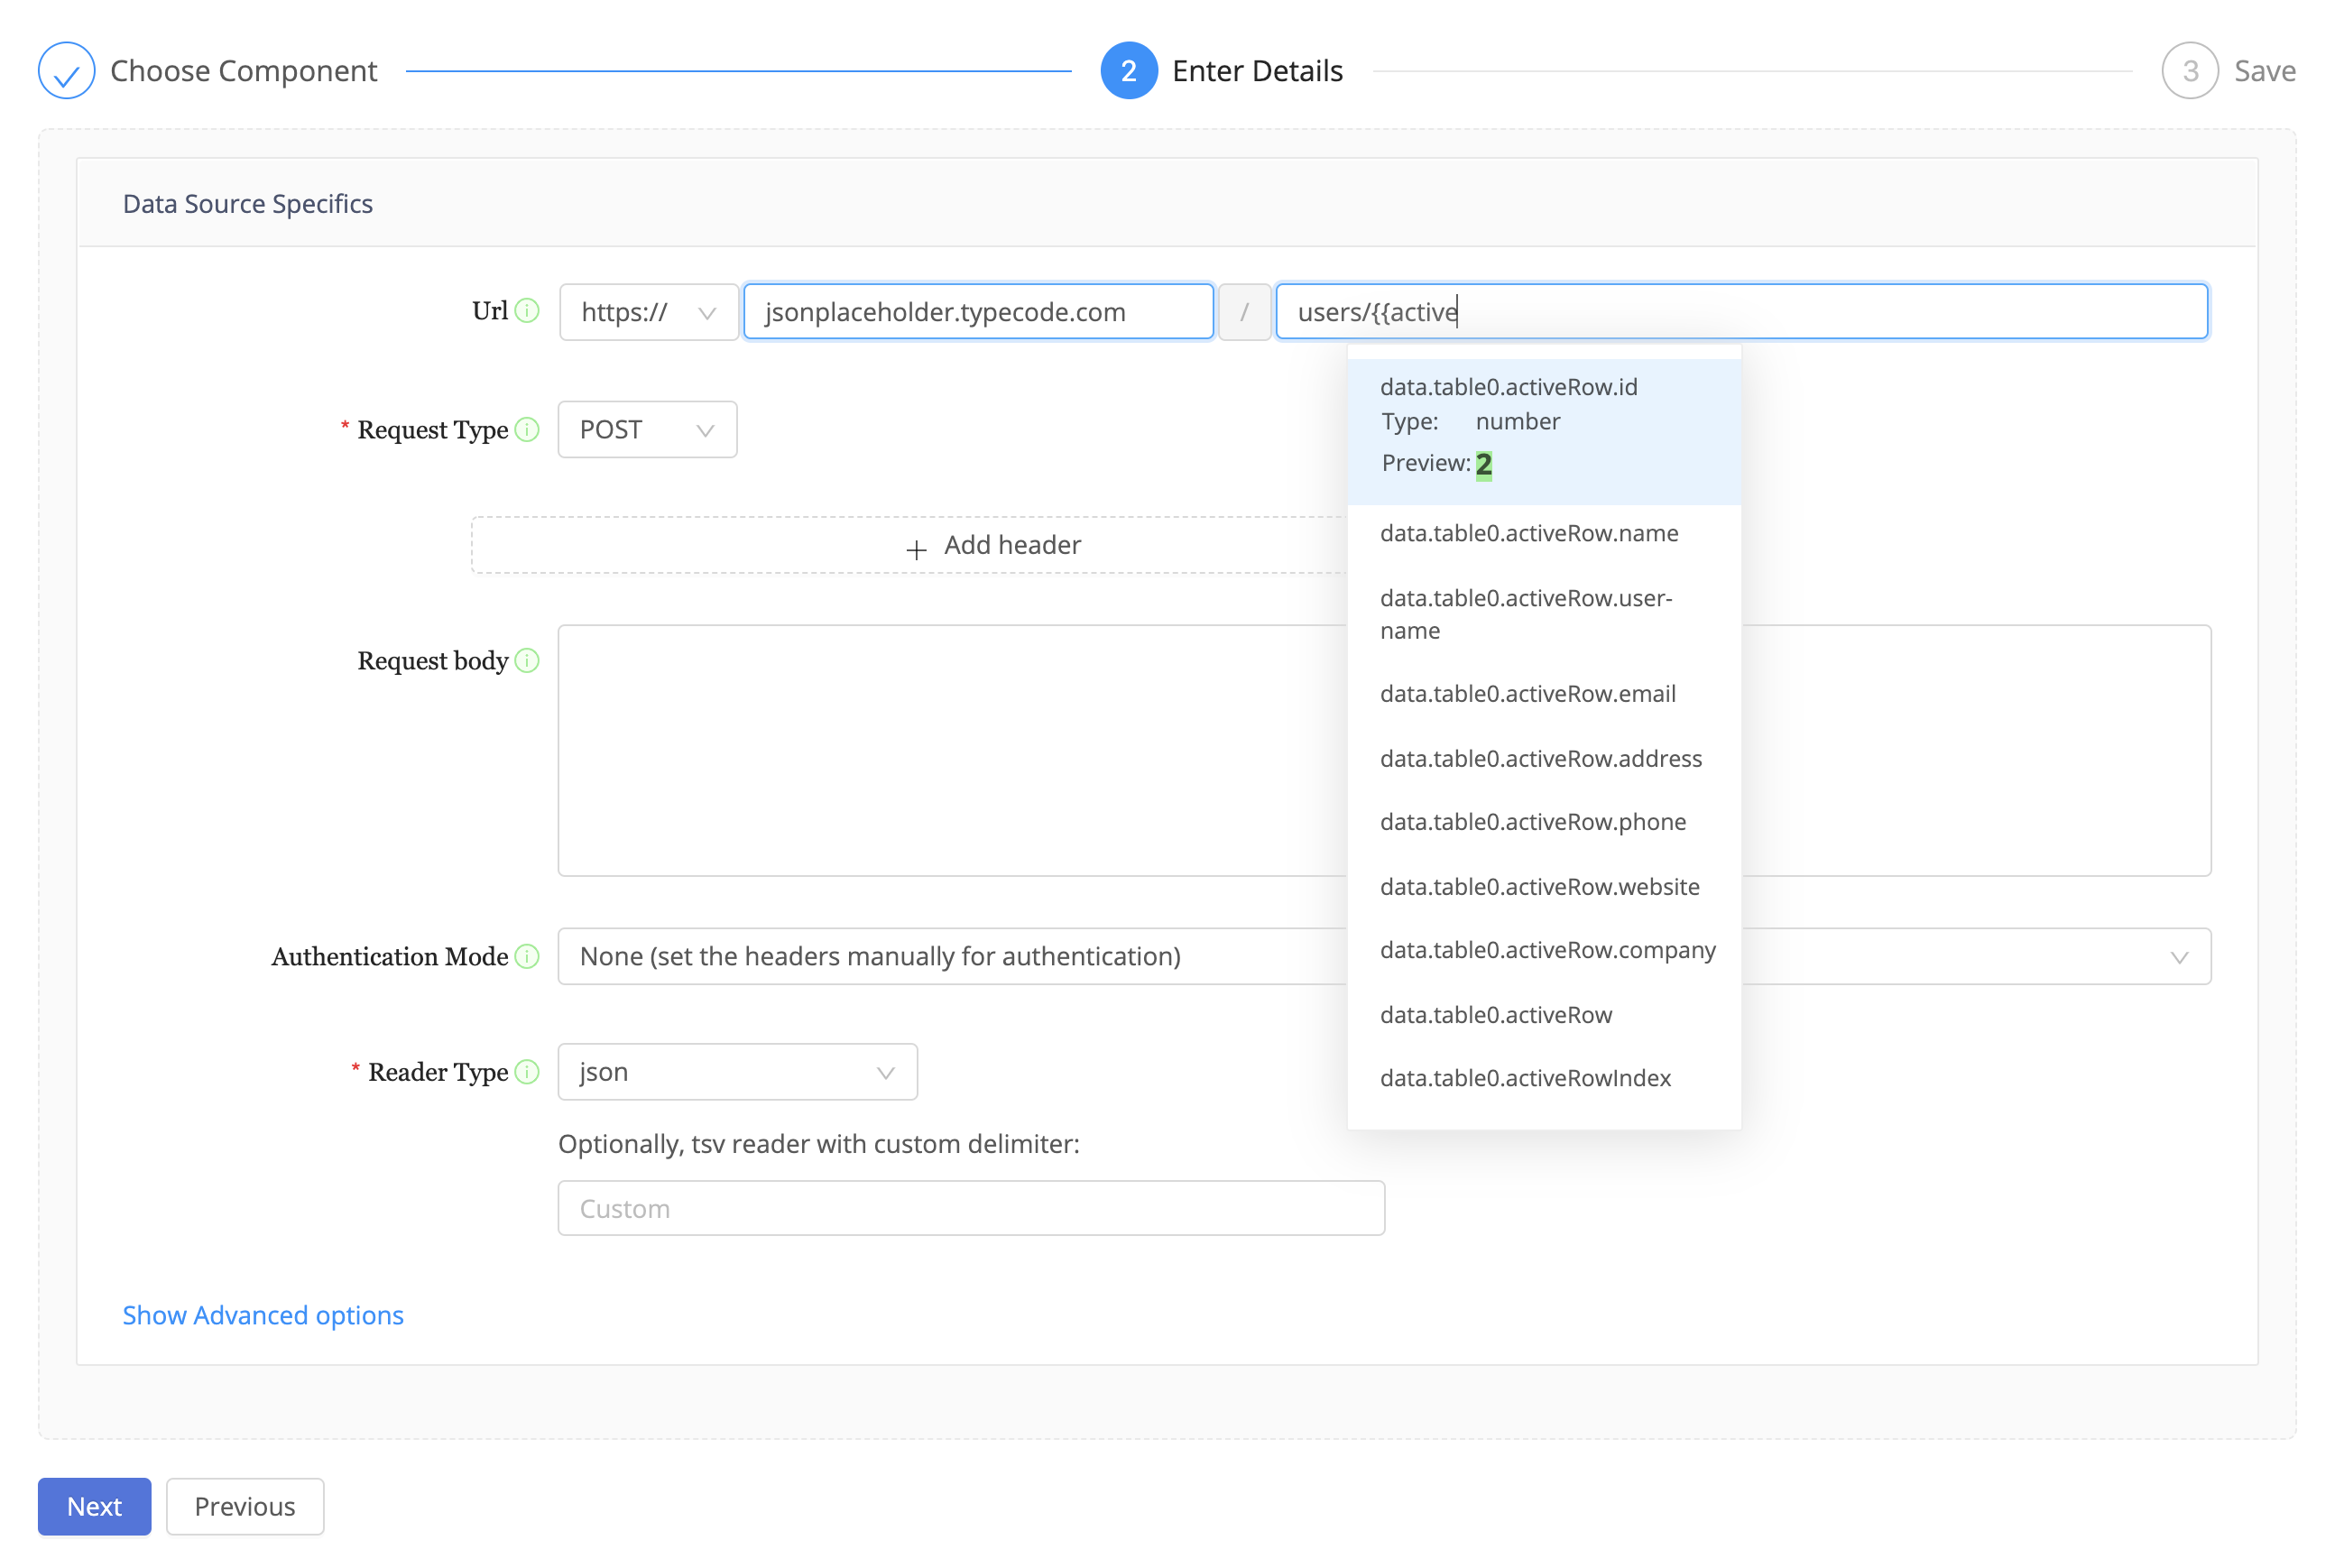
This is a dummy endpoint, but you can set the Request Type to POST and the request body to {"approve": true}

Set Automatic Execution to Never and save the data query, we'll trigger this action on a button click.

Go back to the main menu, and select the table. From the right hand sidebar menu, click Edit Actions.
Triggering data queriesThe table's actions property allows you to specify and trigger data queries per row.
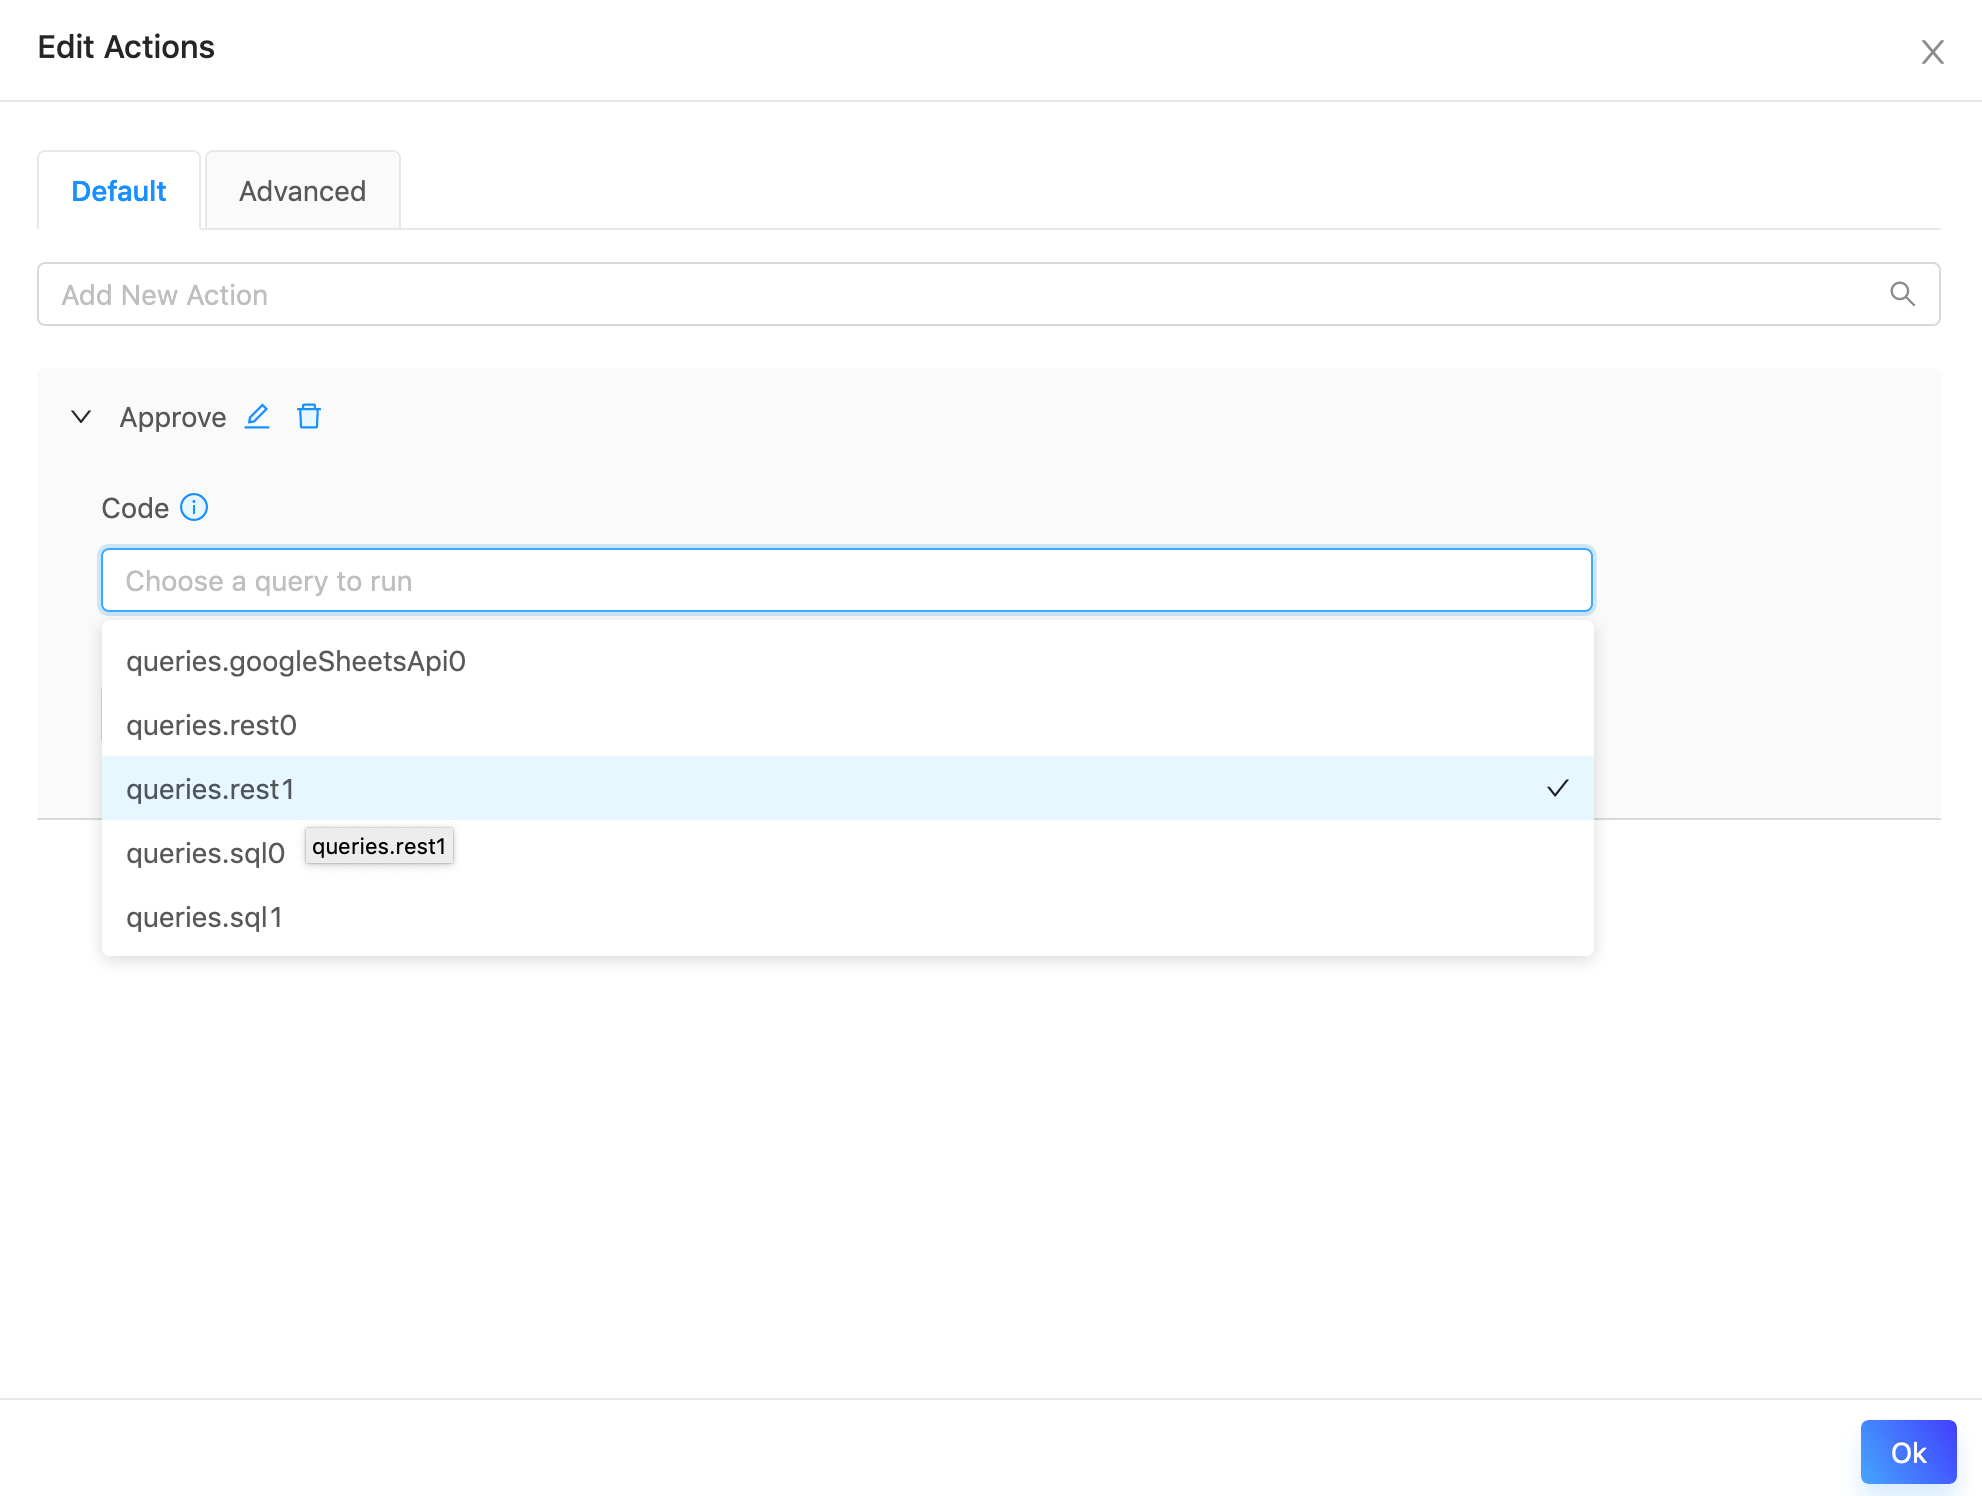
Add a new action called Approve, and set the code to Datasiv.ExecuteQuery("queries.rest1", {}). Whenever the approve action is clicked, the code will execute.
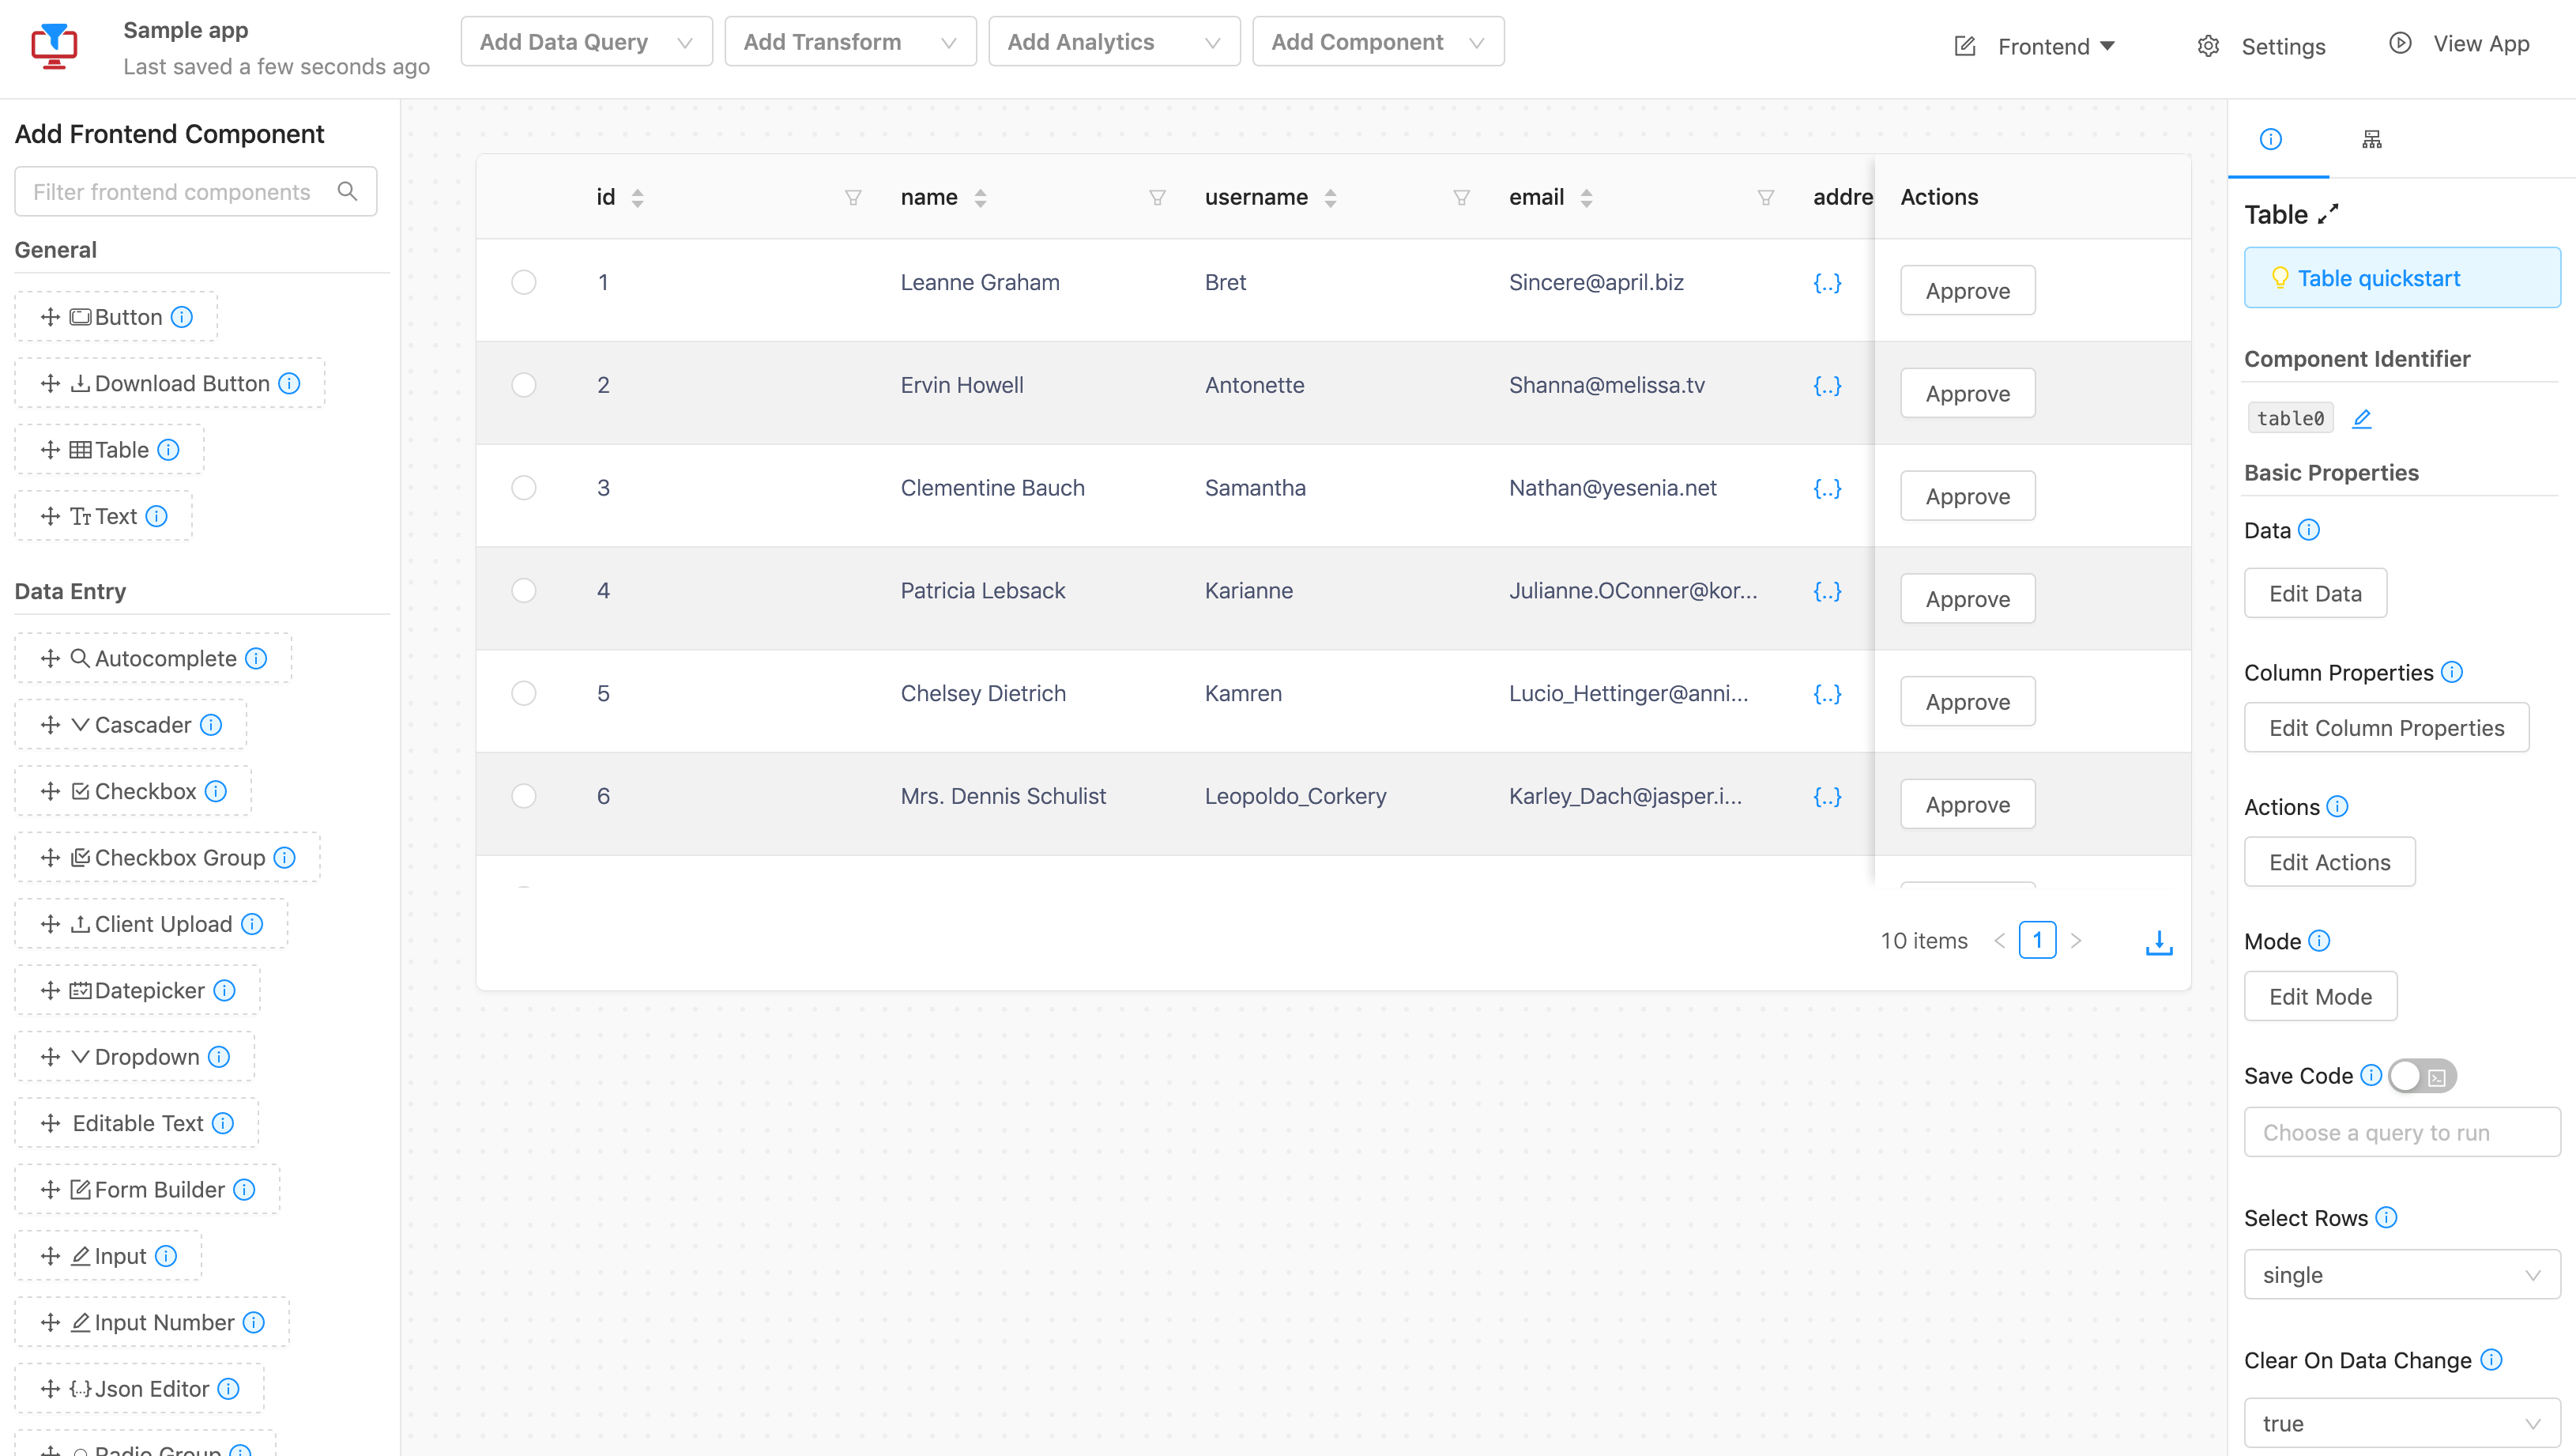
Congratulations! Your approval workflow is now done. You've loaded users from a Rest API, and can trigger an action on each user, based off of their data, such as approving them, on a button click.
Updated 9 months ago
