Flipping Feature Flags
Oftentimes, you need to toggle different feature flags (number of accounts, expiration time, admin access) in your application, per user (diagram below).
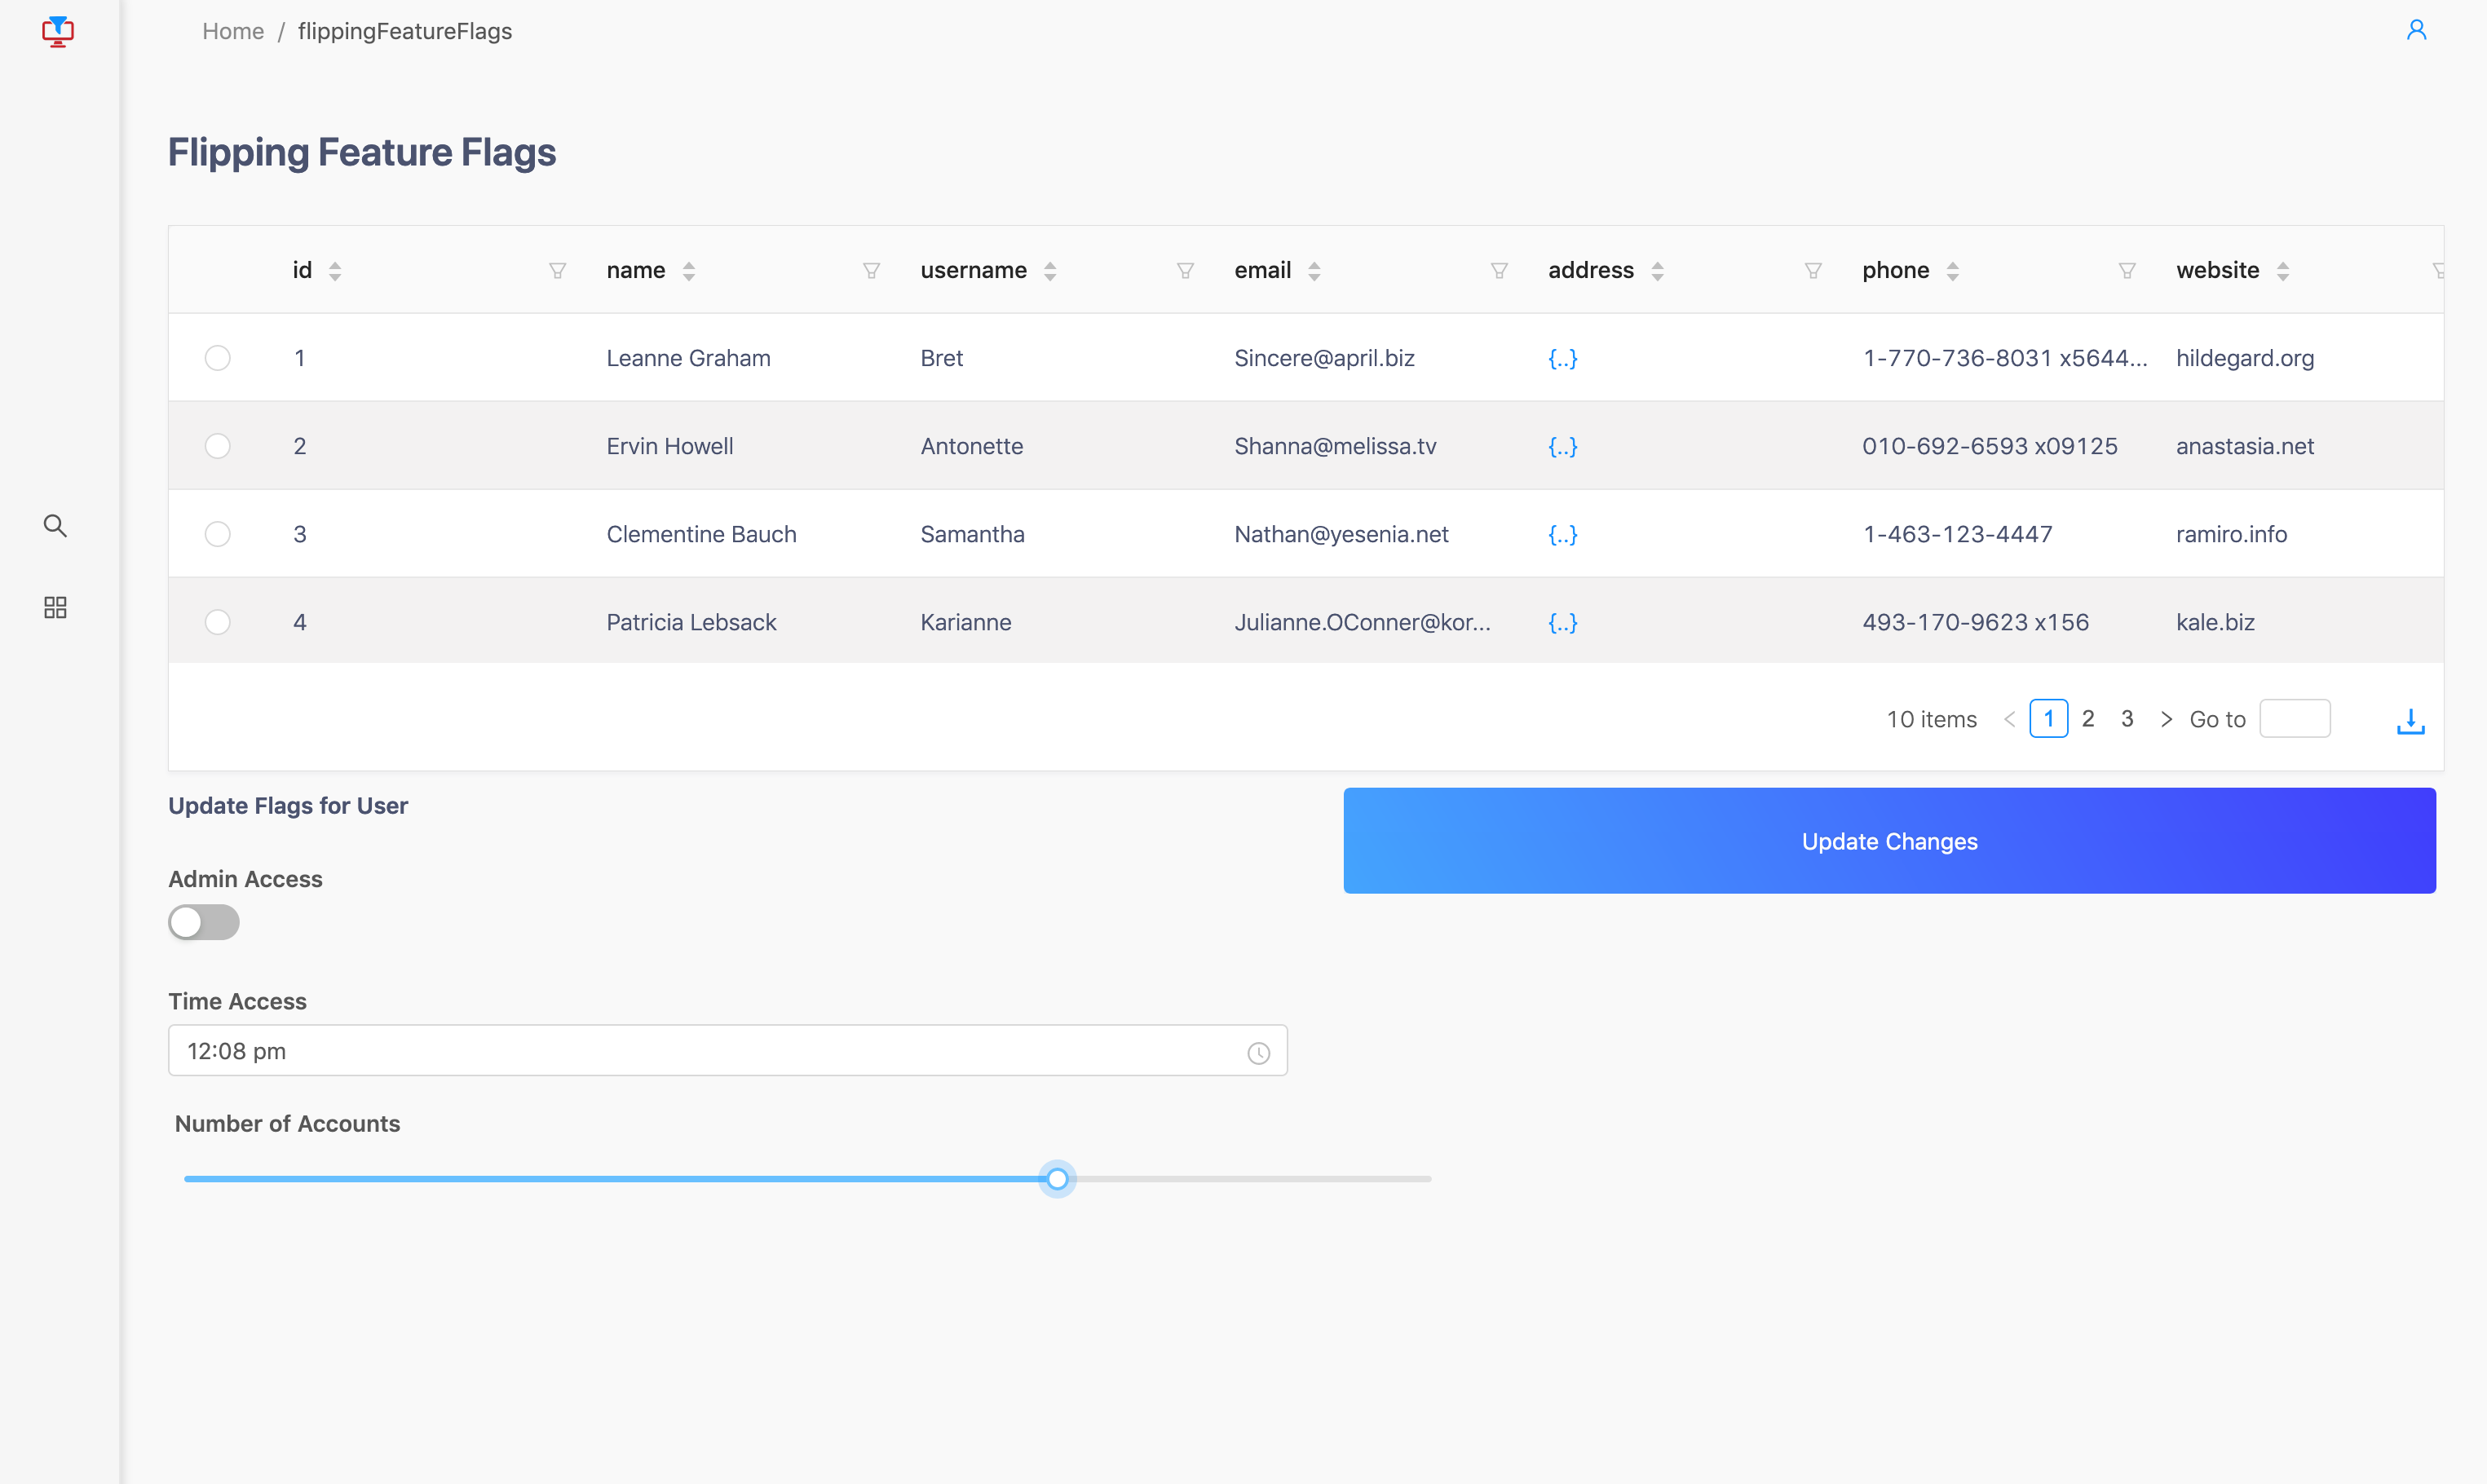
In this tutorial we will run through a sample tutorial of how this system could work.
This quickstart requires you to sign up for DataSiv.If you haven't already, please sign up here
Add the table, switch, datepicker, and slider components into the canvas.
Next, click the Add Data Query option and choose Rest Api.
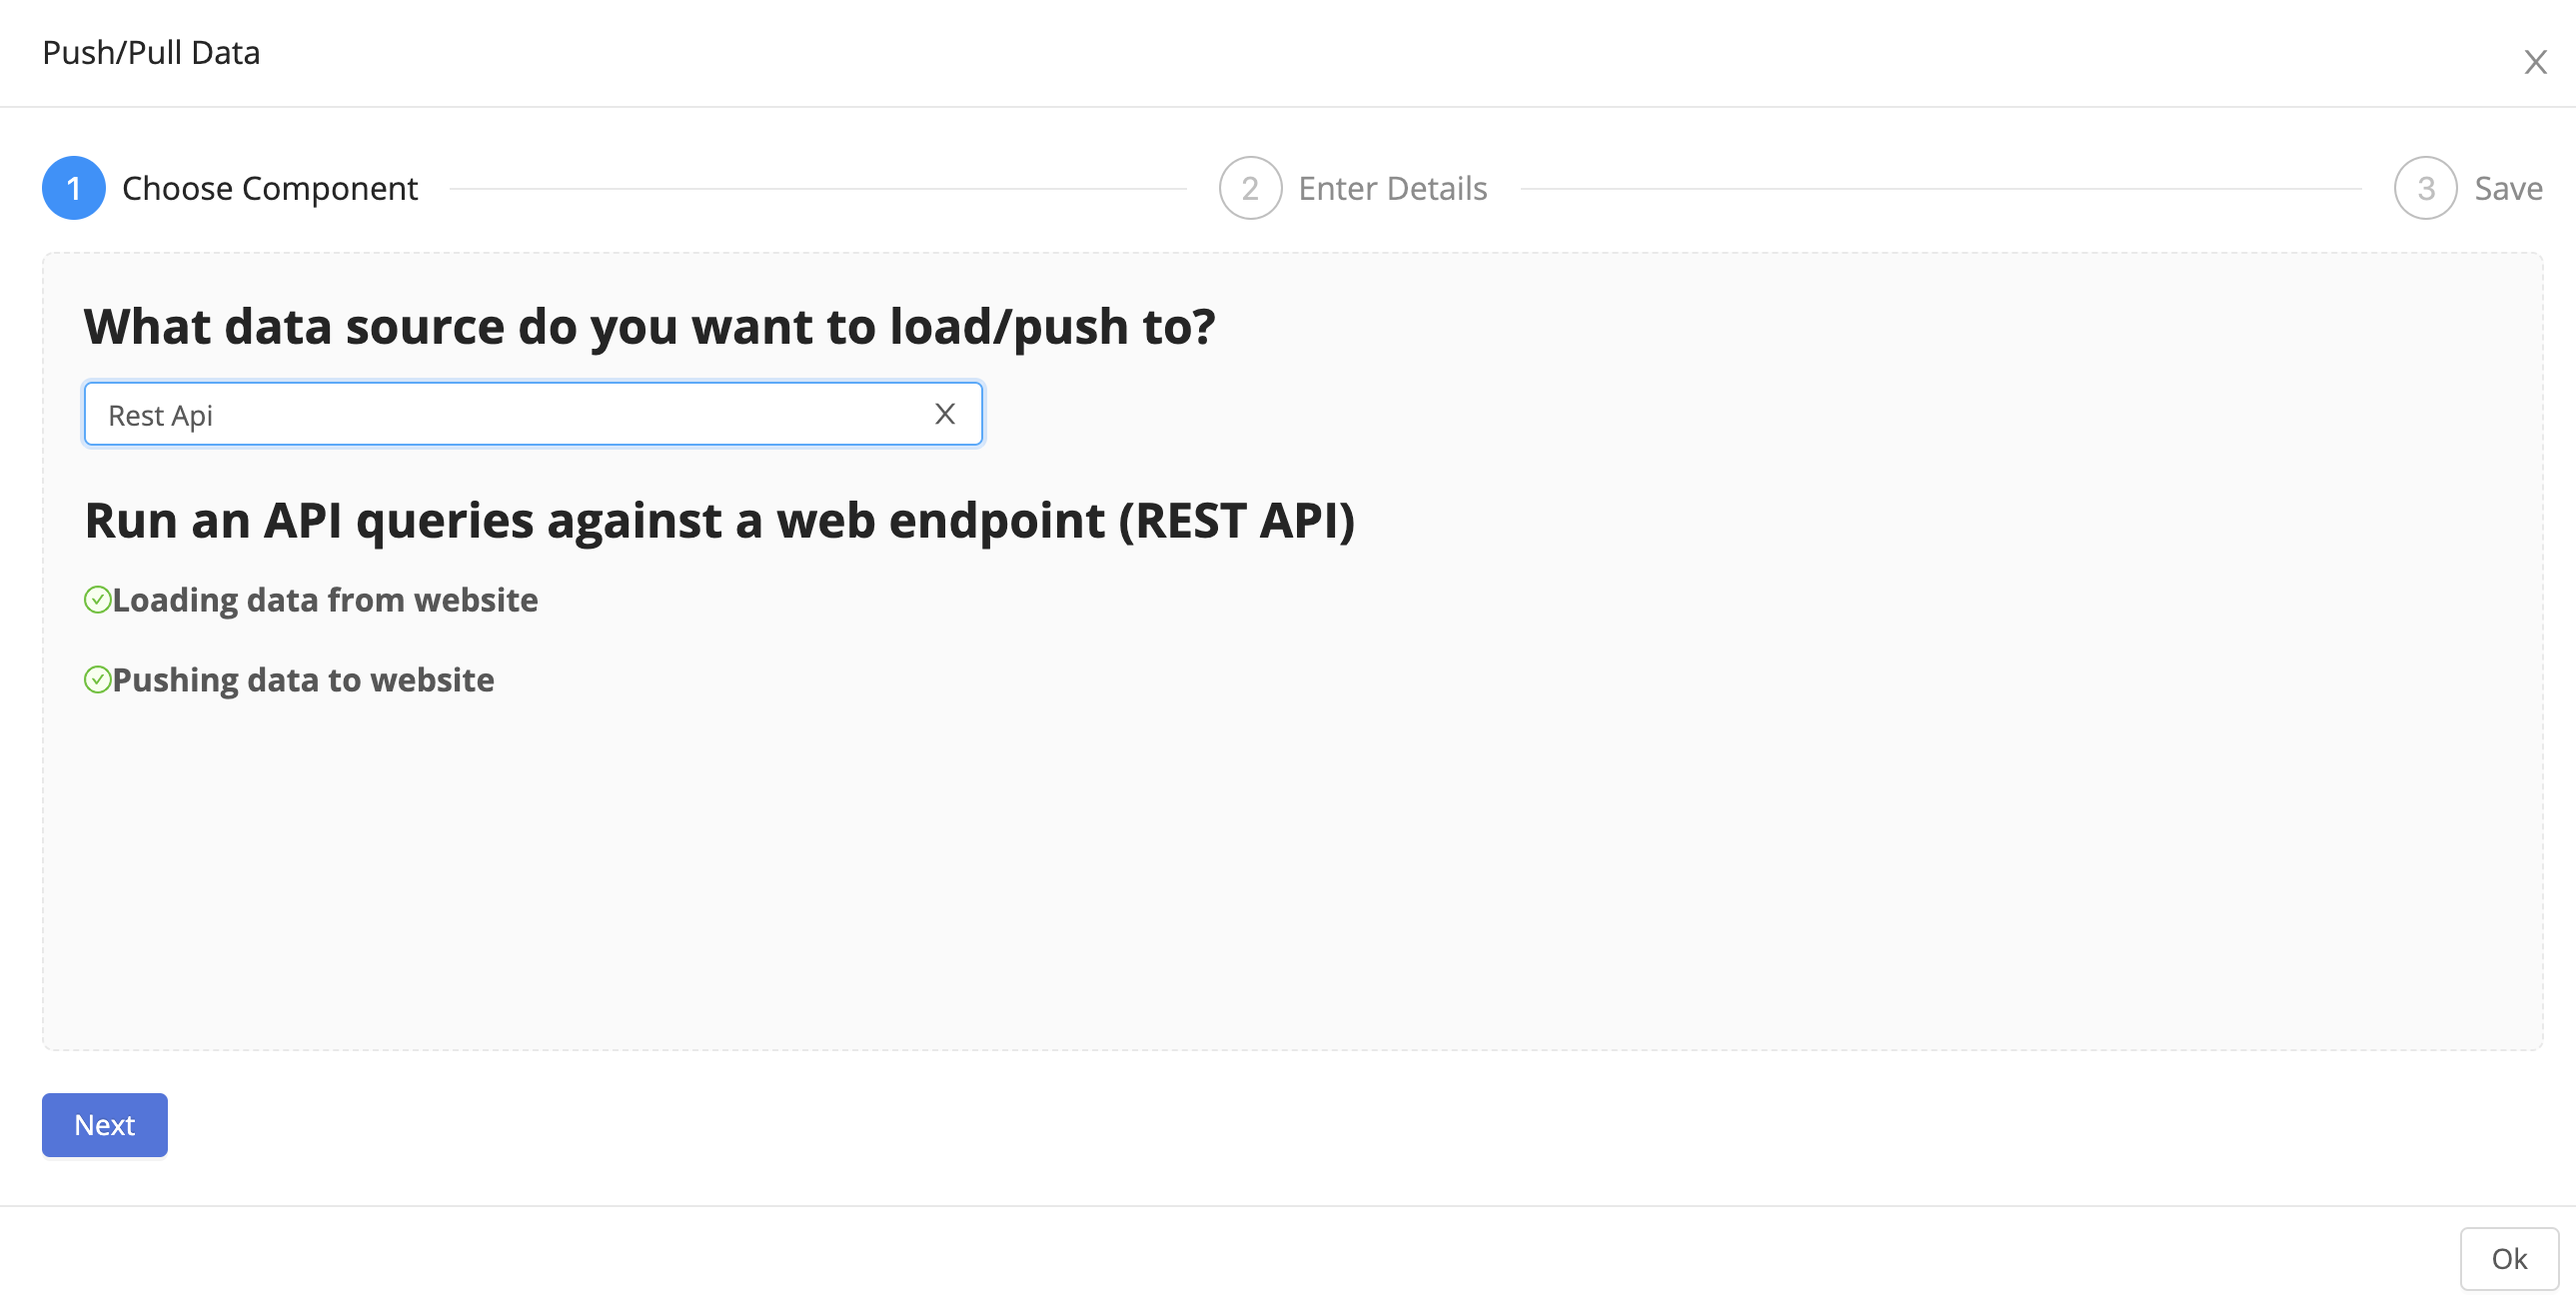
DataSiv provides integrations and read/write capabilities across multiple sourcesAlthough we use Google Sheets and a SQL database in this tutorial, you can swap these out with other supported integrations, such as a Rest Api Endpoint, GraphQL, Salesforce, Stripe, etc.
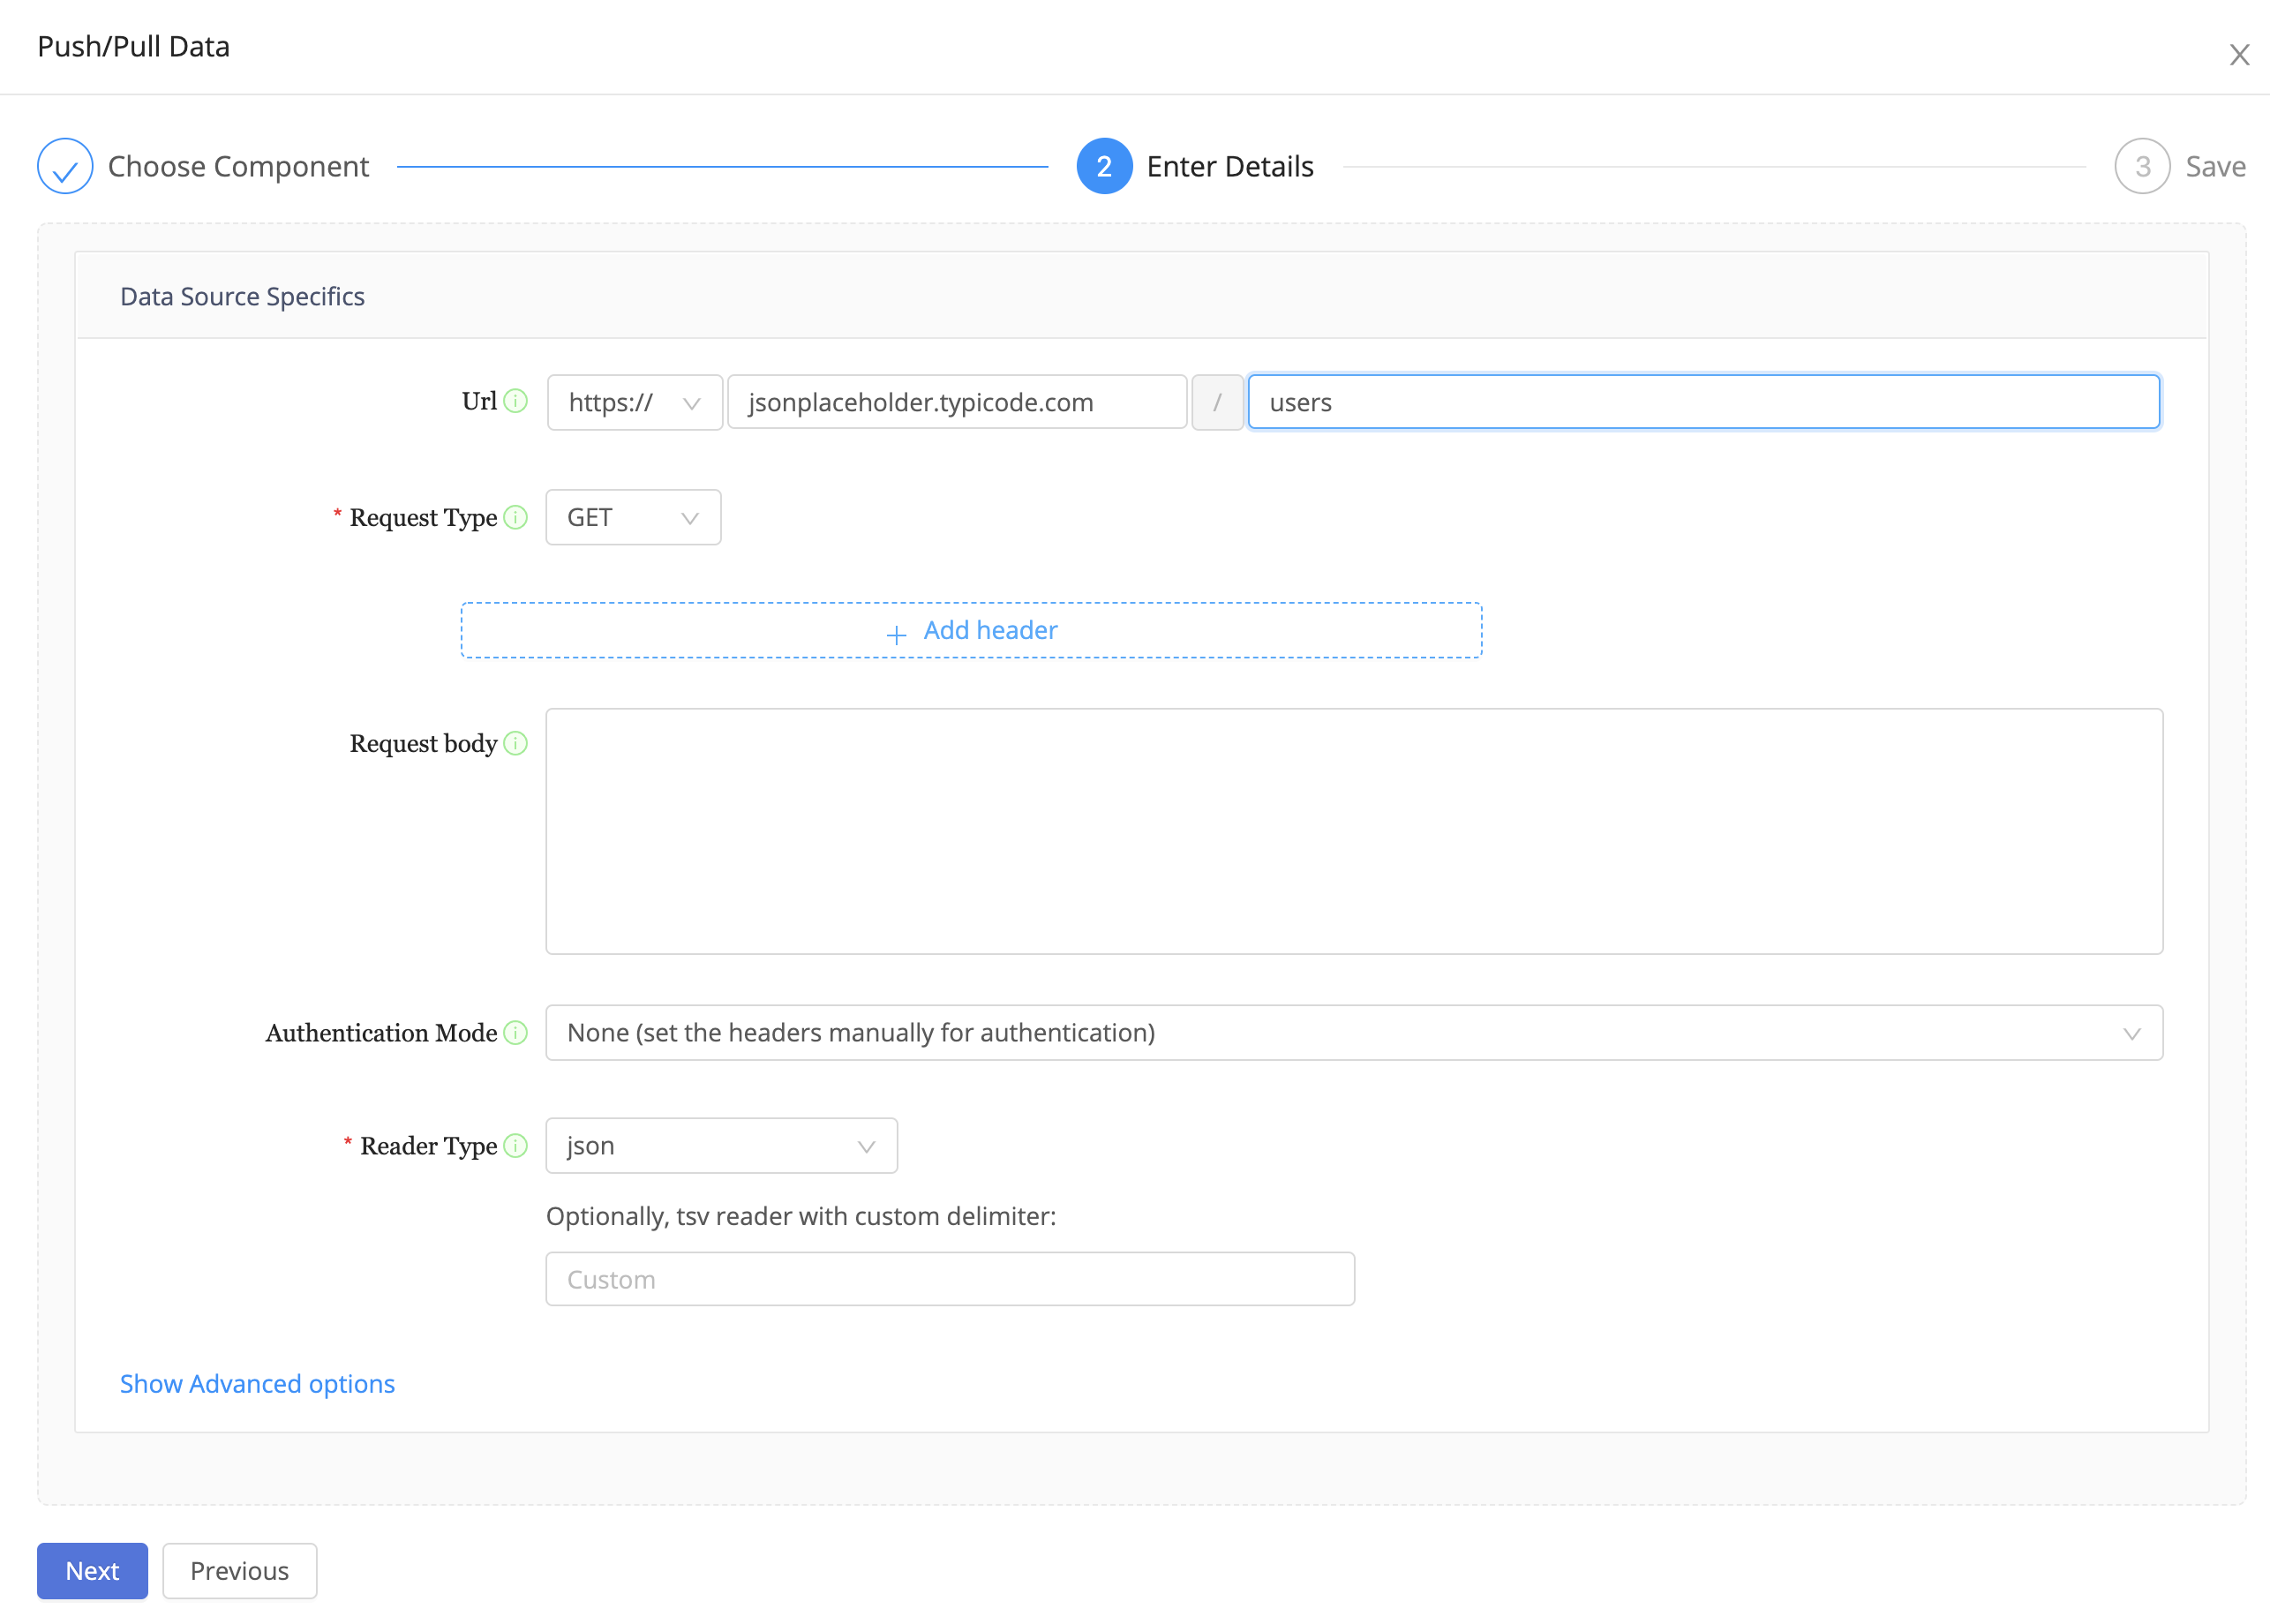
We will be using the following publicly available api to simulate users.
Set the url to https://jsonplaceholder.typicode.com/users.
Set Automatic Execution to On Document Load so the Rest API query triggers on document loading.

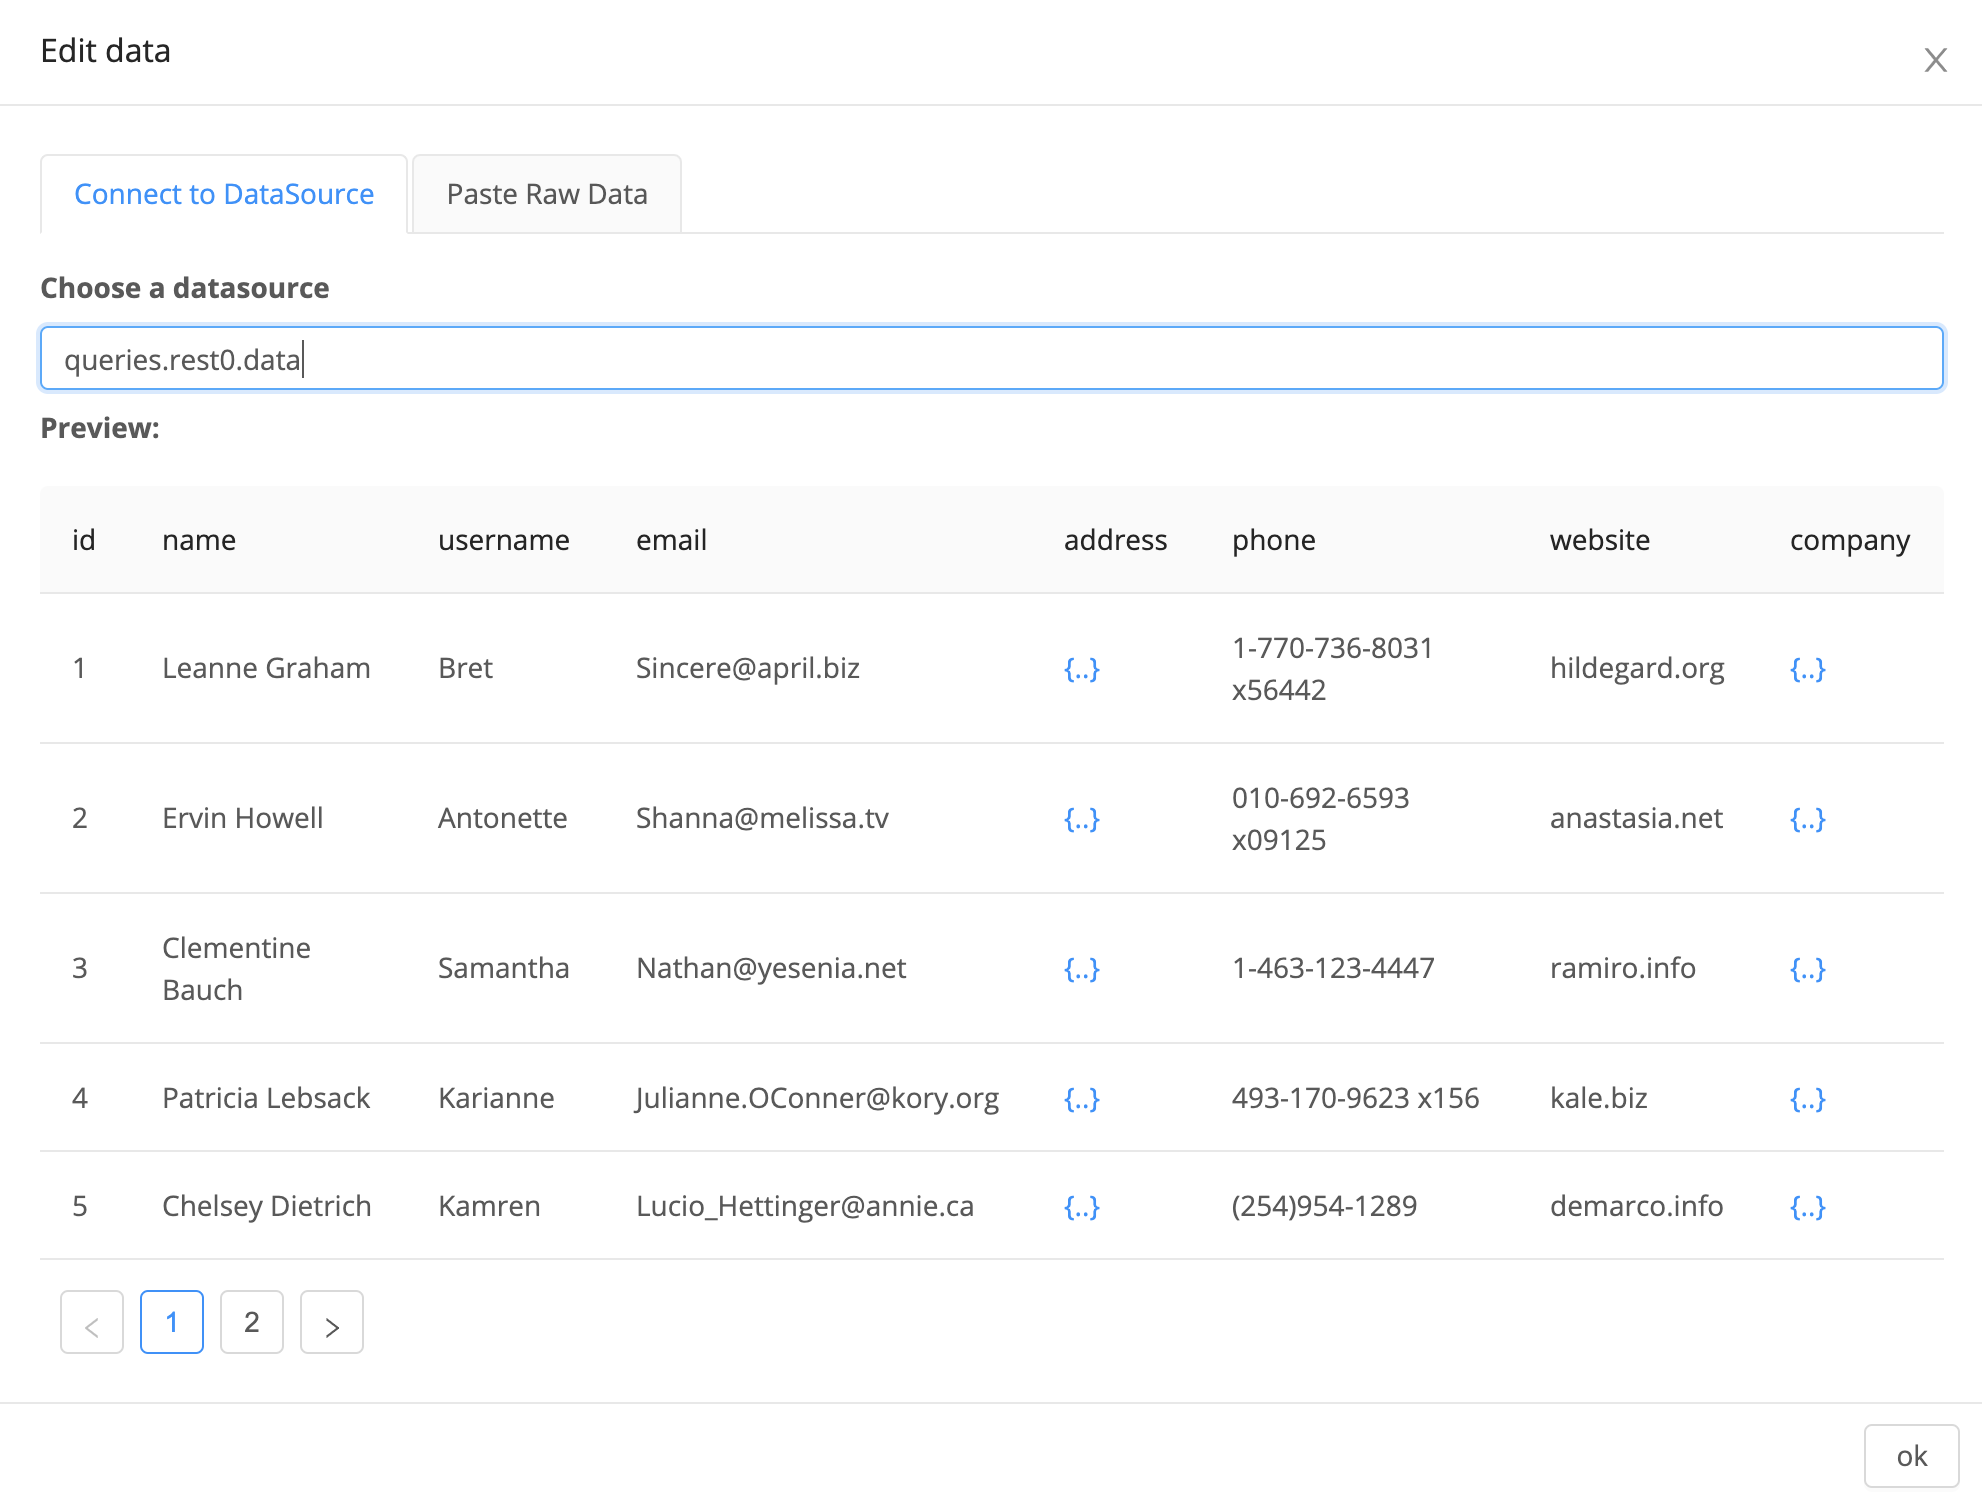
Click on the table, select Edit Data and set the data source to queries.rest0.data.
Change the SelectRows property to single, as we will be selecting one user at a time.
Change the title of the text field to Update Feature Flags for User {{data.table0.selectedRow.0.id}}.
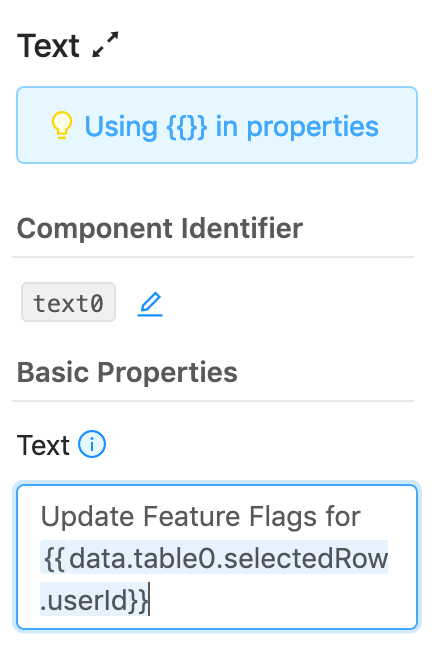
What are {{}} good for?All component properties are stored in a global key value store that other components in the app are able to access. You are able to reference other components using javascript dictionary terminology.
Based on Django's templated {{}} syntax, the special
{{}}expression allows you to substitute in values from one set of objects in your application to another. For example, in the Text query above, we reference the selectedRow property of the table component with identifier table0. Since selectedRow references an array of json dictionaries (all of which contain anidproperty), and we want to get the first selected row's user id, we referenceselectedRow.0.id. As all data components are stored under the global data key, to reference this component, we would write{{data.table0.selectedRow.0.id}}.
Next, create a new Rest API query with the following artificial parameters, which will reference the feature flags for the particular user.
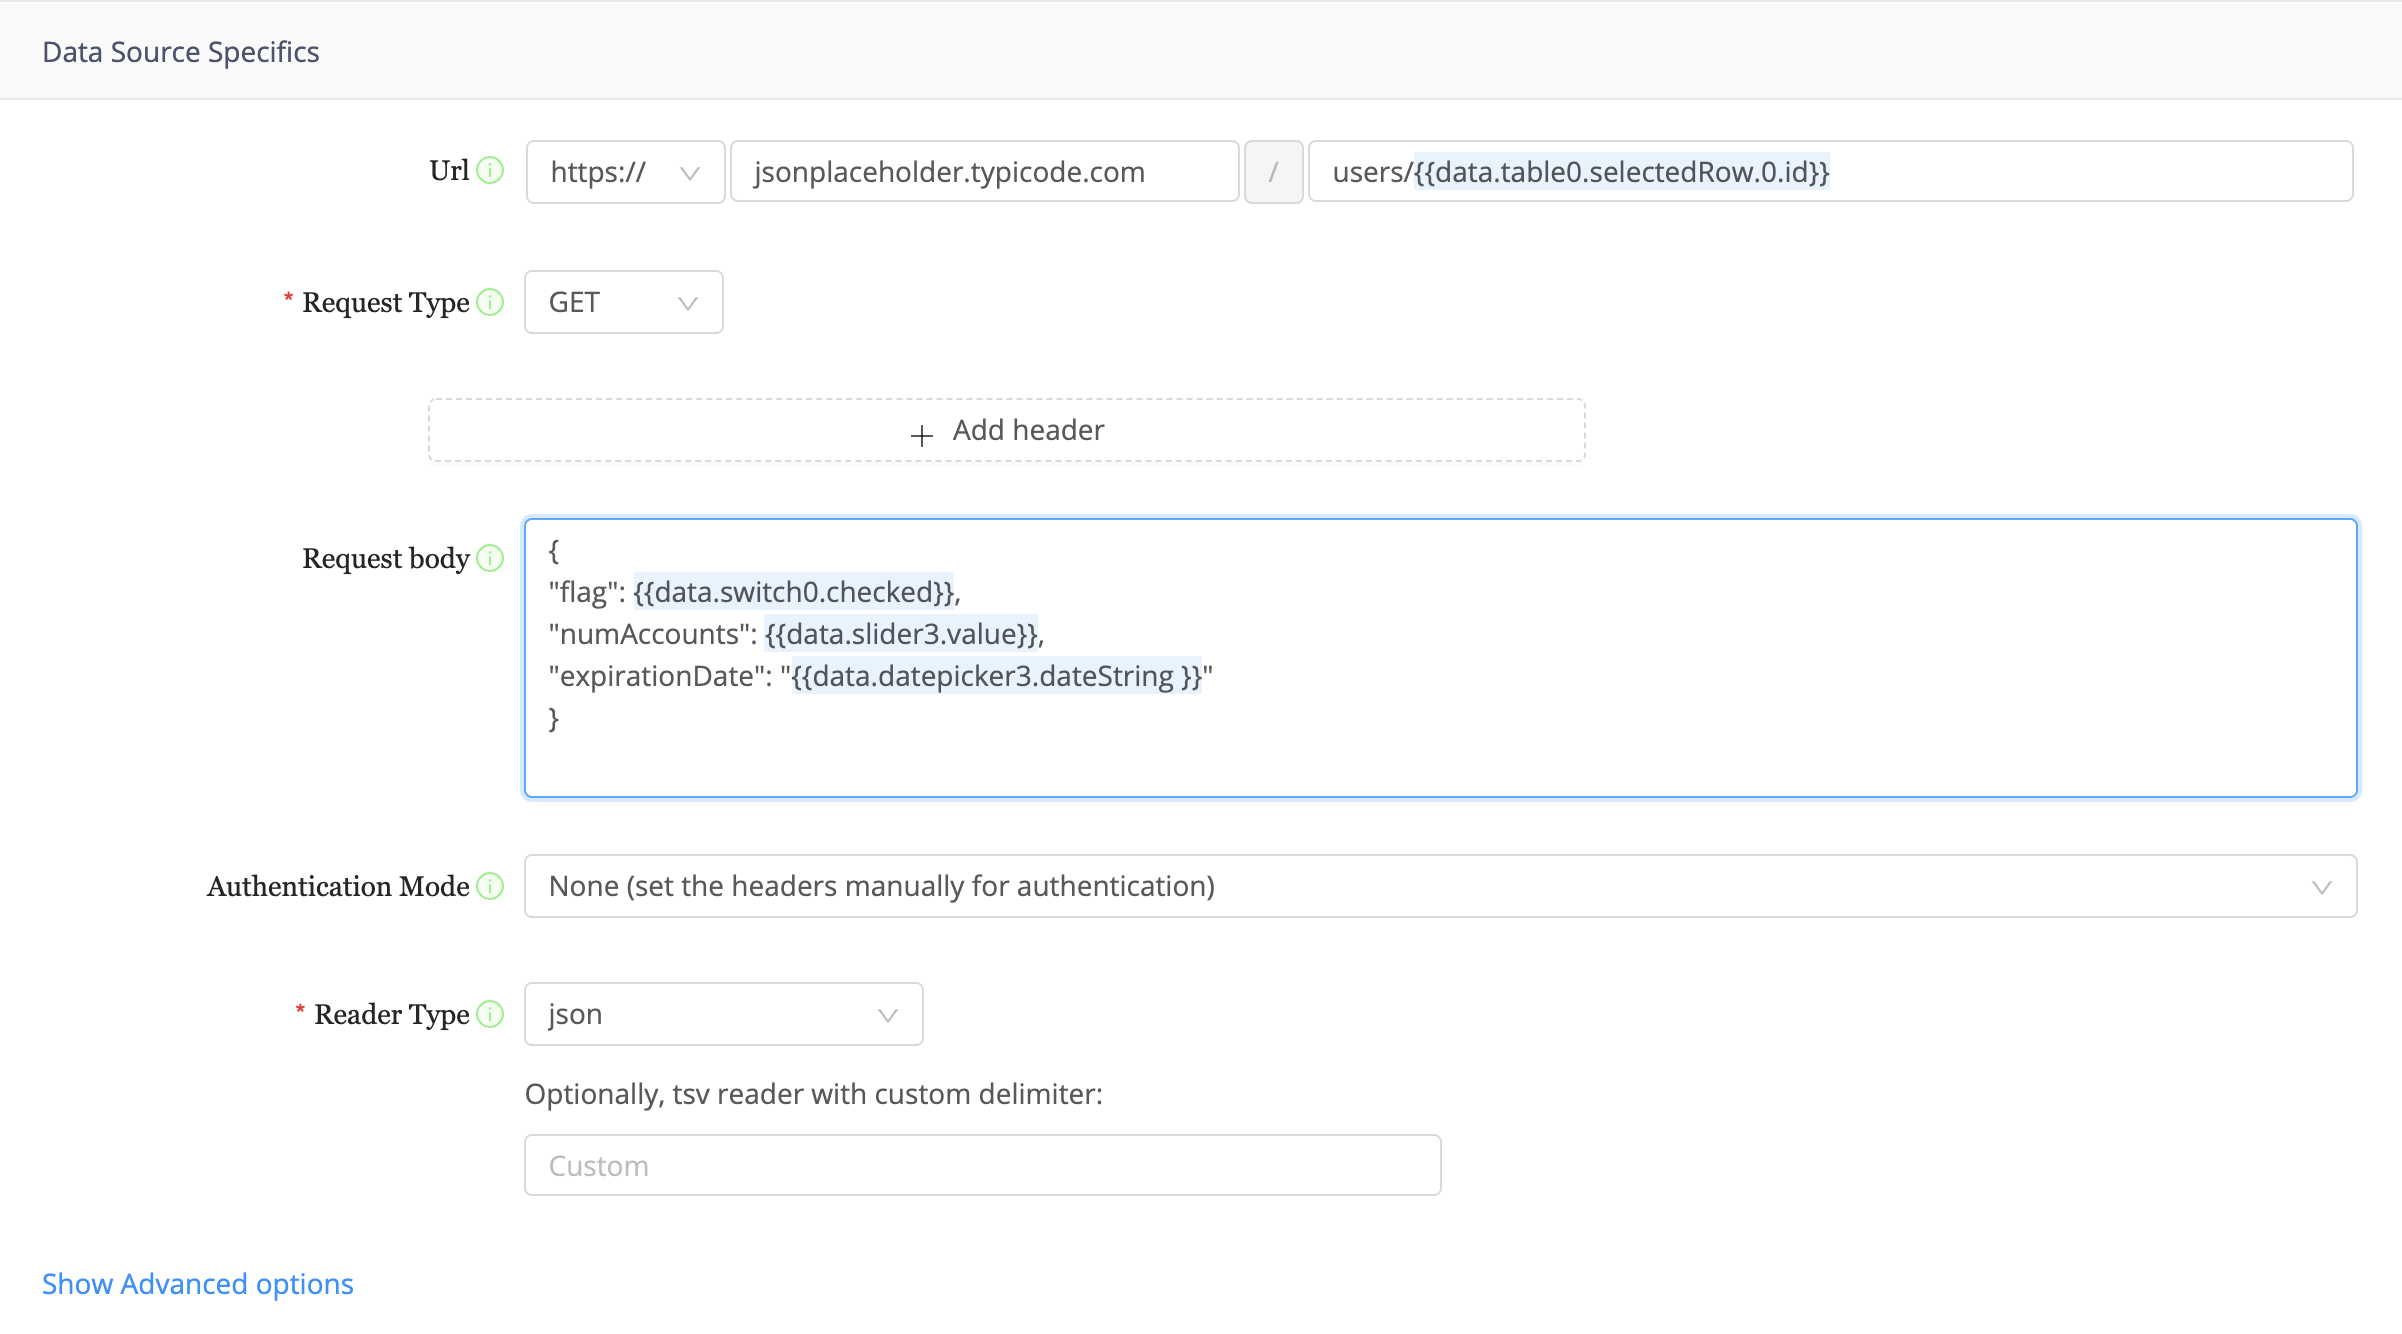
Set the execution for this Rest API command to never.

On the button, choose to run queries.rest1 for the Code property. Now, on clicking this button, you will update the feature flags to be the ones that you specify in the user interface. Congratulations!
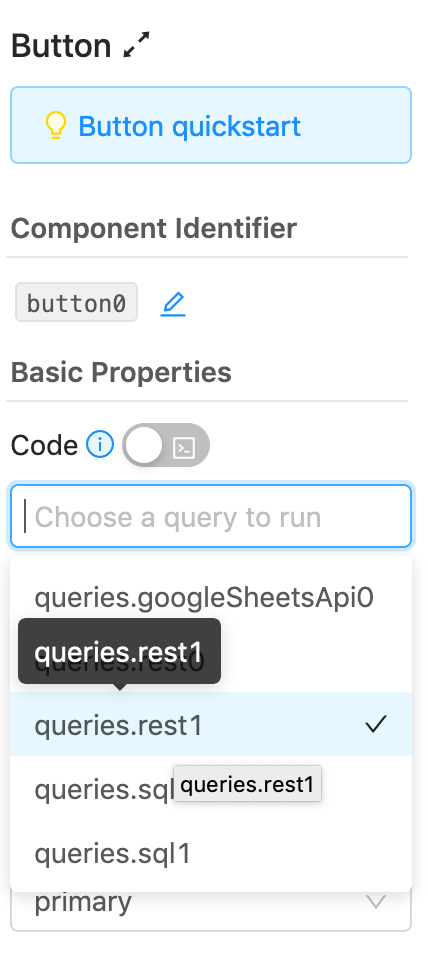
Triggering data queriesThe button's code property allows you to specify and trigger data queries with the special
DataSiv.ExecuteQuery(...)function.
Congratulations! Your application is done. Now, you can flip feature flags per user, and trigger a Rest API query with the feature flags.
To test out the application, click the button. In the App Objects tab in the right sidebar, under query rest0, you should be able to see a response under the data property from the api you triggered.
Updated 8 months ago
